Halloween Tree Centerpiece
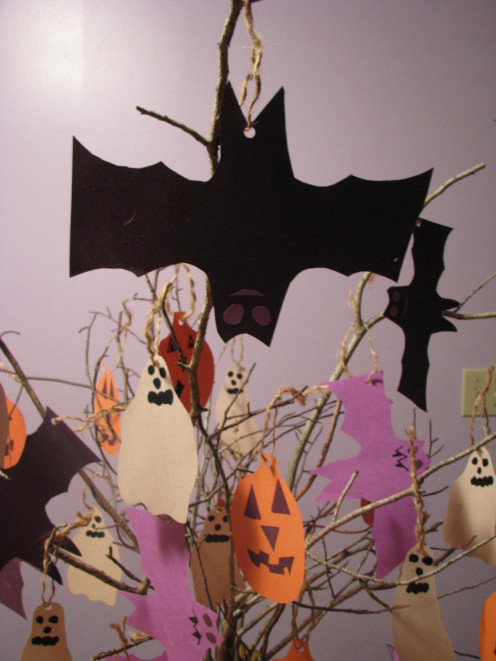
Unique Halloween Centerpiece
Whether you’re throwing a Halloween party, have a child with an October birthday or you’re just a Halloween fanatic this Halloween Tree Centerpiece will be a unique addition to your holiday decorations.
The Halloween Tree is easy to make and if you have children or grandchildren you probably already have most of the items you will need around the house.
Enjoy a walk with your children to let them choose 'just the right branches' for this special tree. Encourage their creativity by allowing them to draw different facial expressions on the bats, ghosts and pumpkins. If they are older they can cut out eyes, noses and mouths from the scraps to glue on the faces instead.
Having a Halloween party? Check out these gross, I mean, great Halloween food ideas.
Items Needed to Complete Your Halloween Tree Centerpiece
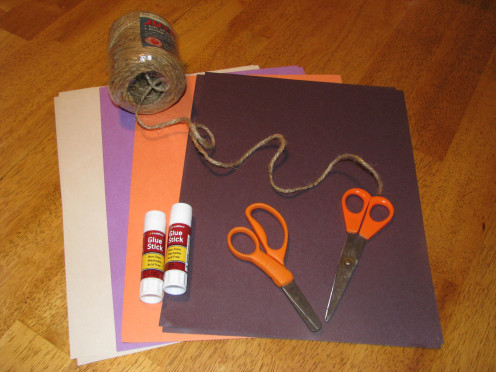
Most of these items can be found in or around your house.
- Bunch of branches with smaller branches
- Large Glass Vase
- Yellow Tissue Paper
- Orange Tissue Paper
- Two sheets of black, orange, purple and white construction paper or foam sheets.
- Pens, Magic Markers, Crayons or Colored Pencils
- Yarn, string, balloon ribbon or jute
- Hole punch
- Scissors
- Glue stick
How to Assemble Your Halloween Tree Centerpiece
Arrange the branches in the vase as if making a bouquet.
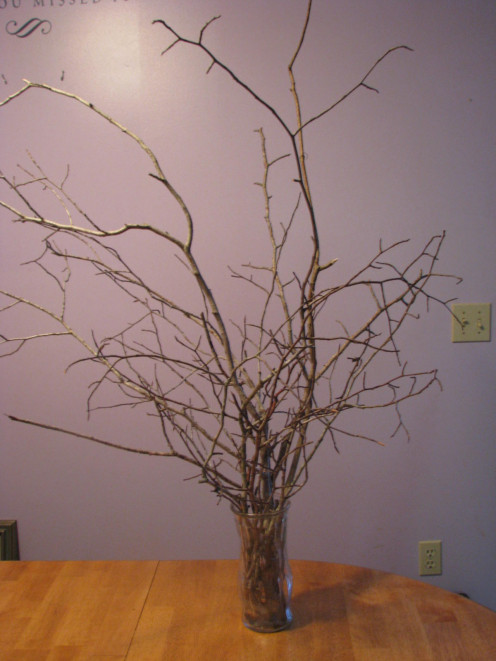
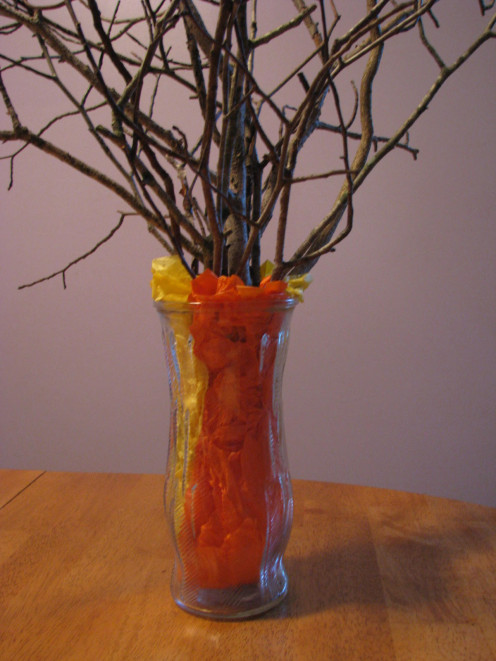
Once you are happy with how it looks get a firm grip on the branches near the top of the vase with one hand and pull them out. Wrap the bottoms of the branches in tissue paper and push the branches back into the vase.
Make the Ghosts
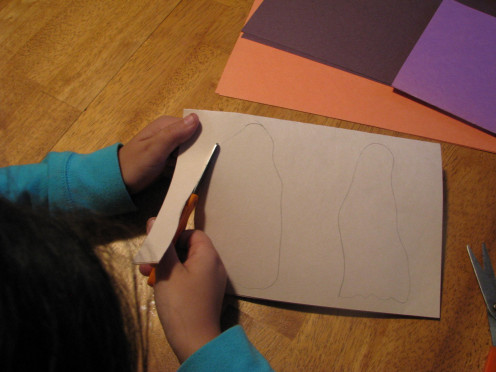
- Put both pieces of white construction paper on top of each other.
- Fold in half, top to bottom.
- Draw the outline of two ghosts, making them different sizes.
- Cut out the ghosts. You should have 8 ghosts when finished.
Make the Purple Bats
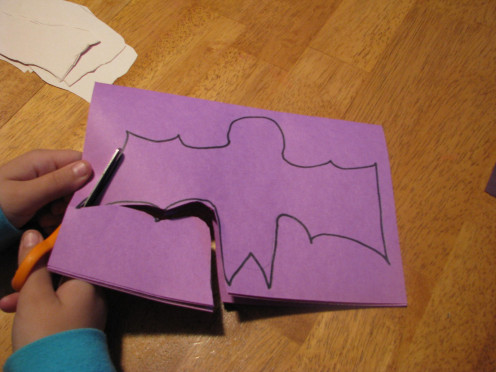
- Put both pieces of purple construction paper on top of each other.
- Fold in half, top to bottom.
- Draw the outline of a bat.
- Cut out the bats. You should have 4 purple bats when finished.
Make the Black Bats
- Put both pieces of black construction paper on top of each other.
- Fold in half, top to bottom.
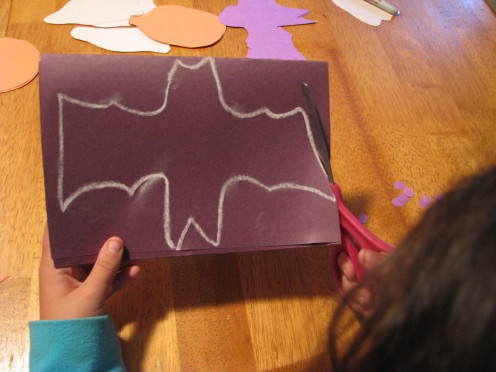
- Draw the outline of a bat in white crayon or chalk.
- Cut out the bats. You should have 4 black bats when finished.
Make the Pumpkins
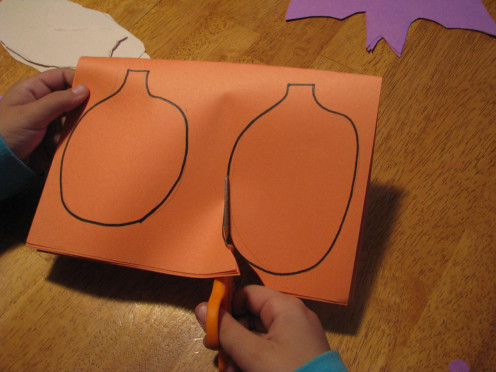
- Put both pieces of orange construction paper on top of each other.
- Fold in half, top to bottom.
- Draw the outline of two pumpkins, making them different sizes.
- Cut out the pumpkins. You should have 8 pumpkins when finished.
Making Faces
Bat Faces: Draw the faces with a black permanent marker or cut circles from the scraps of black and purple paper and glue them on. Add fangs for a scary touch.
Ghost and Pumpkin Faces: Draw the faces with a black permanent marker or cut triangles from the scraps of black paper and then glue them on.
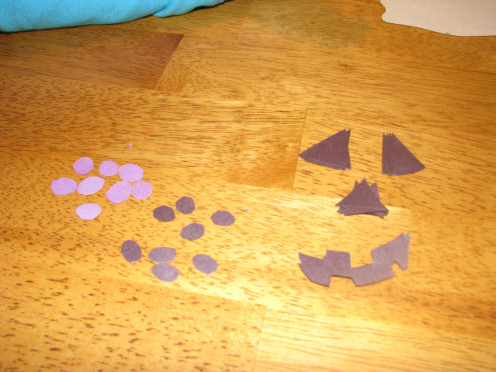
Draw or glue on the faces making sure you leave enough room at the top of the ghosts for you to punch a 'hole' to hang them by.
Punch Holes and Add Ties
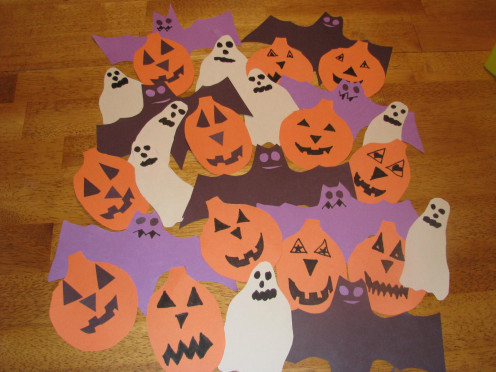
Punch holes at the top of the ghosts and pumpkins. For the bats you can vary the location of the hole so that it looks like they are 'flying' in different directions and even 'hanging' upside down.
Cut jute into 8 inch long pieces and tie to each cutout.
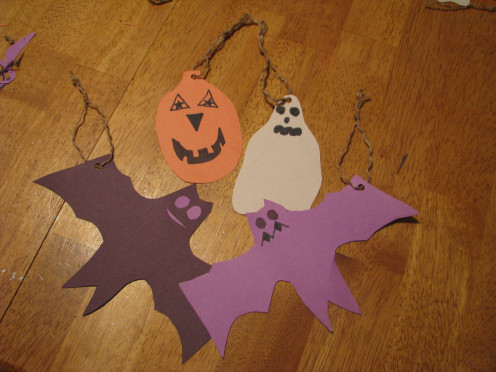
Hang all your bats, ghosts and pumpkins on your Halloween Tree. Tie a piece of jute around the vase and display proudly.
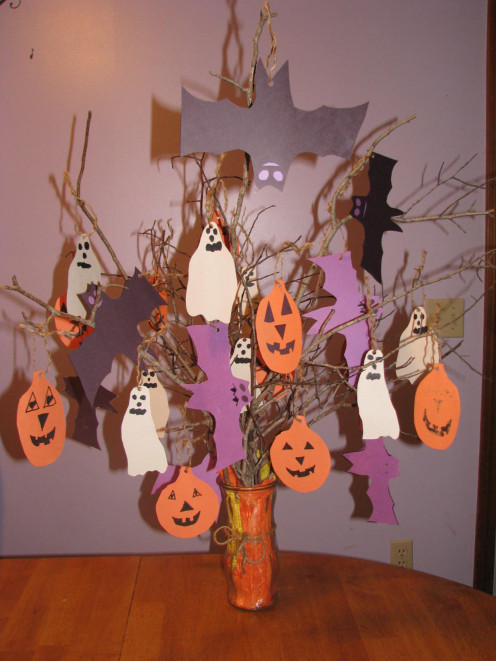

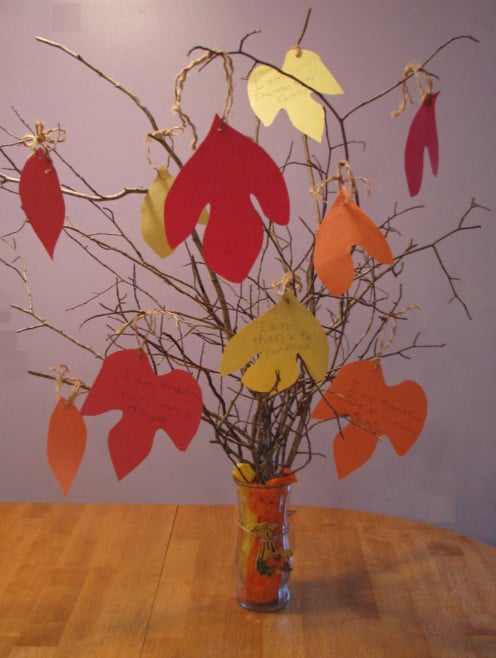
When Halloween is over this centerpiece can easily be converted into the Thanksgiving Tree Centerpiece.
The Thanksgiving Tree Centerpiece consists of 'leaves' made out of paper the color of 'fall foliage'. Each family member writes what they are thankful for on one or more leaves and then hangs them on the tree. Detailed instructions can be found at the link below.
- Thanksgiving Tree Centerpiece
Make a simple, low cost Thanksgiving Centerpiece that celebrates the meaning of Thanksgiving. All family members write what they are thankful for on the leaves and hang them on the tree as a reminder of all they have to be grateful for.


