Holiday Placemats

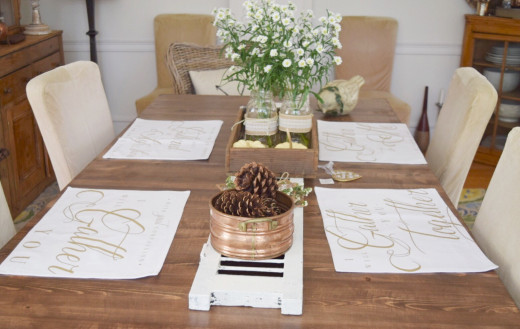
Placemats are...
perhaps somewhat old fashioned. Not too many people eat at the table anymore.
Still, these are works of art that can be useful at restaurants, or hung on the refrigerator. When you do decide on a family meal, they make great settings.
These work as a way of preserving keepsakes, preparing collages for gifts, and are activities that are a nice alternative to television on a rainy day.
Supplies are fairly basic or inexpensive. This can be done solo, but it always helps to have a partner or two. Of course, this works well for groups.
If children are going to be doing this, it is recommended they have adult supervision.
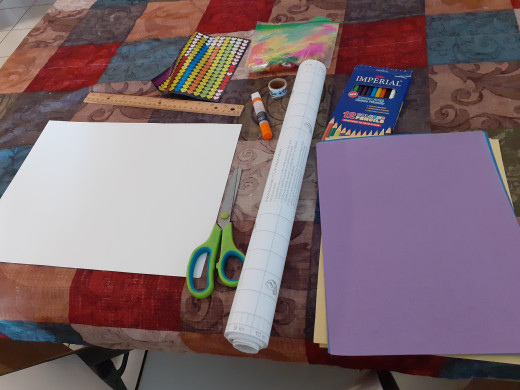
You Will Need
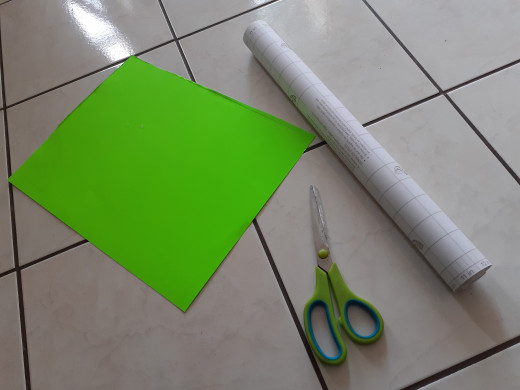
Supplies
*****************************************************
card stock or construction paper
ruler
scissors
colored pencils or markers
photographs
clear contact paper
glue or tape
additional supplies (optional)
*************************************************************
feathers
stickers
coloring pages
glitter
other craft supplies
Supplies you will need
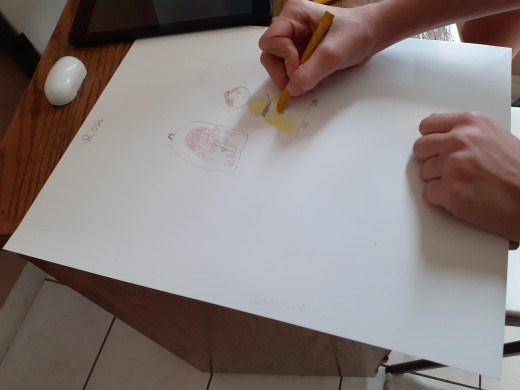
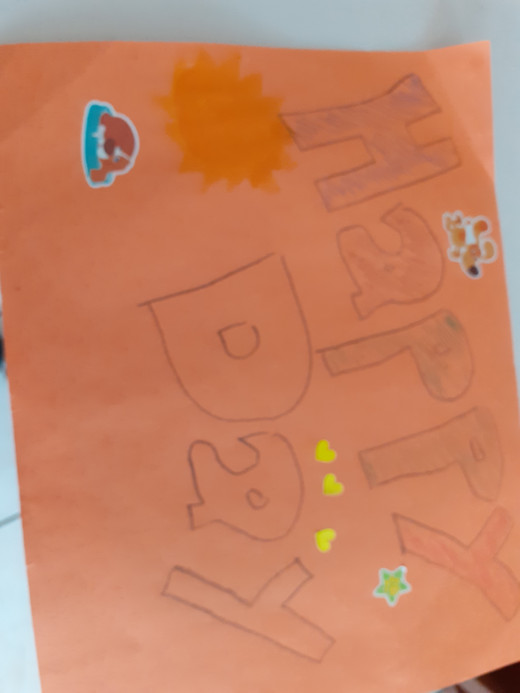
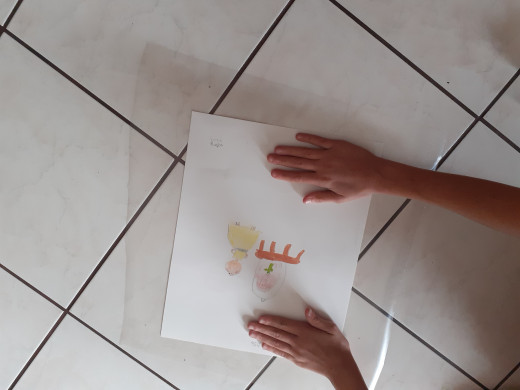
Step 1: Design your picture
Take one of the pieces of card stock or construction paper and work on a design for it. You can glue photos, write messages, or decorate it how you wish.
You can color it or place stickers or other designs.
Work on your design
Click thumbnail to view full-size

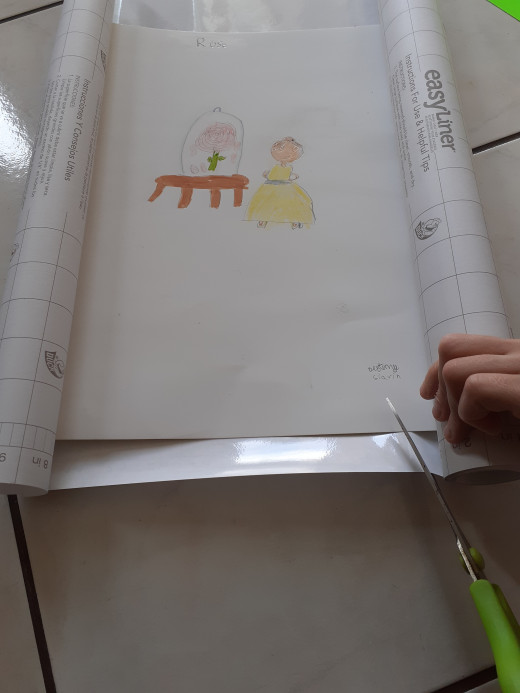
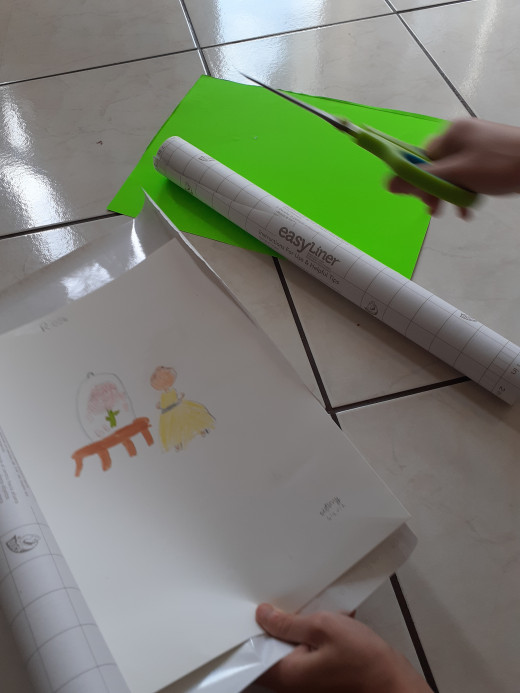
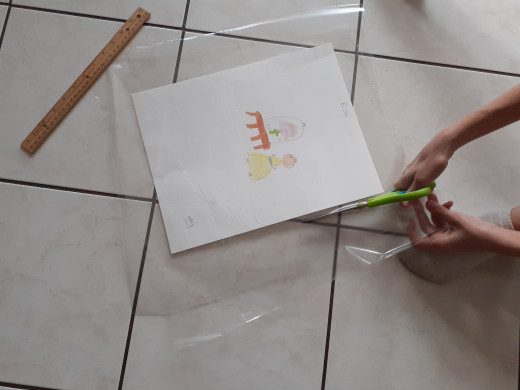
Step 2: Set it asside and cut the contact paper
Roll out the contact paper and set your drawing out.
You want a sheet that is about an inch longer on each side of your drawing.
Cut out two sheets approximately the same size.
For example, if your paper is 12' x 14', you should cut a sheet that is about 14' x 16'.
Cut your sheets
Click thumbnail to view full-size


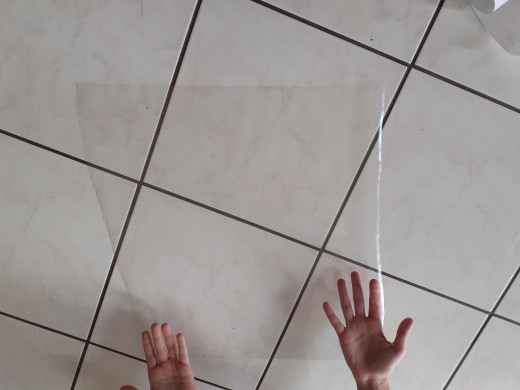
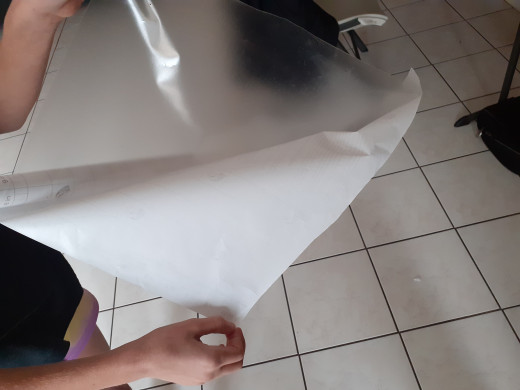
Step 3: Peel your sheet and place your mat
Carefully peel your contact paper sheets one at a time.
You may need a partner with this one.
Try and keep it as smooth as possible.
Peel the first one and set it down on a smooth surface, sticky side up.
Peel the first sheet and set your mat
Click thumbnail to view full-size


Your feedback requested
Are these instructions easy to follow
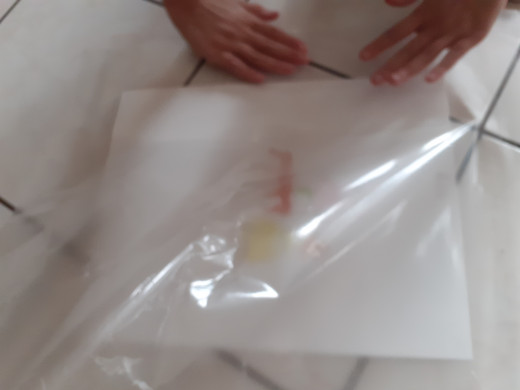
Step 4: Peel the other sheet and cover
Tear off the other sheet of contact paper.
Carefully place the liner over the place mat, sticky side down.
Start at one end and press the second sheet down onto the first.
You may want to use a ruler to smooth things out
Peel the top sheet and place it
Click thumbnail to view full-size


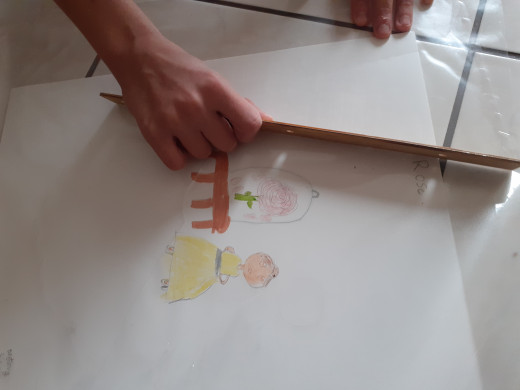
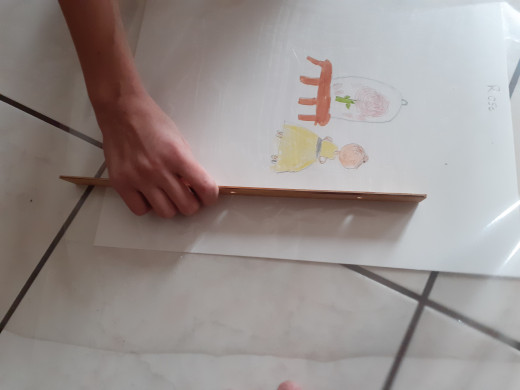
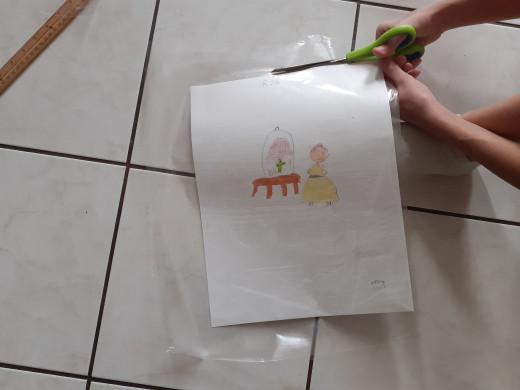
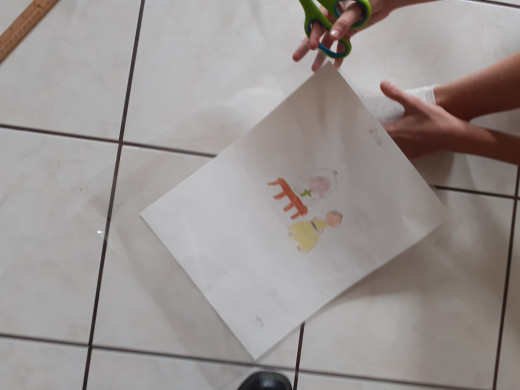
Step 5: Trim the edges
Cut off the excess plastic from the edges. You may want a small border along the sides.
Trim the edges
Click thumbnail to view full-size


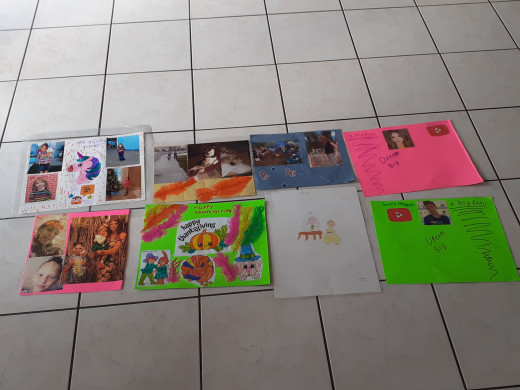
The Results
Click thumbnail to view full-size


This content is accurate and true to the best of the author’s knowledge and is not meant to substitute for formal and individualized advice from a qualified professional.
© 2019 Finn


