How To Color Splash Photos In PicMonkey

What Is Color Splashing
I have included the video where the scene is shot in black and white. To emphasis the little girl in the red coat the made her coat the only color. This movie was the began the color splash crazy.
What we will be doing in this tutorial is taking a color photo, transforming it into a black and white photo and then going back an reintroducing pops of color that will highlight the most important part of the photo. The area you put the color will be where you want to draw you eye and bring meaning to the picture. It will tell the story.
How To Color Splash

Shindler's List Girl In Red Coat Scene
What Is Pic Monkey?
PicMonkey is my choice for photo editors because of it's ease of use, inexpensive price and the number of features it has. There is very little I can't do with it. PicMonky is also an online editor. I never have to update it and new features come out all the time. Currently I am paying for the upgraded version, but there is plenty you can do with the free version and creating Color Splash artwork is one of them.
You can also create Color Splash photos in GIMP or Photo Shop, but neither one of those programs are as user friendly as PicMonkey. Although you can create layers in PicMonkey as you do with GIMP and PhotoShop, but it's not really necessary.
So lets get started by going to the free version of PicMonkey

Here is the link for PicMonkey
- Photo editor | PicMonkey: Free Online Photo Editing
Editing your photos is easy with PicMonkey! Add filters, frames, text, and effects with our free online photo editing tool!
The PicMonkey Editor : Easy To Use
Instructions
- Open the PicMonkey Editor and look around. Above the editor and to the right will be an icon for open. That is where you choose your photo. Once chosen it will come up in the middle of your page.
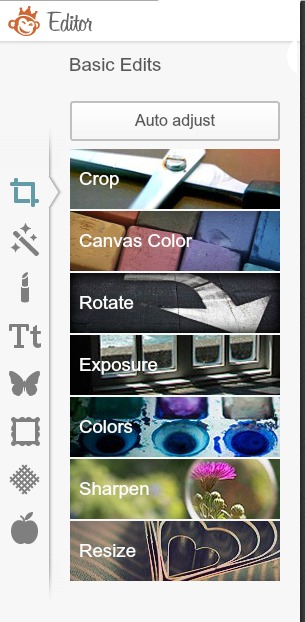
- Once your photo is up go to the editor. The top button allows you to edit the photo such as crop, focus, resize. The first thing I do is fix my actual photo. This way I know what it will look like when I go to the next step. If you decide to change it again you can always come back to this button.
- The second button down is your effects. I recommend you play around with these because they really make a difference in the outcome of any photo. In the effects you will find a button called "Boost". For this project I want you to hit the boost button and enhance the colors in your photo. You can play with the lever until it looks good. Sometimes it Boosts too much. We want brighter than normal colors because other effects are going to dull them slightly.
- There are several ways of turning a photo black and white. For this project I want you to look for the black and white button in the effects. This is very important because it's going to cover up the boost effect. The boose color will be under it and we are going to bring it back out. Any other way of turning your photo Black and White will not work.
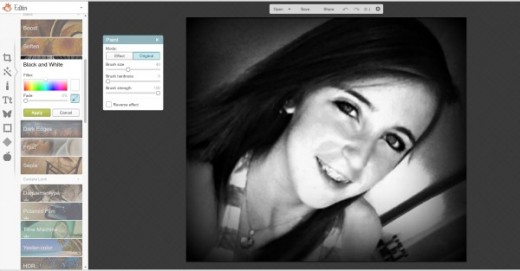
The Black And White Effect
Once you have the black and white effect in motion a box will come up with two buttons. One says effect and the other original. I want you to hit original. Using your mouse go over the black and white. The color will pop out at you.
Have a good time and get creative. Once you are satisfied with your photo you hit save and it's yours forever.
If you make a mistake just hit effect and the black and white will appear again.
Displaying Your Color Splash

Are You A Color Splash Fan?
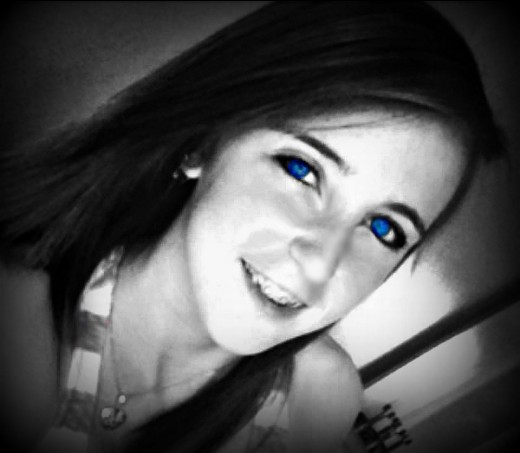
My Daughter's Eyes
I love the color of my Daughter's eyes so I just wanted to highlight them. Here is the final effect.
Additional Color Splashing Photos
- Unlimited Life Hacks - Happy Halloween
Here are other examples of color splashing I thought you may enjoy


