How To Create Artwork Using Pyrography, Driftwood and Other Mixed Media

Pieces Of Driftwood Provide Texture, Shape and Color

Mixing Medias To Create A Variety Of Artwork
The process of combining different elements and materials to create artwork is a lot of fun to explore. I want to share some of the ideas and materials I have used in the past to develop one of a kind works of art. This approach to designing art is not that difficult and uses everyday tools and materials. Finished pieces can be extremely simple to very intricate and everything in between.That is what makes it such a wonderful avenue to explore.
Examples Designed With Mixed Media

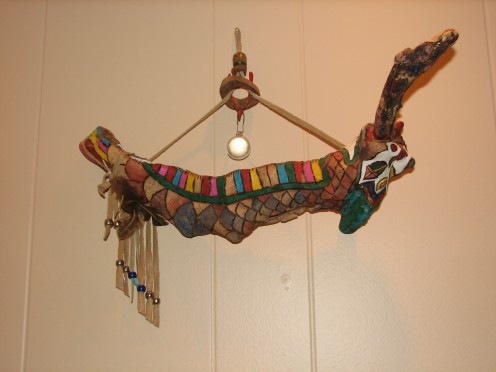
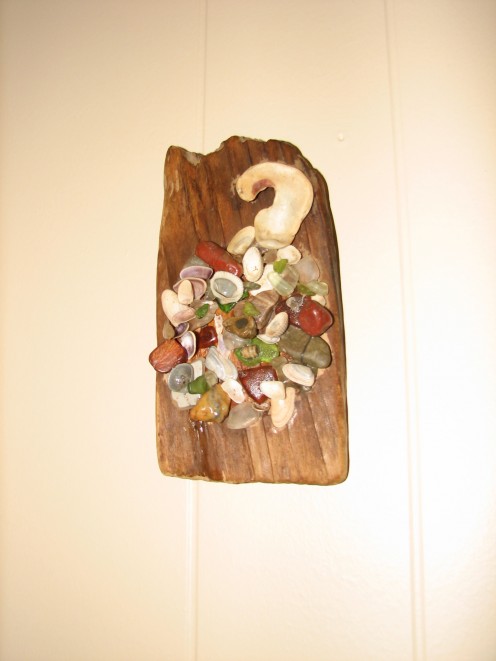
Combine Driftwood With Other Found Objects
The tools I use often consist of little more than found objects and my imagination. I like to put groups of similar items out in front of my work space when I start to design. Small stones, seashells, smooth glass pieces and even bones are just a sampling of materials you can use for your creations. The bones might be from fish, birds or even remnants from picnics that were left behind to roll and toss in the waves and wind. I even find small toys lost by children who have played before my hunting excursion. These toys might bake and freeze on the waters edge for years before I gather them up and add them to my collections.The fun thing here is that you decide what it is you will collect and what it is you will use in your artwork. Consider using feathers, bottle caps, pieces of discarded paper, teeth, can tabs, bits of colored plastic, rope, twigs, dried plant material, or anything that sparks your fancy. There are no rules.
The materials you use can be arranged in a visually pleasing way and rearranged if need be. Explore until you like what you see in front of you. When you come up with something you like, glue it all down. Gluing can be done with any kind of adhesive that dries clear and, is strong enough to hold the materials you have incorporated into your design. I use clear silicon for extra heavy items as it bonds strong to a wide variety of materials.
Some Ideas On Finishing your Artwork
Keep in mind that glue sticks best to a clean surface.Do not get into a big hurry to complete your product. I try to clean all of my materials the best I can before I attach them. You might want to try roughing the adhered side of an element before you add the glue. You can use sandpaper, an emory board or some other device to scratch the surface before applying glue. It is okay to use several different kinds of adhesive on one project. Experimenting is what makes this fun, and is the best way to learn. Read and follow the directions on the container of adhesive you decide to use.
Two Very Important Things to Take Into Consideration Before You Start Gluing
You will need to decide how you want to display the finished work of art. Are you going to hang it on the wall, suspend it from a hook, mount it or, just let it sit. Think seriously about this. I suggest this because it will probably be easier to add any hanger, hook, or other device before you create a somewhat fragile piece. It can be near impossible to nail a bulldog hanger onto the backside of something with delicate seashells glued to the front.
Consider about how long it will take the piece to completely dry before it is durable to handle. You may want to work on a surface such as a shallow tray or section of plywood that can be carefully moved to a different location for drying. I often use some old cafeteria trays if the artwork will fit. Then I can pick the entire piece up without actually touching it. The tray can be placed in my holding area for as long as necessary.
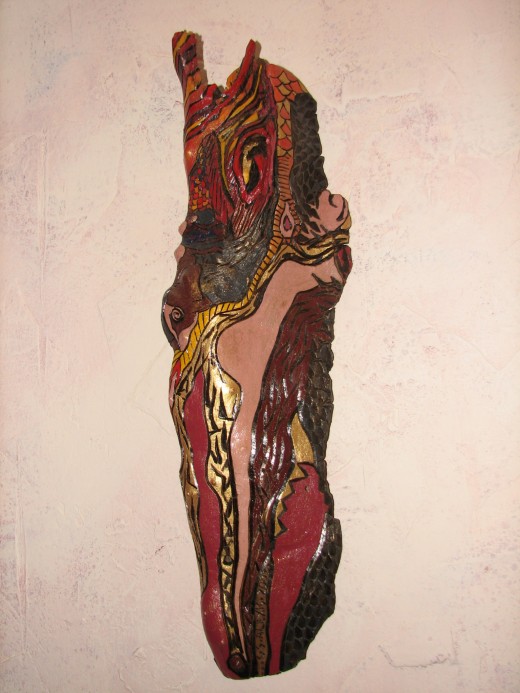
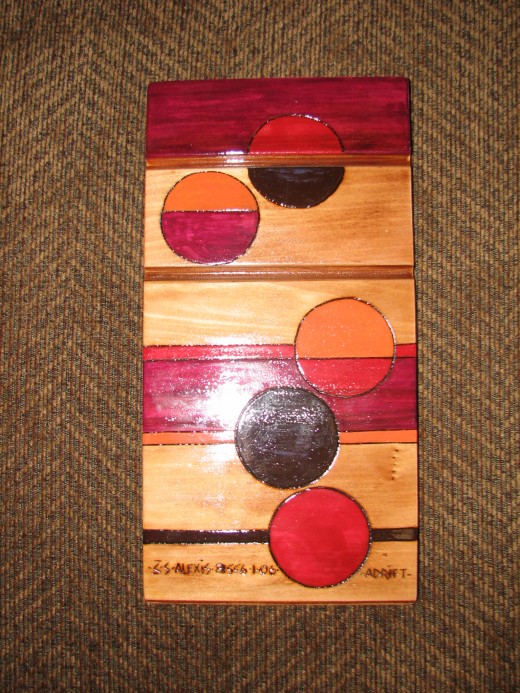
Pyrography and Acrylic Paint On Wood