- HubPages»
- Arts and Design»
- Photography»
- Photography Instruction & How-Tos
How To Take Great Photos Or Create Works Of Art With Your Phone's Camera


Have Often Do You Use the Camera On Your Phone?
My first foray into amateur photography was two decades ago when I worked for a small community newspaper. At small papers, you never wear just one hat. So although I was a reporter, I also paginated and took photographs. Many of the images were 'point and shoot' ribbon-cutting type of events, but I did get to take candid shots for the front page. The experience gave me an eye for detail and an understanding of basic photography.
Today, I shoot most of my photos with my phone's camera. It is a challenge of sorts -- to see if I can take high-quality photos without using a 'real' camera.
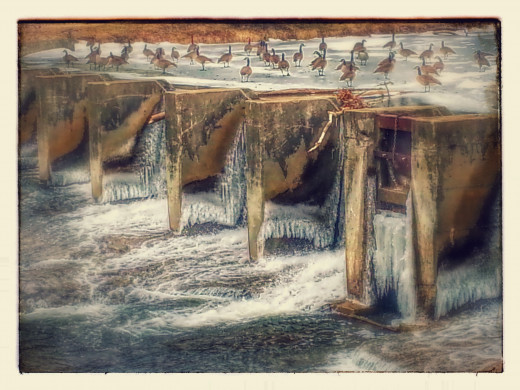
One of my favorite recent photos is the central image (of geese) in this article. Here are a few techniques and tools I use -- that you can use to create works of art.
4 Things You Need To Know About Your Camera
1. Camera's Quality. Since there are so many smartphone options, I cannot cover each one, but I don't need to. The absolutely best way to learn the quality of your camera is to use it. To get a good overall feel for how your camera works use it in the following situations:
- Low-light or dimly lit situations
- Action shots
- Low-light, action shots
- Still shots
2. Camera's Limits. My camera, like many cameras, does poorly in low-light, action situations. In fact, the camera does not do overly well with any type of action shot. If I am shooting action, I have learned, the camera can handle action, if the situation is well-lit and the action is coming toward the camera -- or the action is slow enough that the camera can keep up.
3. Zoom. Camera phones rely heavily on digital zoom features to close in on an object and although that works fine with landscape or still photography, the quality of the image suffers when you digitally zoom in. With practice, you can learn to use the digital zoom effectively.The lead image of this article, I used a fully extended digital zoom.
4. Flash Settings. When do you need to use your flash? The best way to figure this out is take a series of photos of the same object/situation. Place an object on a table and take three photos with the following settings:
- Flash on
- Flash on automatic
- Flash off
Compare and contrast to determine which image is preferred -- and to learn how much the flash alters the look of the object.


Work Within The Camera's Limitation
Your camera can only do what it was designed for -- and that is based on the quality of the camera lens, the camera's shutter speed and how the flash is sync with the shutter.
I hike a lot with my dog and because of this I see a lot of birds and wildlife which are perfect for photographing, but since I only carry my phone I cannot gets all the photos. For example, I have always wanted to photograph a blue heron in its natural settings because it is such a large, awkward, yet beautiful bird.
On two occasions I have come upon one feeding in a creek and in one occasion, I was within 15-20 feet of the bird before it took flight. This is close enough for a quality camera with a glass zoom lens. However, with my camera's phone, I am not close enough to frame the bird (unless I use digital zoom) and the action of the bird in flight is too fast for the camera to stop.
Since I am unable to get birds in flight, I settle for landscape photos when hiking -- which forces me to look for interesting landmarks to photograph.
Cool Photo Tricks
One of the neatest tricks in this video is using a pair of binoculars as a hack to create an optical zoom lens for your camera. Although the trick works best for still photography -- like a landscape or statute -- it is an excellent way to zoom in and create an interesting image for a work of art.
Composition
Since high-speed action shots are not possible on my camera phone, I concentrate on outdoor scenes and put all my effort into composing the shot. A common mistake beginning photographers make is centering the subject. But, by using the rule of thirds, a simple object -- say an old farmhouse -- can go from boring to interesting. Test it for yourself. Take the simplest of objects and photograph it by centering the image in the frame. Next shoot the same image by applying the rule of thirds.
Rule of Thirds
Any image can be divided in three equal parts both vertically and horizontally. Notice how more visually appealing the image is when the subject is moved out of the center of the photograph.
If your subject has 'action' have the action moving into the photograph. Images look best and more natural when the subject's eyes or action are moving into the image as opposed to away from it (of course, there are always exceptions to the rule).
Automate The Process
Unfortunately for many -- their photos stay on their phone -- and nowhere else. Take a few moments and sign up for either Flickr or Google Photos and have your photos automatically uploaded from your phone to a server. Don't worry, you can set your account so that only you can view the images (until you are ready to share them).
Just remember, if you have a limited data plan on your phone, to set up your online account to upload only when you have a Wi-Fi connection.
Besides ensuring you have a second or third copy of your images, this approach also gives you access to artistic tools for your photos. Google will automatically select some of your images and make them "awesome" with its Awesome photo feature.
Using Phone Apps or Online Tools
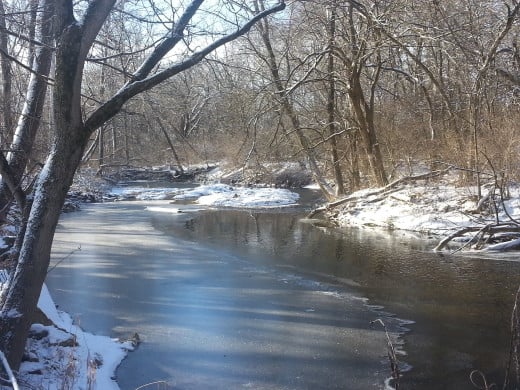
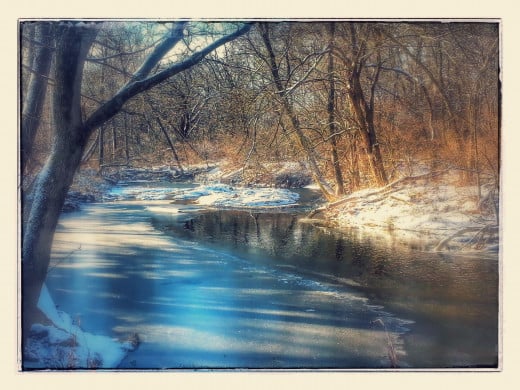
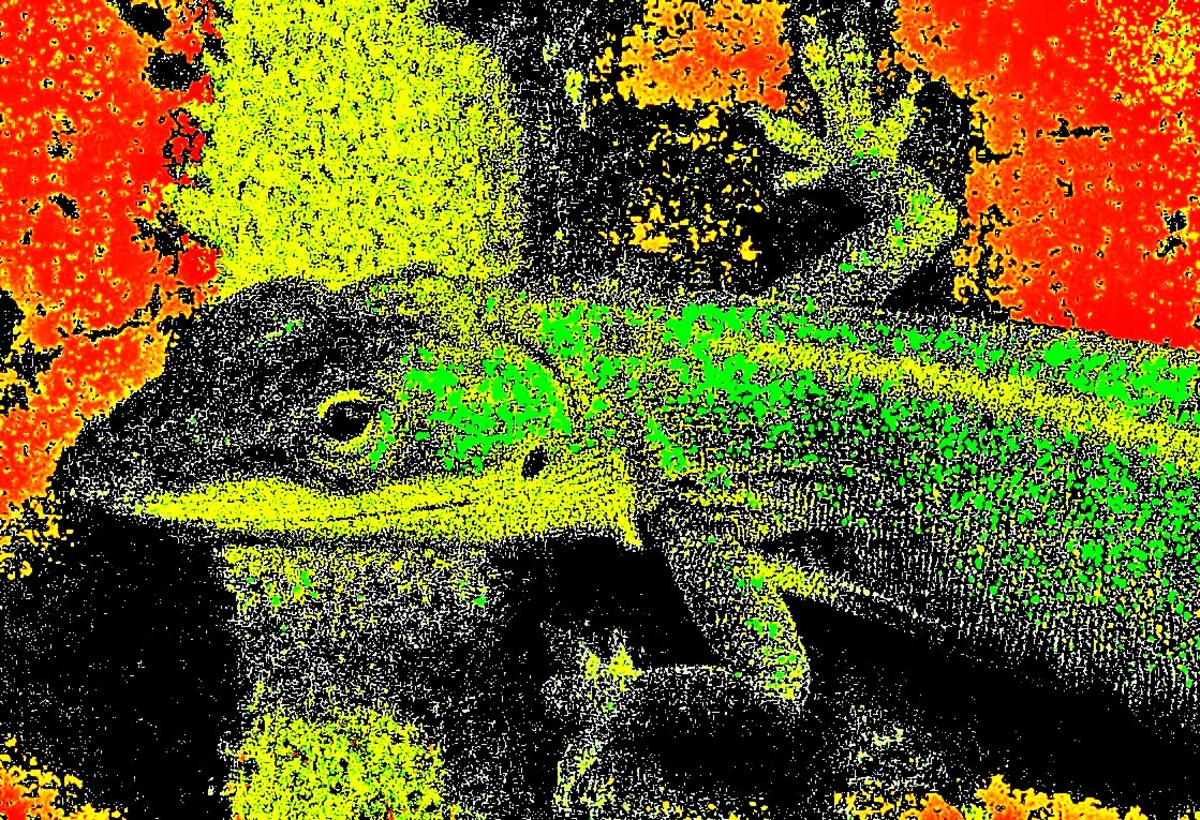
Both Google and Flickr offer online editing tools that quickly apply a filter to your image -- these filters can make your photograph look like a pencil drawing, a painting or even change the lighting to highlight specific areas of the image. The best way to gain an appreciation for what the tools will do is play with the options.
A Few Final Tips
One of the weaknesses of camera phones (besides the digital zoom) is, especially in bright sunlight, the screen can be hard to view. But since you are trying to photograph shapes -- don't be overly concerned about the fine detail -- simply frame the interesting shapes into thirds. The app or software alters these shapes into artistic images.
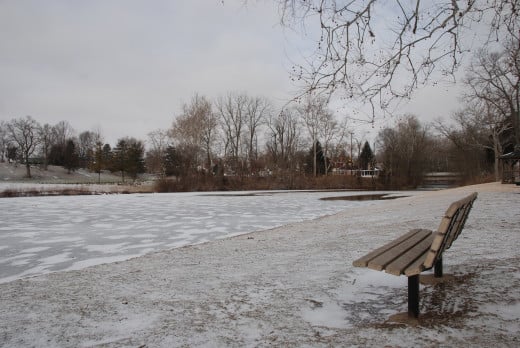
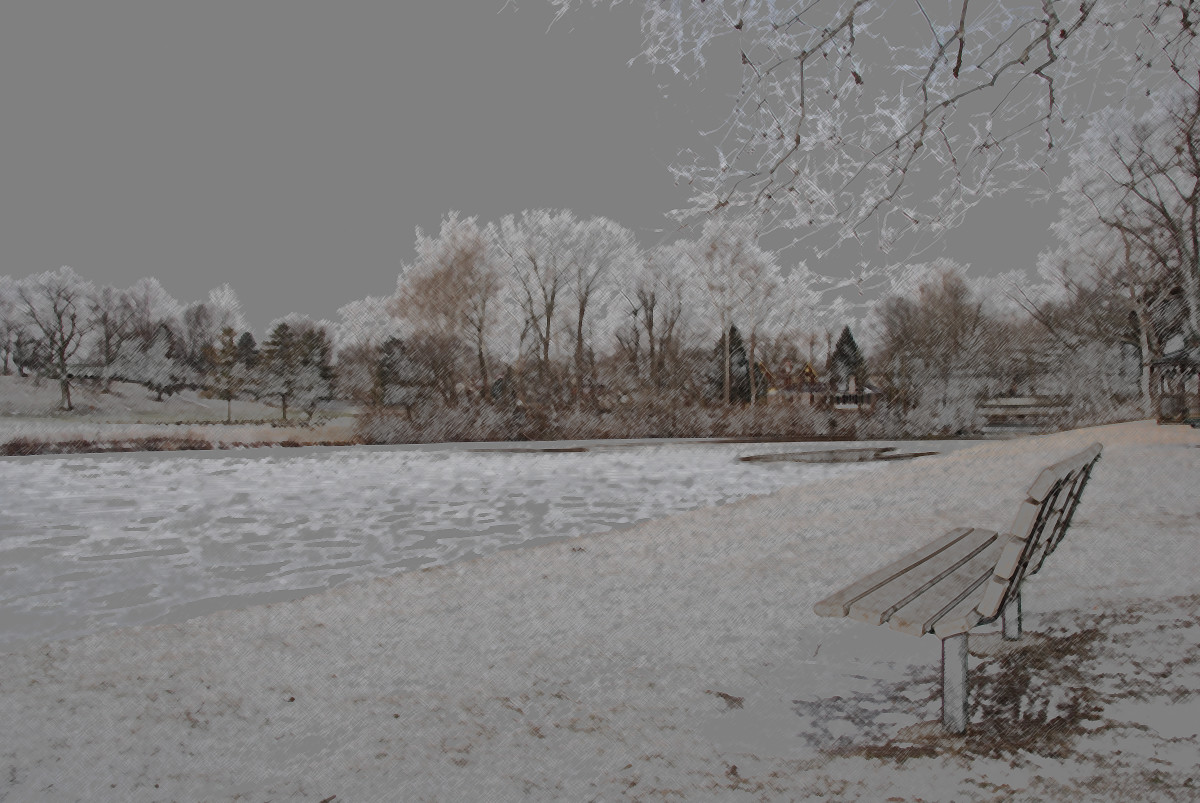
Always look for ways to increase the interest level of the shot. When I photographed the frozen lake in this article -- I added the bench to the forefront of the scene to give it more visual interest. Walk around and look over the area before shooting. Sometimes an interesting photograph is simply a matter of changing the perspective. Try shooting up -- or down -- on the object.
Remember, the more photographs you take, the more you will develop your own style of photography and art.
Filters of Interest
- Old-Time Look. As a family historian, I am drawn to images that look old. One way to create this affect is to use the black and white or sepia filters on the app or editing tool.
- Painted Look. There are several options for this look, but usually any filter that softens the focus will create a more hand-crafted look to your final image. Some chalk or water-color filters do a nice job with large, less defined shapes.
- Hand-Drawn Effect. Charcoal, pencil and pen drawing filters can produce a very realistic hand-drawn look when the correct image is used. It's best to experiment with the filter, but start with large shapes as the central image. Landscape shots often work well with this approach.
Once you create an image you enjoy, the final step is printing out a version -- as large as you want (provided the image does not pixelate) on canvas for display.
© 2015 Charlie Claywell

