- HubPages»
- Arts and Design»
- Graphic Art & Design»
- Design Software
How to Make a Photoshop Brush
Photoshop Brushes
So you have spotted a pattern that as soon as you saw it you thought ‘that would make an excellent Photoshop brush’ but don't know how to begin making it, then this article will be of some help. The steps to making a Photoshop brush are actually very easy, the degree of difficulty lies within the complexity of the picture that you intend to use. If your picture has a huge amount of intricate detail then it is going to take you a while and you will need some patience. However, if your picture is something very simple then it will take you a matter of minutes to complete your Photoshop brush.
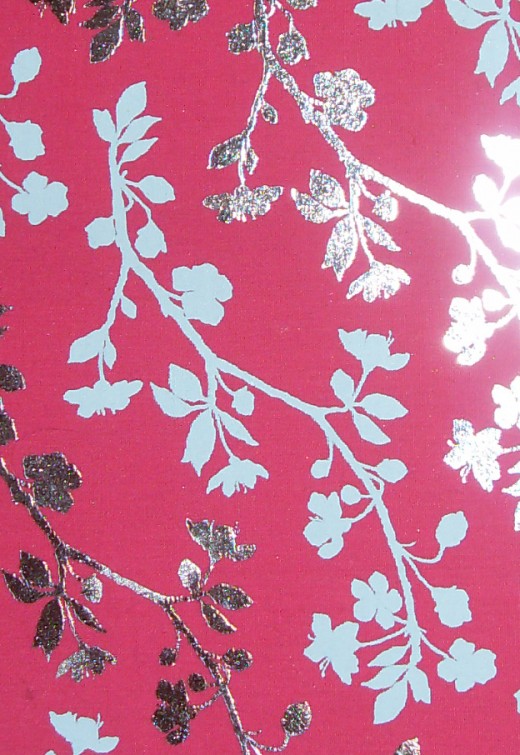
For my phototshop brush example, I have used a document box folder, which I purchased to keep all my important things in. I was particularly drawn to it because of the beautiful patterns decorating it, which also make a nice Photoshop brush! And below is the step-by-step procedure that I followed to create it.
How to Make a Photoshop Brush
STEP ONE
Take pictures of the image you want to create a photoshop brush from and load them onto your computer. Try not to get any lens flare like I have in mine as it will probably make things more difficult, particularly if your image is a detailed one.
STEP TWO
Open your picture into Photoshop and crop any area that you feel would look good as a photoshop brush. If the picture has a lot of background patterns that are just too light to be picked up nicely with any of the selection tools then I go to IMAGE > ADJUSTMENT > LEVELS and adjust the levels of black and white until the light background bits have faded away, that way they won’t interfere when you begin to make your selection.
More Photoshop Articles
STEP THREE
Choose a selection tool. If you know anything about Photoshop already then you might be familiar with which types of tools to use for which jobs. If you have very little detail then you might get away with just using the magic wand tool but if it’s a detailed picture then you could start off with the magnetic lasso and then use a mixture of the selection tools to include all the parts that you want in your Photoshop brush. Don’t forget that any parts which you don’t select will appear transparent in your Photoshop brush, this can often give a nice effect, it really depends on the picture your using but it’s something to think about.
STEP FOUR
Now that you have your Photoshop brush selection ready, go to EDIT > DEFINE BRUSH PRESET and simply give your new Photoshop brush a name. Open up a blank document in Photoshop and select the brush tool, click on the drop down menu next to where it says ‘Brush:’ and scroll right down to the last brush in the palette, which should be the one you just created! Select the brush and click on the little arrow at the top of this drop down menu and find where it says ‘Save Brushes...’ and save your brush to the palette.
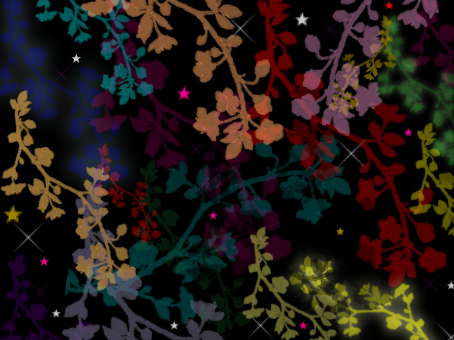
Now you know how to create a Photoshop brush, go experiment!
My Photoshop Brush
Digital Art Using Photoshop


