How To Make A Multicolored Glass Bracelet
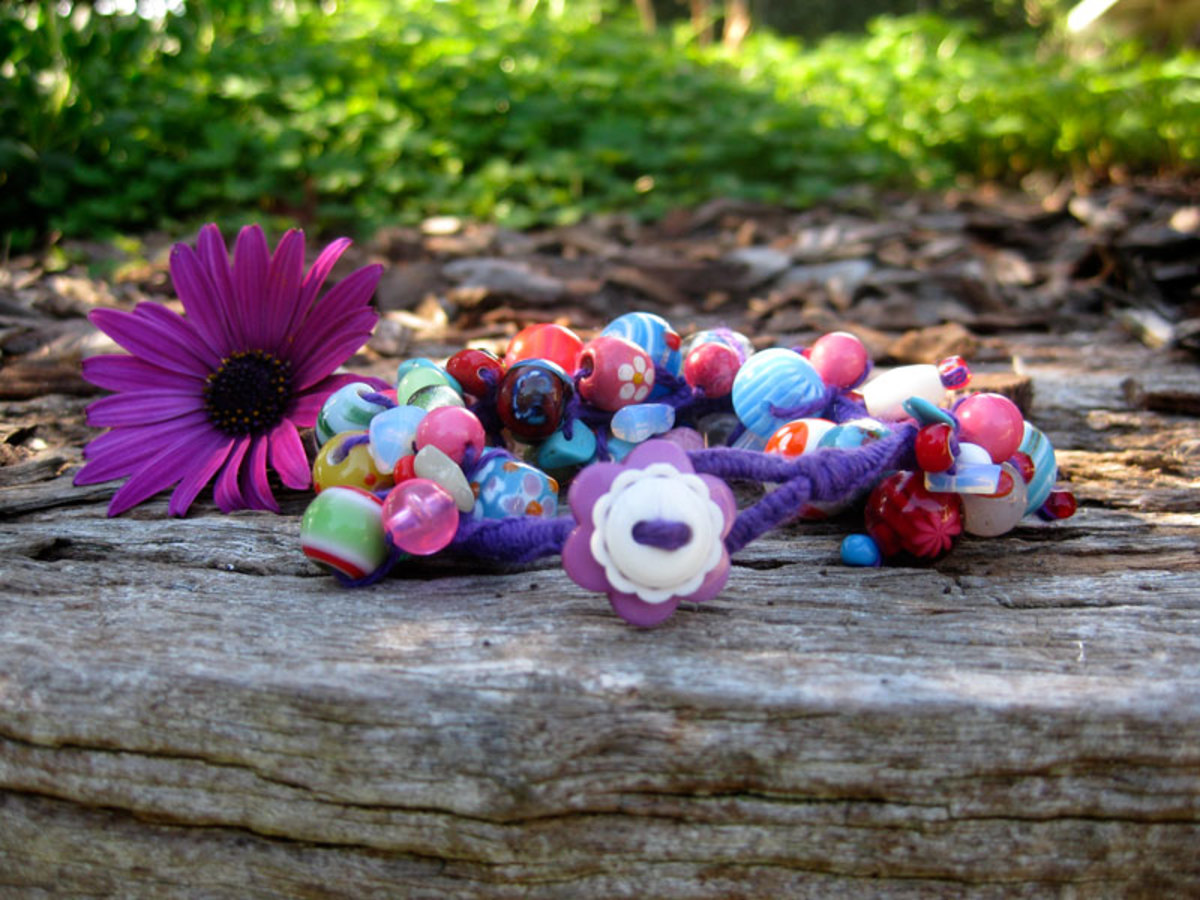
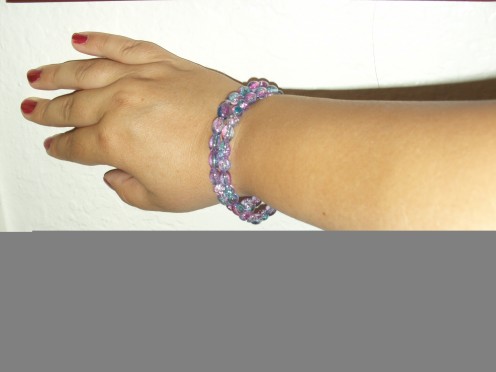
Are you on a quest to find affordable fashion accessories? Have you considered making a few yourself? Multicolored glass beads can be added to a simple and fun bracelet. For this piece, two simple bracelets are put together to create the illusion of a more intricate piece. A ruler was is used to determine the accurate circumference needed to go around the wrist of the person wearing the bracelet. Follow the steps below to learn how to make a one of a kind bracelet that will compliment many outfits in your wardrobe. The materials used for this project consist of:
- stretchy cord
- multicolored glass beads
- a ruler
- scissors
Step One: Begin Beading The Bracelet
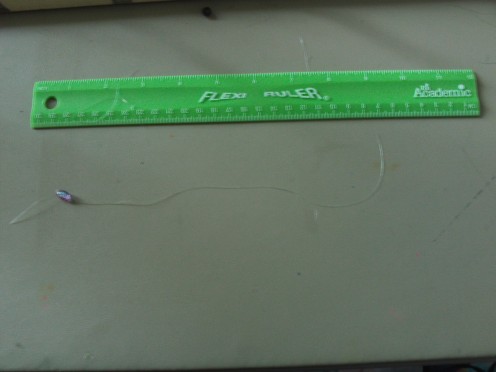
Use the ruler to cut off enough stretchy cord needed for making a bracelet. Approximately seven to eight inches are needed to go around my wrist, so I always cut off twelve inches of stretchy cord. The extra four to five inches of cording allows for easy tying off of the bracelet.
Step Two: Keep Adding The Beads
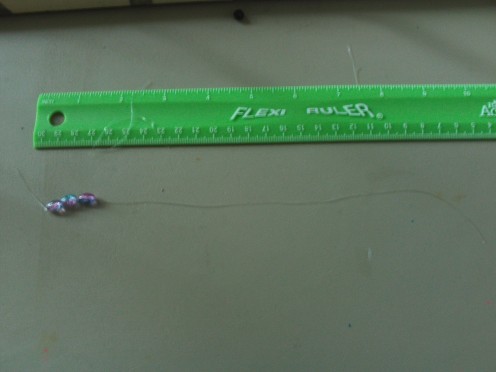
Keep adding beads to the stretchy cord. The ruler is used to measure the progress of the strand length, which should not exceed the circumference of the wrist. Using a variety of multicolored glass beads makes for an interesting bracelet. On this bracelet I randomly placed different shaped beads and did not follow an exact pattern, so feel free to mix it up when creating your own bracelet.
Step Three: Keep Adding Those Beads!
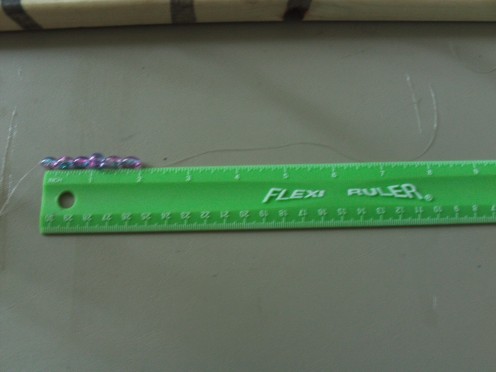
Basically every step in the process of making a bracelet involves adding beads and measuring the length of the strand. Pull the stretchy cord taught to get an accurate measurement.
Step Four: Watch The Bracelet Grow
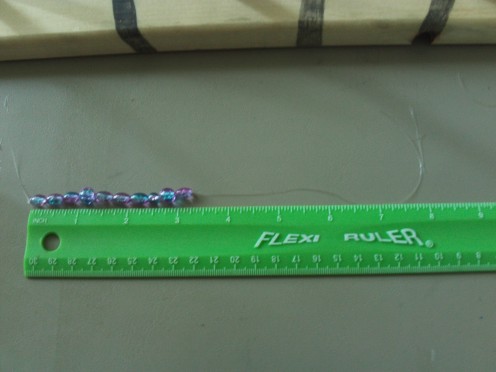
It is fun to watch the bracelet take shape and reach the desired length.
Step Five: The Strand Is Complete
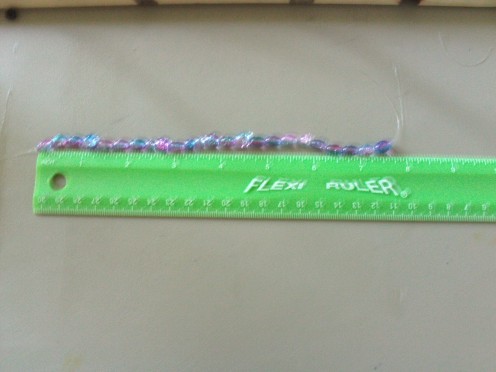
The strand is complete once it is long enough to go around the circumference of the wrist. This bracelet had to be around seven or eight inches to go around my wrist, so measure your wrist to see how long the strand should be as this varies from person to person.
Step Six: Tie Off The Bracelet
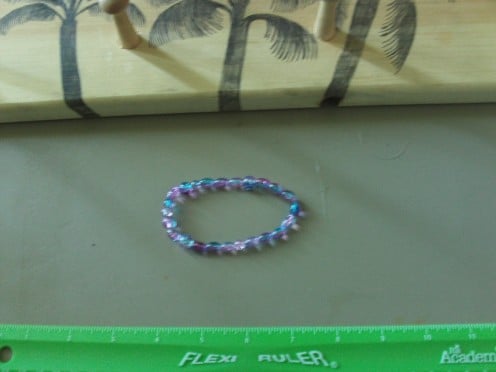
Slide the beads to the center and tie off the bracelet. Cut off the excess stretchy cord hanging off the knot. Now the first bracelet is complete and ready to wear, but a second bracelet will also be made as an accompaniment.
Step Seven: Make The Second Bracelet
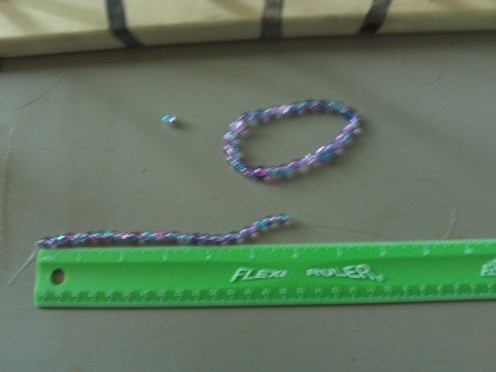
In this step make the second bracelet that will be worn with the first, which creates the illusion of a more complicated bracelet.
Step Eight: Put The Two Completed Bracelets
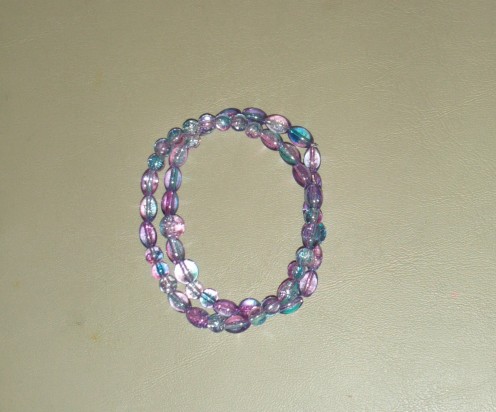
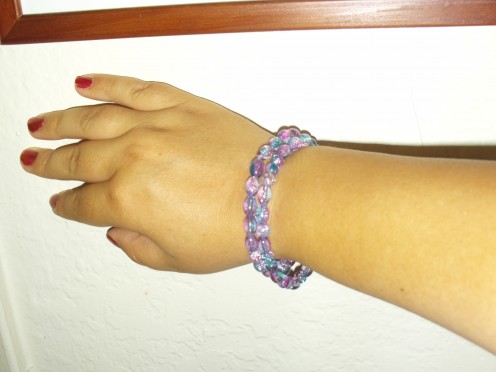
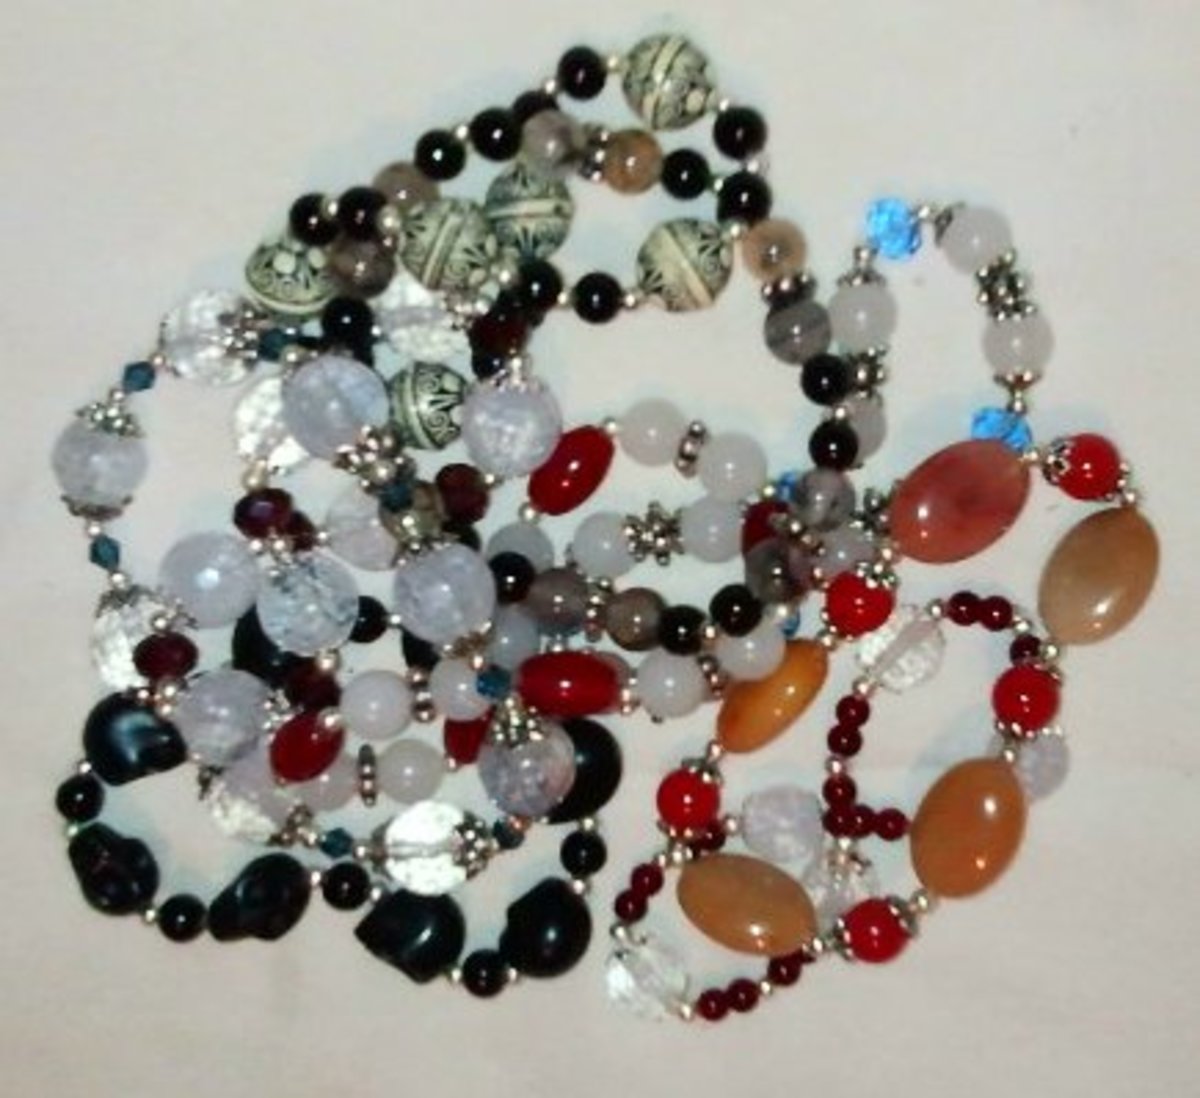
Together these multicolored beads look quite stunning and beautiful. Have fun pairing hand made bracelets with many outfits in your closet. Often a piece of jewelry can dress up an otherwise dull ensemble and give it new life.

