How to Make a Patio Bench
Introduction
Wood working is very therapeutic. The reason is simple. You are working with your hands. You are alone and in a garage and it is quiet. Your mind wonders. It does not require a lot of deep thought. It is basically a game of patience. You sand, and you apply stain and repeat...
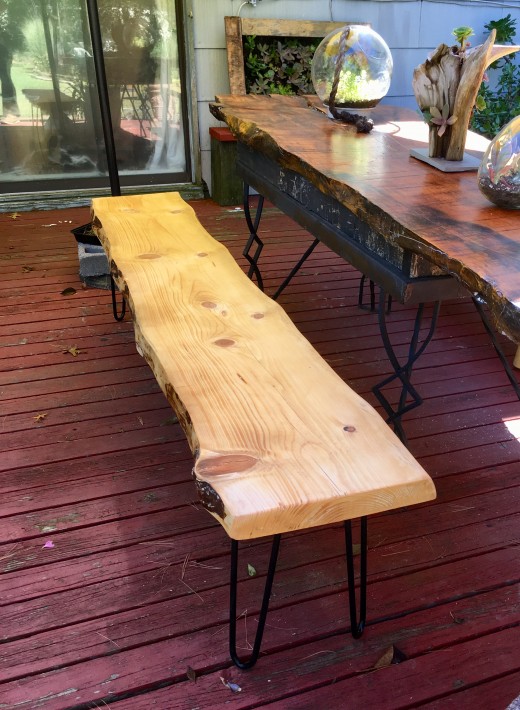
The end product is beautiful, it is functioning and it is unique.
- Sept. 2019
Tools Required
- Rotary saw
- belt sander
- rotary sander
- hammer
- chisel
- screwdriver
- level
- goggles
Materials Required
- Raw slab of wood (of Hemlock) in this case
- Steel hair pin legs (see Amazon link below for actual product)
- sanding papers (course 80 and fine 120 grade)
- polyurethane
- mineral spirit
- danish oil
- brushes
- masks
- Vinyl gloves
- screws
Step By Step Instruction
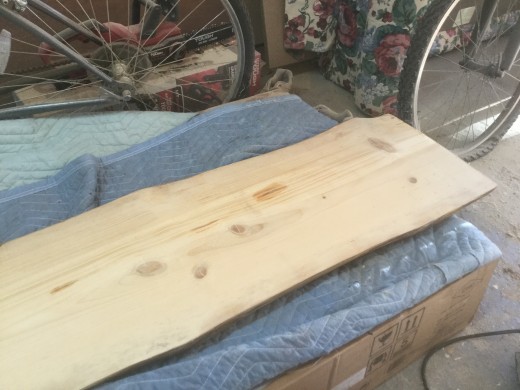
- Select the best surface for the top face.
- strip the wood using rough grade sandpaper and belt sander.
- chisel off the bark from the ends.
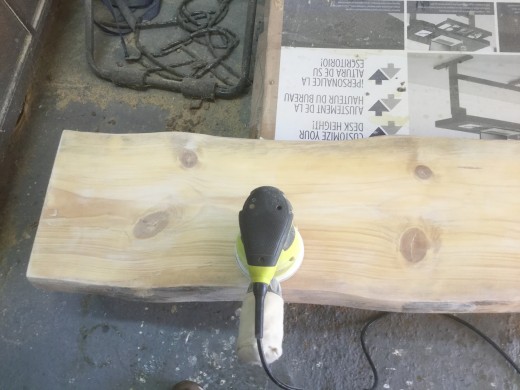
- Use rotary sander and smooth all surfaces.
- Apply polyurethane with brush
- sand lightly use fine grade sandpaper
- repeat steps 5 and 6 for 5 coats of stain
- Apply seal with mineral spirit and Danish oil
- mount the 4 hairpin legs with screws 16 inches high and .5 inch diameter
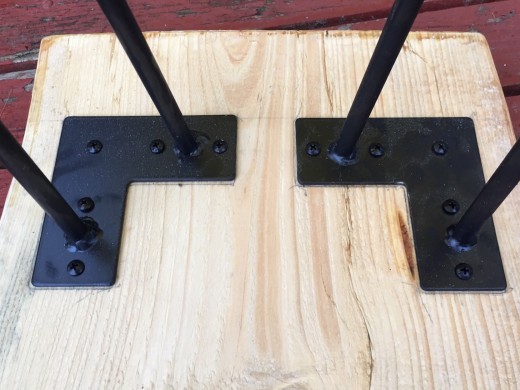
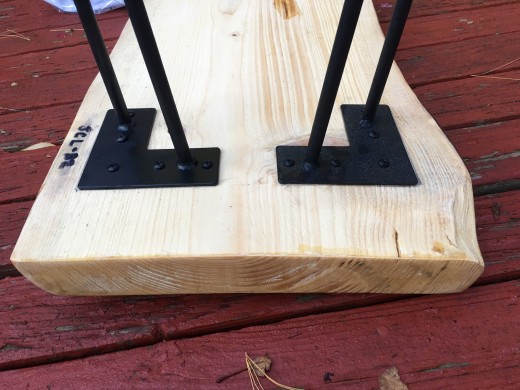
The Legs...
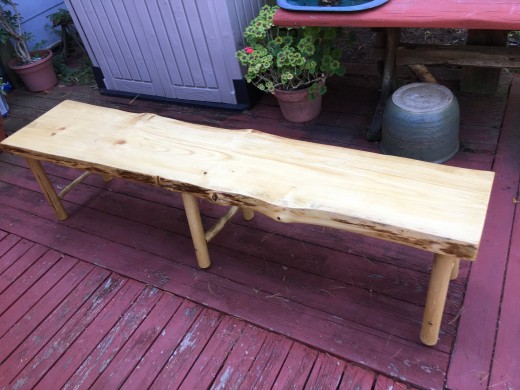
There are a few options when it comes to the legs. After a few trial, I decided to use a hairpin leg ordered from Amazon. It cost $30 and it shipped in one day. One of my early trial was with wooden dowel rods. Here is a sample photo.
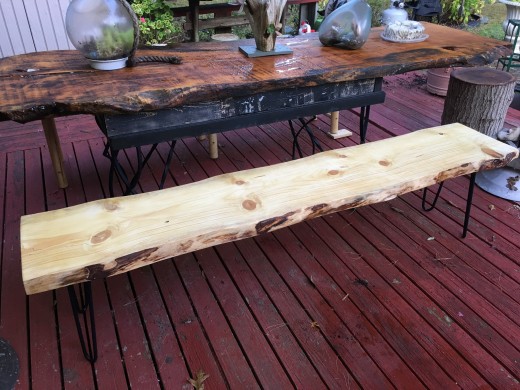
Some Tips...
Make sure the wood slab is dried before working on it. Usually the side with grain curving down is the top surface. Due to natural warping, you want the top surface to be like a dome. The bark will come off easy using a chisel and hammer. Be careful not to damage the wood underneath.
Select a good brush and place in paint thinner in between coats. Make sure the polyurethane is dried before sanding. When using the rotary sander, don’t apply too much pressure. Let the sander glide over the wood surface in a circular pattern.
Make sure all edges are rounded off.
Don’t worry about some cracking of the wood. Small cracks are inevitable. Just fill with polyurethane and let dry and sand smooth.
Use a clear satin finish to bring out the grain.
Make sure you wear goggles and mask when sanding and painting. Gloves is also recommended to avoid getting stain. Work in an open garage so the air is circulating.
Cost...
Total cost of materials - about $60 per bench, and 5 hours of labor, over 5 days.
Summary
This wood bench is very easy to make. It is beautiful and sturdy and functional. With a little patience, you can make a piece of outdoor furniture that will last a long time.
This wood is made of hemlock, a soft evergreen tree. Generally, the lighter the wood, the softer and easier to work with. The darker the wood, the harder it is and requires more work to sand and finish.
Some Related Info
- Hairpin legs
Various sizes and colors available at reasonable prices.
This content is accurate and true to the best of the author’s knowledge and is not meant to substitute for formal and individualized advice from a qualified professional.
© 2019 Jack Lee


