How To Make New Soap From Old Soap
Why Save Your Soap Scraps?
When slivers and scraps of bar soap get so small they bend and slip out of your hand it can be frustrating. Many people just toss them out and open a fresh bar big enough to hold onto; but did you know that you can combine your soap scraps and turn them into a larger bar?
Save money by combining those slivers and scraps! When every penny counts, this is a great way to cut expenses. Depending on which container you use, your newly remodeled soap can be even prettier than the original bars it was made from.
Soap is something we use every day. It keeps us clean, helps wash away the dirt, grime, and germs; helps us smell better, and is considered an essential of living. Any time you can cut the costs in an area of essential living, it’s a good thing.
What You Will Need:
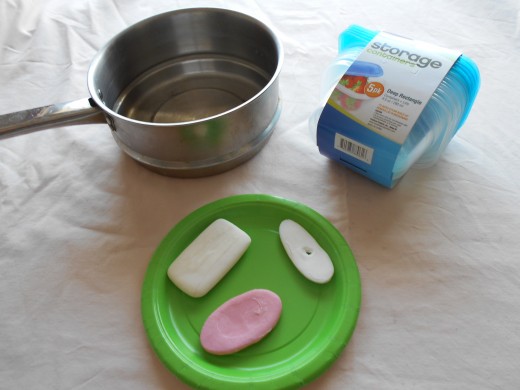
- A sauce pan
- A spoon
- Scraps or slivers of soap
- A small container (preferably bendable plastic)
- A knife or vegetable peeler (optional)
- A cutting board (optional)
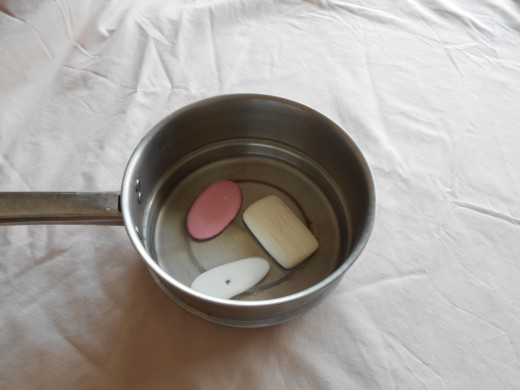
Getting Started:
Place your soap scraps into the sauce pan with enough water to cover the bottom. *The purpose of the water is to prevent your soap from burning.
Place your sauce pan over a medium heat and allow your soap to melt and/or become pliable.
If your scraps are larger you may want to cut them into smaller pieces or use a vegetable peeler to shred your soap into curls. This will shorten the cook time needed to make your new bar of soap.
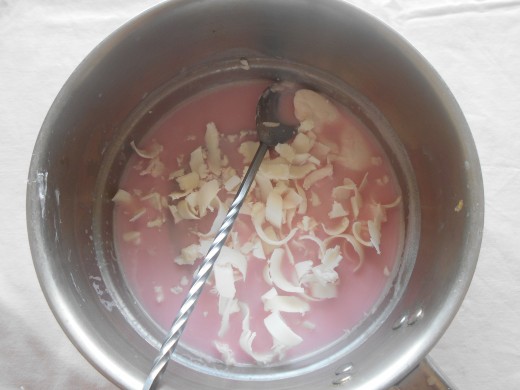
Not All Soap is Created Equal:
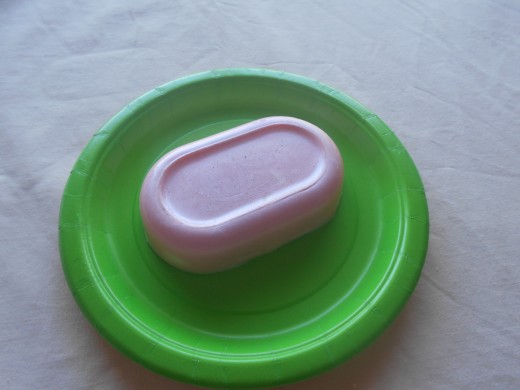
Keep in mind that not all soaps are made the same way or with the same ingredients. In the above image the pink soap being used for this tutorial is a glycerin based soap, which melts at a lower temperature than a standard bar soap.
In the event that the soap you are using does not melt completely back to a liquid form, all that is required is for it to become soft and pliable. The clumps of hot soap can be pressed into your mold and left to cool/harden into a solid, larger bar.
Combining both glycerin and standard soap together will result in the images displayed in this tutorial giving a textured appearance.
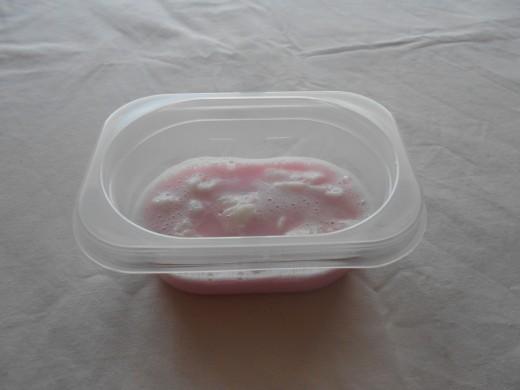
Creating Your New Bar
Once your soap has melted, pour it into the clean container you have chosen to use. In this tutorial the container being used is a small disposable Tupperware container purchased at a dollar store. The plastic is thin and the sides press in easily with little pressure. This type of container is ideal as it allows you to pop your soap out of the container once it has set with minimal effort.
Set your soap filled container aside and allow to cool completely. If you are in a rush, you can always put the container into the refrigerator or freezer to speed the process.
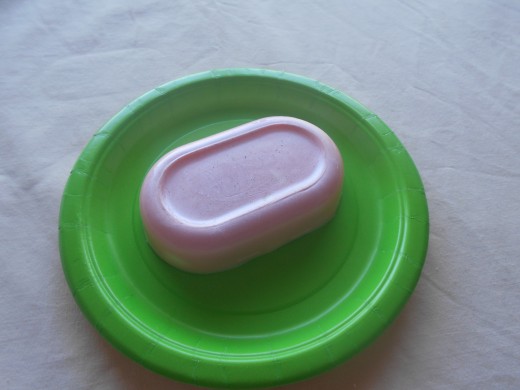
Pop Out and Enjoy!
When your soap has completely cooled it is ready to be removed from the container. Simply press the bottom of the container while holding it upside down. Your soap will pop out of the container and into your hand or on the surface below.
You've just turned those pesky, irritating little slivers of soap into a beautiful new bar of soap you can be proud of.
I hope you have enjoyed this tutorial in how to refurbish your bar soaps. Have a fantastic and thrifty day!


