How to Make a Bowl From Two by Fours
How I Got Started
How I got the idea to make this is a bit of a long story. If you're only interested in knowing how to make them feel free to skip down to the section "How to Prepare the Candy Bowl Blank".
It started with a chocolate bar selling fundraiser my kids put together to try and raise money to buy an educational CD for their homeschooling. They really wanted it but we couldn't really justify buying it. They found a company that would provide the chocolate bars and worked very hard selling them door to door in our rural community. The excess stock was returned as per the supplier's policies. When all was said and done they made very little for an impressive effort. We bought them the CD anyway but couldn't help thinking there had to be a better way.
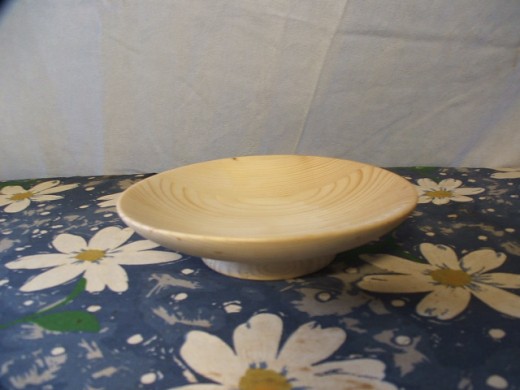
I came up with the idea of turning small six-inch shallow bowls from our two by four cutoff scrap pile, having my wife make homemade candy, wrapping them in cellophane with a bow and then selling them on the corner of my desk at work. They sold far better than I expected and soon I was selling them on consignment through a local hair salon. They sold so well leading up to Christmas that my scrap pile ran out and I had to start buying material to fill the demand. Sales continued into January the following year and then slowly dried up. Considering that my market was a rural hick village the results were impressive.
How to Prepare the Candy Bowl Blank
Step One
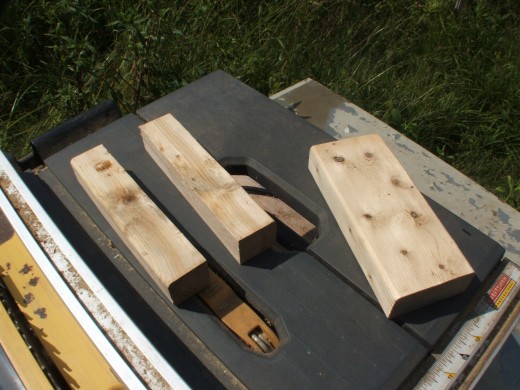
Cut two six-inch pieces of two by four. Split those two pieces down the middle lengthwise making four pieces roughly six inches long, one and three-quarter inches wide and one and a half inches high.
Step Two
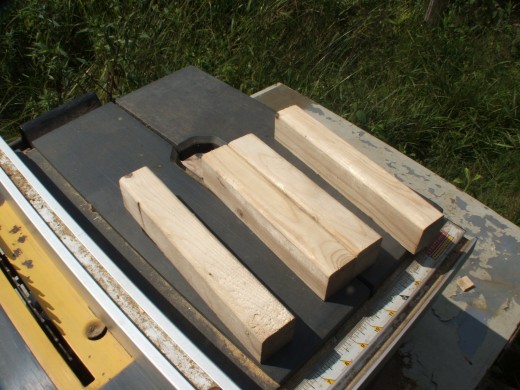
Take two pieces cut from the same section and place them side by side with the saw cut side down. Then place the other two pieces on either side of them in the same orientation. Glue and clamp them in this configuration trying to keep the blank as square and flat as possible.
Step Three
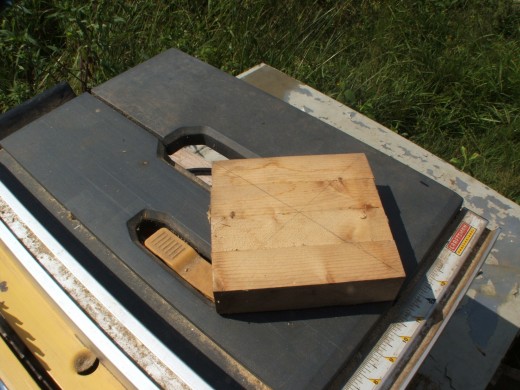
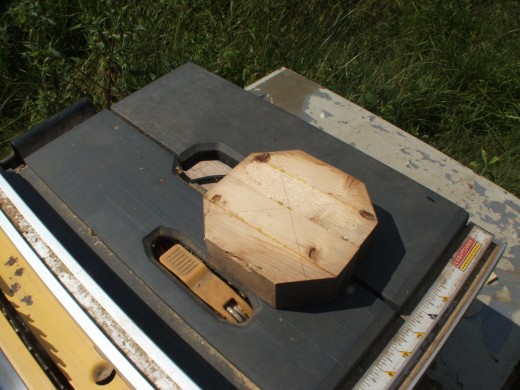
Once the glue has cured you can take your blank out of the clamps. At this point, I will mark an x on my work with a pencil from corner to corner. If you have a faceplate with four or eight screw holes this is the best way to center your faceplate on the blank.
Before screwing my faceplate into place I will cut off the corners of my blank giving it an octagonal shape in the name of saving wear and tear on my lathe chisels.
If you only have a faceplate and no chuck, attach it to the flat side of your blank. All your turning will be done in that orientation.
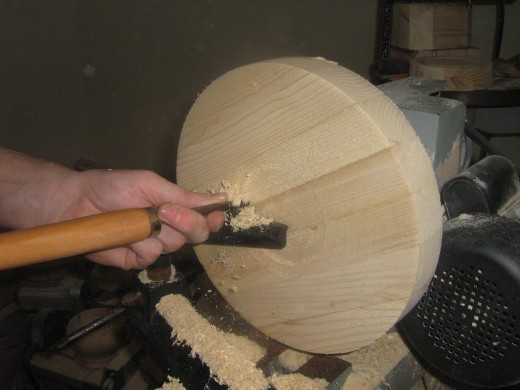
I have a chuck so I start out with the opposite face of the blank attached to the faceplate. I will turn the bottom of the bowl first, take off the faceplate, flip the blank around, mount it in the chuck and turn the inside of the bowl.
Turning the Candy Bowl
Make sure your tools are sharp before beginning. Spruce two by fours are prone to chips and tear-out. How you design it is entirely up to you. My only recommendation is that you keep your design fairly simple keeping the limitations of this kind of wood in mind.
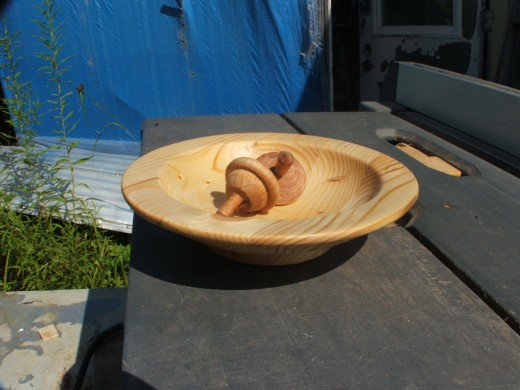
Take a look at the short gallery below showing some of the bowls and bowl style candle holders that I have turned from these blanks.
More Turning Ideas
For me, a six by six by one and three-quarter inch wooden bowl blank will always be called a candy bowl blank. From a woodturning perspective though this is only a beginning point. Sure you can turn a virtually unlimited number of different little bowls out of it, but there are so many other things that you can make.
Very early on, someone suggested I start making the same sort of thing into candle holders. I embraced the suggestion and made a line of candle holders which customers did buy. Then I turned one into an egg cup with a wide brim just for fun. I really like it. I have a spot to put my eggshells without putting them on the table or the plate I'm eating off of. I've also turned these same blanks into bases for low pedestal display plates and platters. How many different things do you think can be turned from this one bowl blank?
If you can see beyond the size limitations and realize that you can them larger and/or thick, you may start to glimpse how far this can take your woodturning.
All I can say is take this and run with it. It is my intention to do additional articles on pieces that can be turned expanding on the work in this article. If you elect to make stuff based on this article, I'd love to see it or even just hear about it.
Turning a Small Bowl
