How To Use Picmonkey To Make Awesome Images
Picmonkey is one of the quickest and easiest ways to edit images to use on your online content. It's free (or $5/month for a few extra features), very quick to learn and requires no downloads.
The layout is simple; once you upload an image to Picmonkey, a menu of 8 options appears on the left hand side. Mouse over each option to see a description of what that section contains.
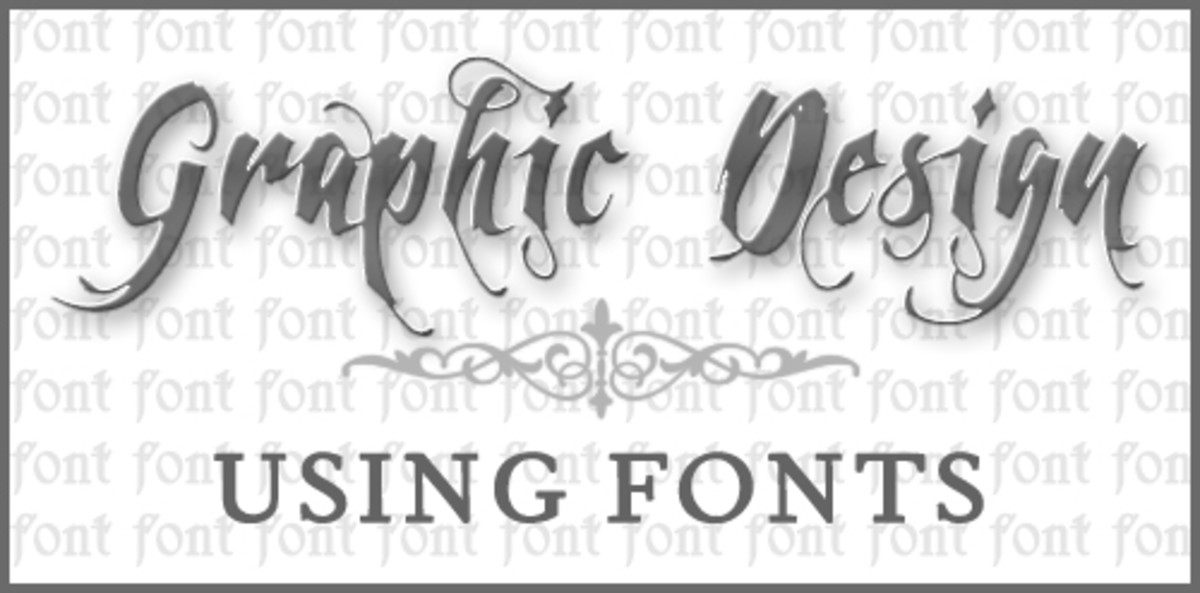
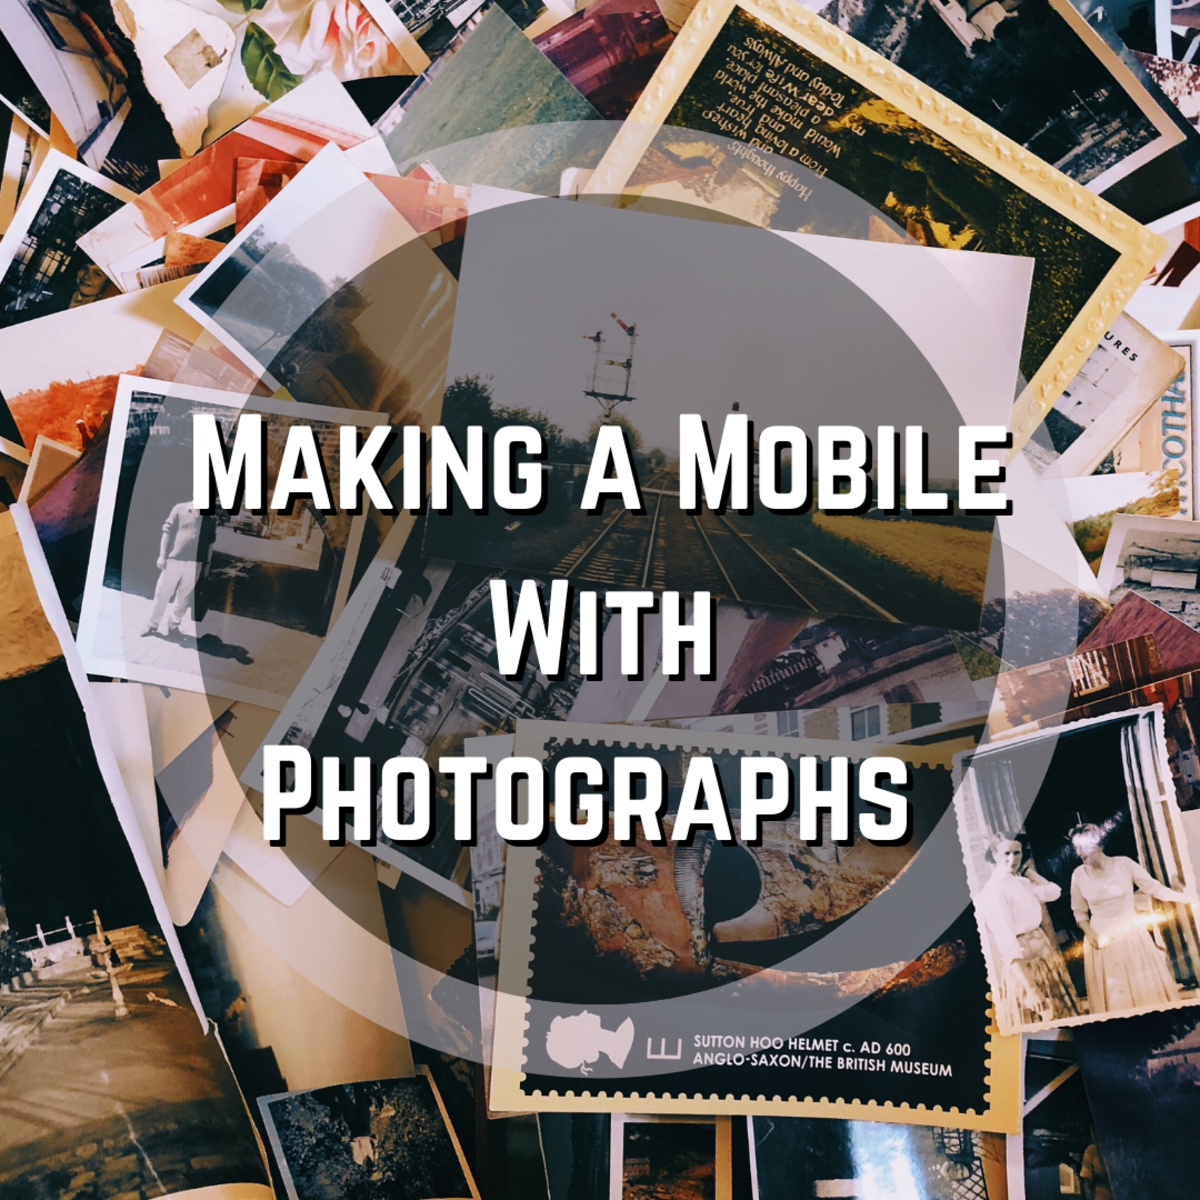
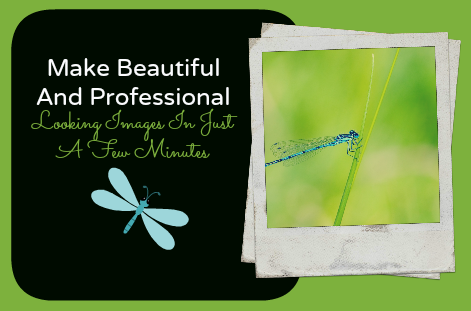
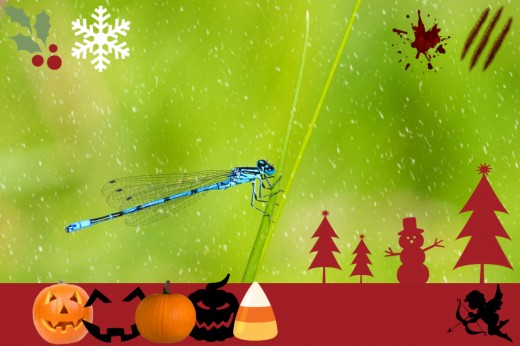
Below is an image I made in just a few minutes, using a free use image off Pixabay.
After that, you'll find a quick walk through of some of the awesome options you have for image editing. If you haven't already, give Picmonkey a try!
I have been using Picmonkey for several years to create MFP (Made For Pinterest) images for my content. In that time, I've generated hundreds of thousands of Pinterest pins. Read how I did it.
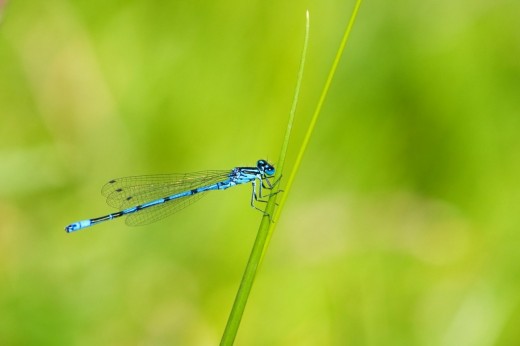
The majority of Picmonkey's editing tools are free, however to access them all, you can pay an optional $5/month membership fee.
It's well worth the price if you need regular quality images, however.
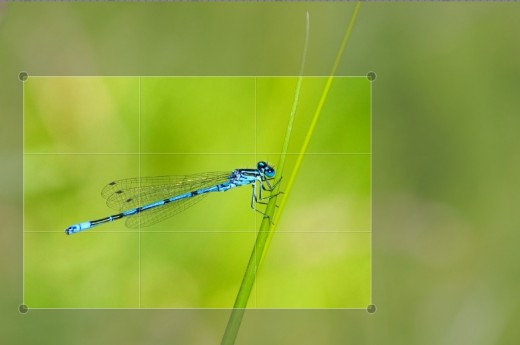
Section 1 - Basic Edits
In this section you an do all the basics of cutting out parts of an image you don't want (cropping), resizing images (we recommend starting with a big image and sizing down), rotating and sharpening colours.
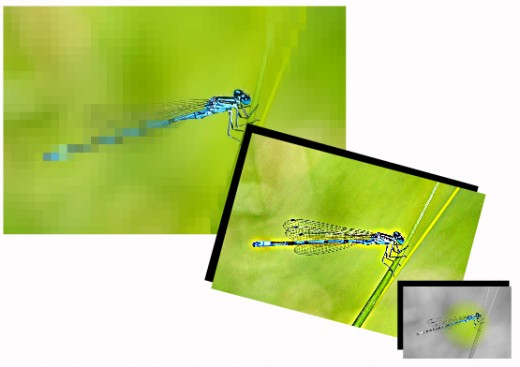
Section 2 - Effects
In this section you can do amazing things with images - anything from soften, pixelate, to black and white with colour, HD effects and more. All effects can be added with just one click of a button, or you can change the focal point, colour and more.
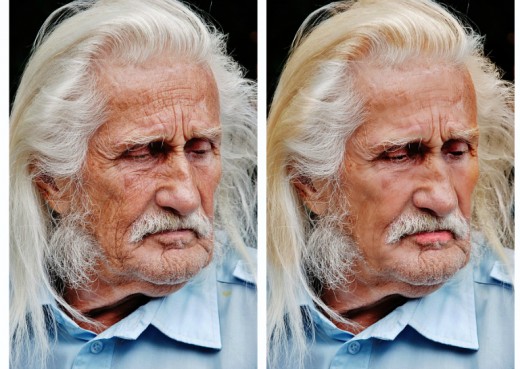
Section 3 - Touch Up
This section is a great way to fix up photos. It includes tools for airbrushing, teeth whitening, removing red eye, getting rid of wrinkles, adding mascara, hair highlights, lipstick and more.
Section 4 - Text
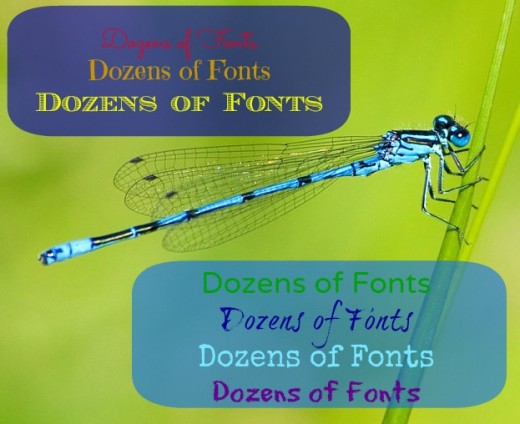
This section is just what it says - all about text. You can add text to your image in a huge number of styles as well as change the colour or size as you wish.
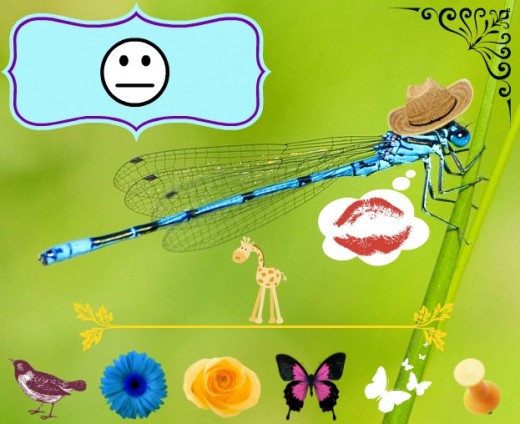
Section 5 - Overlays
Overlays are simply images you can use in any way you wish to enhance your main image. They include banners, buttons, boxes, circles, basic icons (hearts, stars, arrows, speech bubbles) and a whole lot more.
Section 6 - Frames
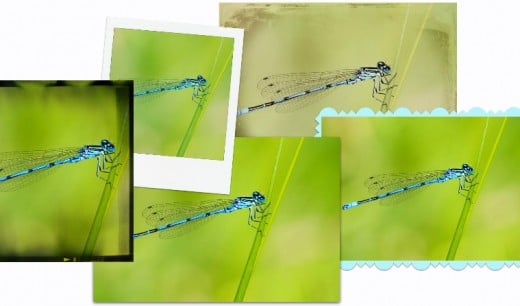
Frames are borders that can be added to your image. You can change your image border through a range of fun effects, including photo frames, drop shadows, fancy cutouts and lots more.
Section 7 - Textures
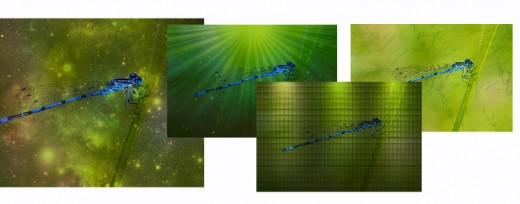
Textures are overlays that can change the overall look of your image. There are dozens to choose from including stars, writing, old paper, metal, bricks, smudges and more. You can also upload your own.
Section 8 - Themes
Themes are sets of editing tools all grouped by topic, instead of what they do. Some of them are featured in other sections, which you can also find some new effects here. Theme sets include Halloween, Christmas, Romance, Vampies, Zombies and more. You can find overlays, textures, cutouts and effects specifically related to each theme.
More Great Tricks For Creating Awesome Easy Picmonkey Images
Flip
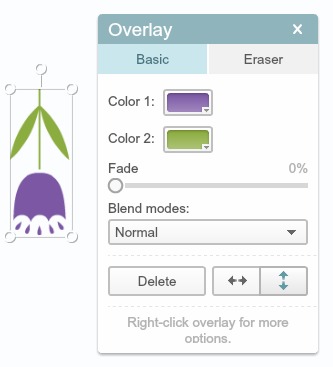
Using the editing box that appears when you've selected any inserted object or font, you can use the flip buttons to flip the item side to side or even upside down.
This is useful if you want to use the same image several times, without making them look exactly the same!
Color Dropper
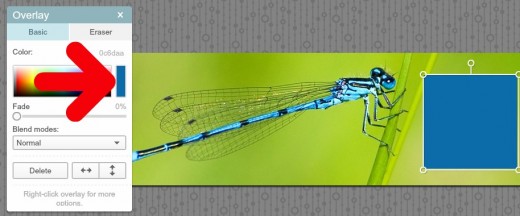
Click on the colour box in the editing box for an an item you've selected and your mouse will turn into a colour dropper. Click anywhere you'd like to match a colour, and your item will change into that particular colour - a great way to match objects to your business theme colours and logos!
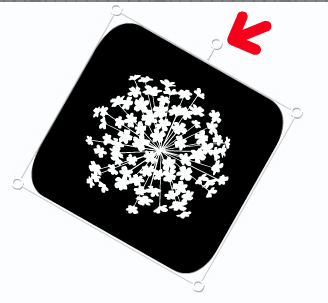
Using the circle at the top of an active item, you can drag and spin the item to any angle or direction you want.
This can come in useful for changing the angle and layout of your picture or scattering text and images haphazardly if you want to avoid straight lines!
You can also use the dots at the four edges to make the item bigger or smaller.
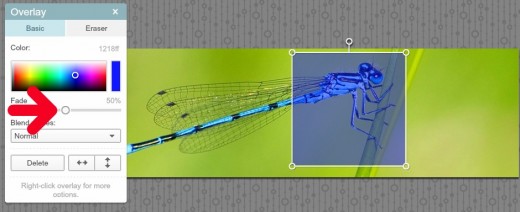
Fade
In the editing box, there is a draggable dot to increase or decrease fade. You can use this to add boxes or images over the top of others, while still displaying them underneath.
Another Tip: Right click on any selected image or text on your screen and you have the option to do things like duplicate it or send it to the front or back of other items you're working with!

