How To Use The Mode Dial On A Digital SLR Camera
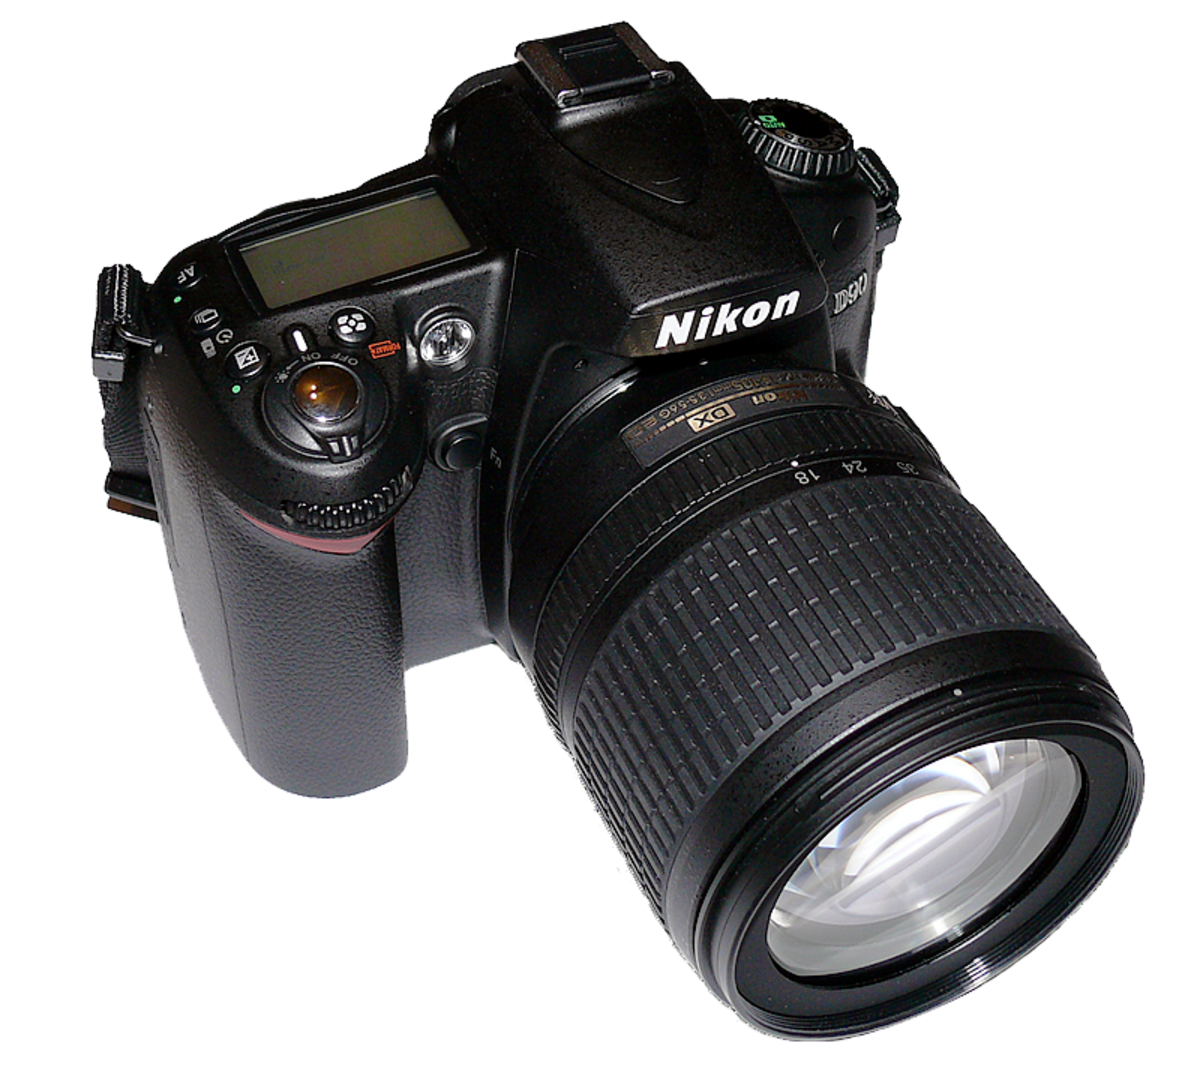
The large circular mode dial on top of your camera is one of the first controls you will notice. The dial lies at the very heart of the creative options of your DSLR. It is here that you can start to take control over key aspects of picture taking, such as the aperture and shutter speed settings, when making exposures.
On your dial there are many different letters and pictures. Each one has it's own settings. Here's what each one does and how it works for you in taking pictures.

Auto
The auto mode is the only green one on your dial. It will have a picture of a camera, say Auto or have just a green box (like mine does). In this mode the camera takes control of most of the exposure settings for you. It sets the lighting, the flash, the focus, etc. Some models also lock settings such as the autofocus, ISO and exposure compensation. Although the mode is great for happy snaps, if you want to learn how to control exposure it is best to avoid using Auto mode from now on.
I use Auto mode when I'm in a hurry to take a photo. When it's something that I know is going to move or only last a second and I don't already have my camera out and already taking pictures, I just turn the dial to auto, turn on the camera, and snap my shot. Most of the time it turns out as a good picture (just not perfect).


Scene Modes
These modes are very functional for many different reasons. These fully aoutomatic modes are normally indicated on the mode dial by small icons showing different photo subjects such as: sport (the little running guy), macro (picture of the flower), landscape(picture of a mountain), day portraits (picture of a persons head), night portraits (picture of a persons head in a square with a star), and no flash (a box with a lightning bold with a line throug it). These modes are popular with many DSLR usuers as they offer the most foolproof way of getting appropriate settings for a whole range of subjects, without having to think about it. Instead, using these modes instructs the camera to select subject-specific values for shutter speed and aperture etc, according to how the manufacturer has programmed the camera. If you want to learn more about photography, it is best to avoid these modes as well.
I use these modes when I am curious at how my camera sets it's self up. I will take a picture in micro, check the settings of the picture, and then change to another mode and make a few adjustments from what the micro mode told me. It's another way to learn how to use your other modes.
P - Program Mode
This mode is similar to Auto mode, in that it sets the shutter speed and aperture automatically, but does allow you a little more creative control. On most cameras you have control over settings such as exposure compensation and autofocus, plus you also have limited control over the combination of shutter speed and aperture the camera will use. Although this gives you some control, it is still not ideal when you are learning about photography.
TV, T, or S - Shutter-Priority
This mode is usually indicated by a T or Tv (Time value), this semi-automatic mode allows you to select the shutter speed manually but tells the camera to automatically select the correct aperture. This gives you control over how subjet movement is recorded. It can be frozen sharp or allowed to blur. It also helps you to avoid camera shake.
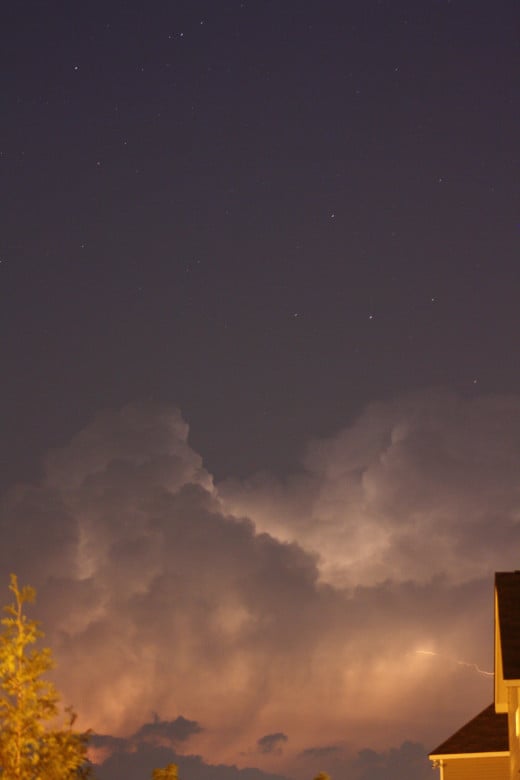
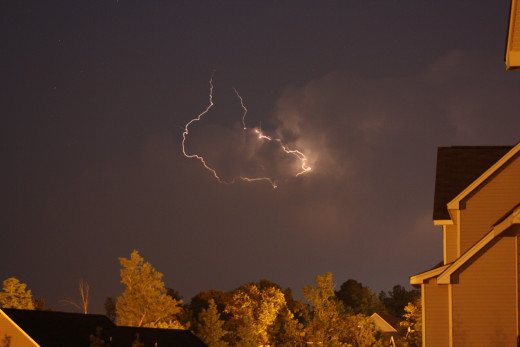
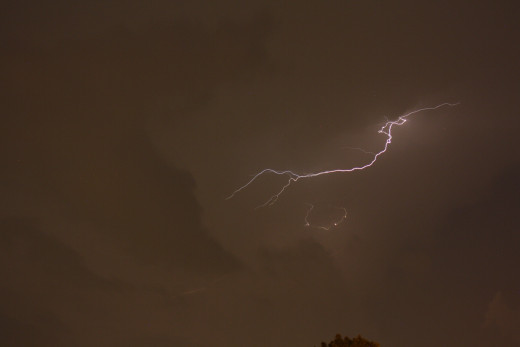
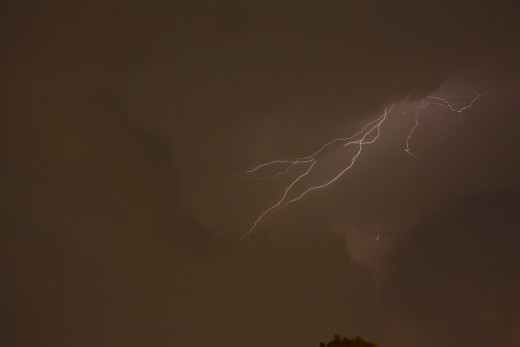
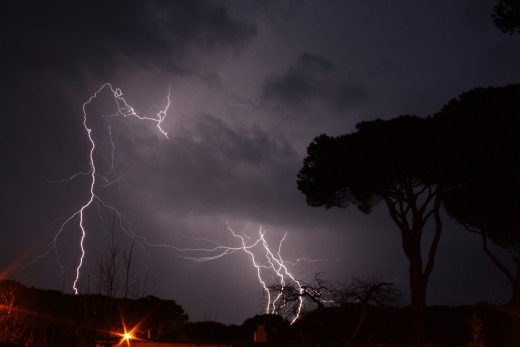
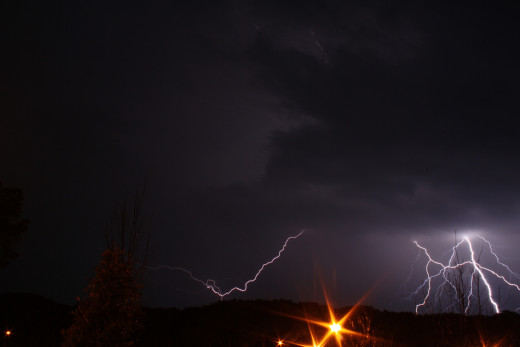
This is the mode I use when I'm taking lightning pictures or pictures at a race track or sports game. With the slow shutter speed I can set the shutter speed to a slow setting such as 30 seconds and get many different lightning strikes in one picture. You can also use the slow shutter speed to turn moving water into a soft blur. With a fast shutter speed you freeze an action shot like the perfect kick in soccer to make the goal or a dirt bike jumping a hill on a dirt track.


Av, A - Aperture-Priority
This semi-automatic mose allows you to select the aperture manually, but tells the camera to automatically select the appropriate shutter speed to make a correct exposure. This gives you control over the amount of the image that will be in sharp focus, which is known as depth of field. This is probably the most useful semi-automatic mode to master when you are learning how exposure settings affect your images.
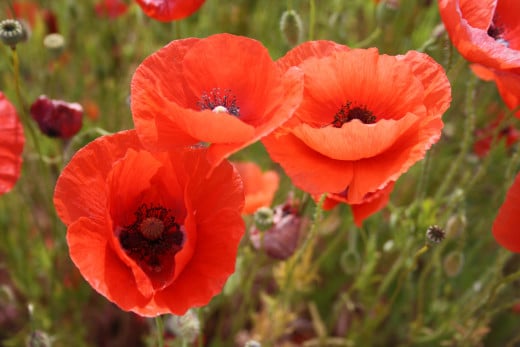
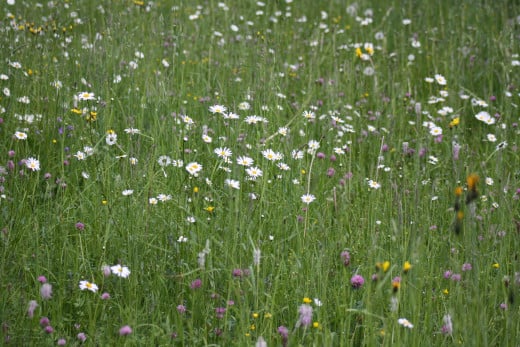
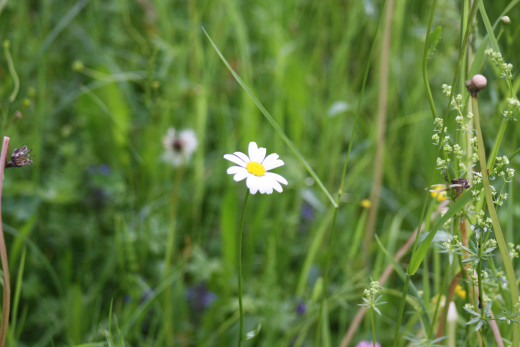
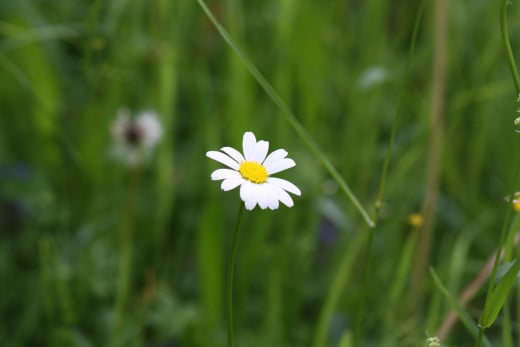
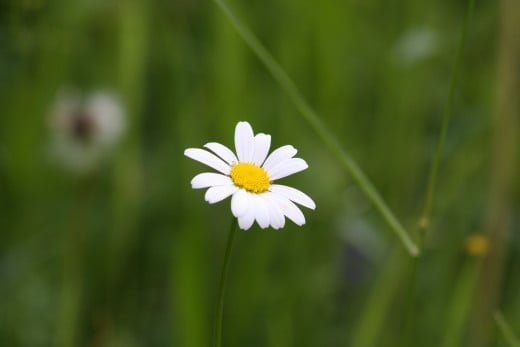
This is another mode I use alot. With a wide aperture such as f/2.8, you have the effect of minimizing depth of field by rendering only a small section of the image in focus (or sharp) and the rest will be blurred. With a narrow aperture such as f/20 the zone of sharpmess goes through the whole picture.
M - Manual Mode
With this mode you have to set both aperture and shutter speed yourself. Because of this it is probably best to leave this mode alone until you have mastered the controls in the semi-automatic modes.
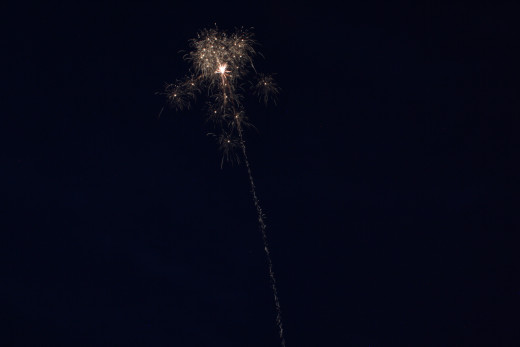
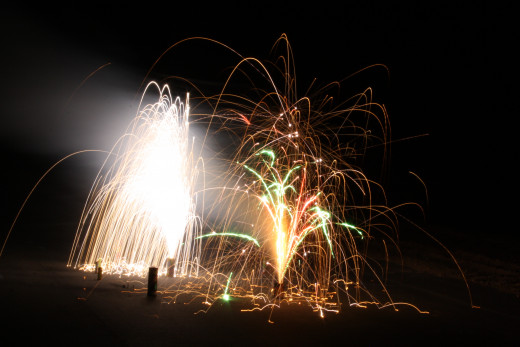
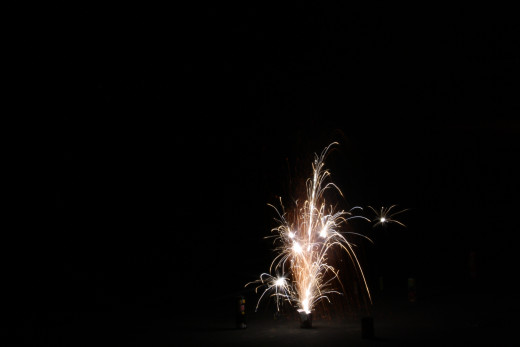
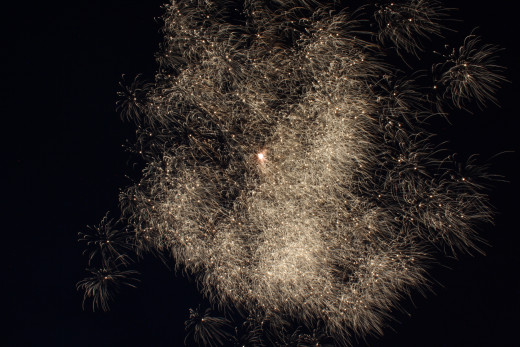
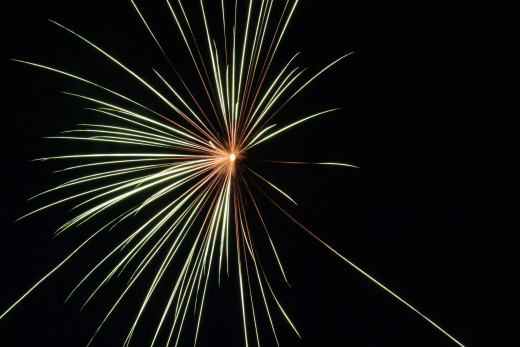
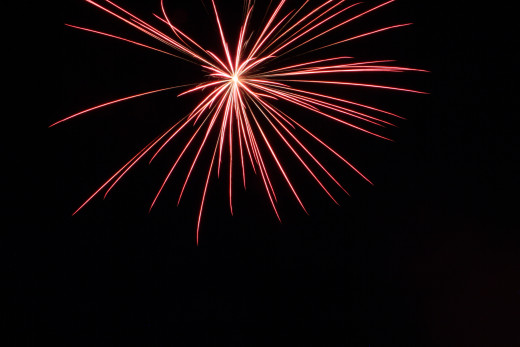
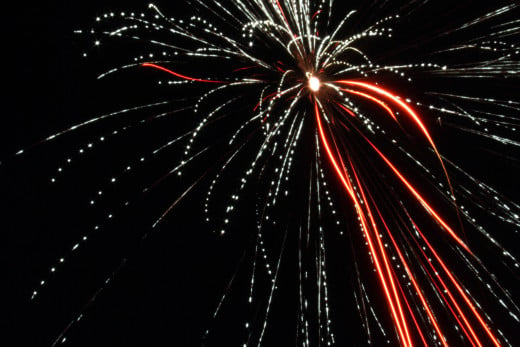
I don't use this mode a whole lot but I have learned how to take some incredible firework pictures with it. The hardes part about doing this is you have to know what needs changed in order to get the perfect picture as fireworks don't last that long so moving fast is a must as well as keeping the camera steady. Challenging, yes, but worth the effort to get the perfect shot.


