How To make The Beer Can Man.

Items Required.
* 5/8" wooden dowel round.
* 3/4" wooden dowel round.
* 1-3/4" wooden dowel round.
* 3/4" x 3/4" wooden square rod.
* 1/2" x 1/4" wooden rod.
* 1-1/2" x 1/8" wooden flat stock.
* bailing wire.
* 2 beer bottle caps.
* 1 rubber band.
* All purpose glue.
* 16 small nails.
* 2 long finishing nails 2" long
* Drill and small drill bit that is just smaller than the 2" long finishing nails.
* 2 beer cans empty.
* 2 small glue on eyes.
* scisors, hammer, file, chisle, razor knife, finger nail polish or paint.


Creation of the beer can man.
First thing we nee to do is cut all our peaces to their proper lengths and widths.
1. The Hat: Using the 5/8" round wooden dowel cut 1 peace 3/4" long, with small drill bit. Drill a pilot hole in the center for a small nail to go in. For the bottom of the hat use the 3/4" round wooden dowel cut 1 peace 3/16" , locate and mark the center. Place both pieces to the side for right now.
2. The Head: Using the 1-3/4" round wooden dowel cut one piece 1/2" and put a flat spot 1/2" long for the bottom of the head. This is where you get to be a little creative. add eyes, ears, nose and mouth, you can also draw them if you wish. Remember this is your flasher.
3. The Neck: Using 3/4" wooden dowel cut one piece 1/4" long and mark the center and drill with a small drill the pilot hole.
4. The Shoulders: Using two beer bottle caps drill a small hole in each center of the caps.
5. The Arms: The wooden sticks from the hobby shop 1/2" x 1/4" cut two pieces into 2 1/2" long. Round the edges on one end and then drill a small hole at the top a little way's down to make the shoulder for both pieces so they can be attached to your flasher.
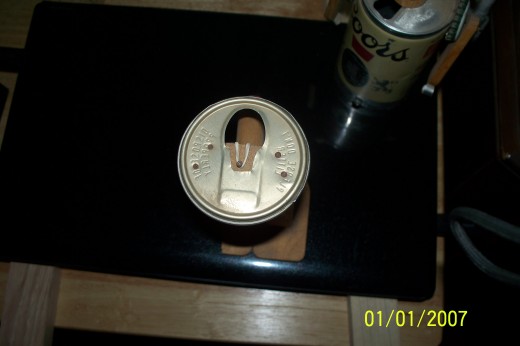
6. The Body: One empty beer can of your favorite brand, placing the name to the front, mark a center line to align the head and the arms. Next cut the bottom of the can off at the edge, discard bottom. The waist you will need another empty beer can on this one you want to cut the top off at the bevel edge. Save the top and discard the rest of the can.
7. The legs: 3/4" x 3/4" square wooden sticks cut 2 pieces 5-3/4" long and 1 piece 3/4" long. Drill pilot hole on one 5-3/4" leg 1/2" down from the top and centered on leg. On the other leg drill pilot hole 1-1/2" from the top of the leg and centered. Take 1 long finishing nail and attach both legs together at the top using the 3/4" x 3/4" piece you cut out. With the can top you cut out place it upside down on the legs and center so the hole in the can is also centered to the front of the legs for the rubber band to go through. Using 4 small nails attach the top to your legs. With another nail place it in the center and leave about 1/4" sticking up for the rubber band to attach to.
8. The Feet: Using the 1-1/2" x 1/8" wooden stick cut 2 pieces 2-1/2" long and round the corners to create the feet. Mark the center of both feet and with small nails attach to the bottom of the legs.
9. Male Member: ( optional ) This is the one piece that makes your beer can personal. With the 5/8" wood dowel round cut a piece 3" long. At the back end drill a small hole to put the long finishing nail through ensure the nail moves freely in the hole. This is the pivot point. Cut two small angle grooves 3/4" from the back end for the rubber band to attach and animate your male member. Next its all about your imagination on what your member will look like by sanding and carving the front end. When done place between legs and use long finishing nail to attach member to legs. In the pilot hole on the leg that is 1-1/2" place nail through hole and member and hammer nail into other leg. Place rubber band on nail through hole in can top to the nail in the center that is sticking up about 1/4". Take rubber band slide it over top the member and hook it under into grooves to make male member stand up.
10. Putting it all together: Take the lower half and slide it into the upper half making sure it moves freely inside. Turn lower half so it lines up with the face of the upper half. Take 3 small wood screws and place them 1/4" up from the bottom of the can and equally space them. This will keep the lower half from falling out when picked up.
Hope you enjoy your completed Beer Can Man.


