Automotive Photography Guide: Panning Shots
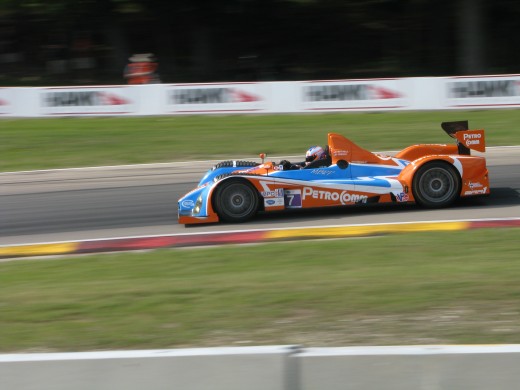
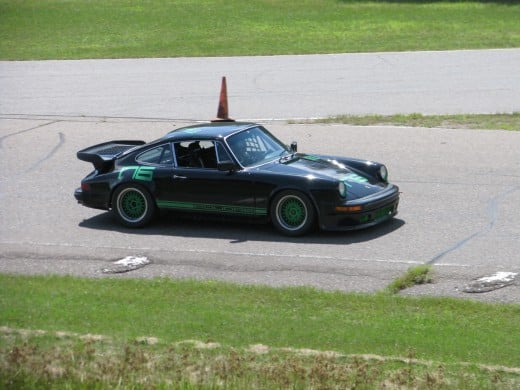
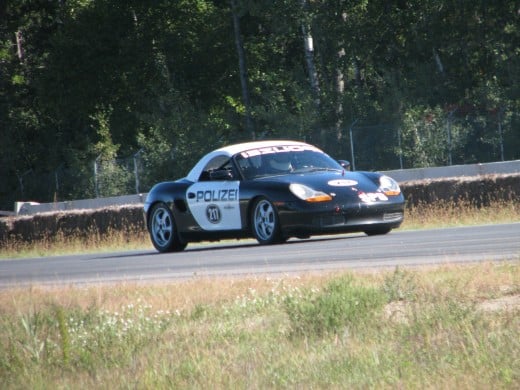
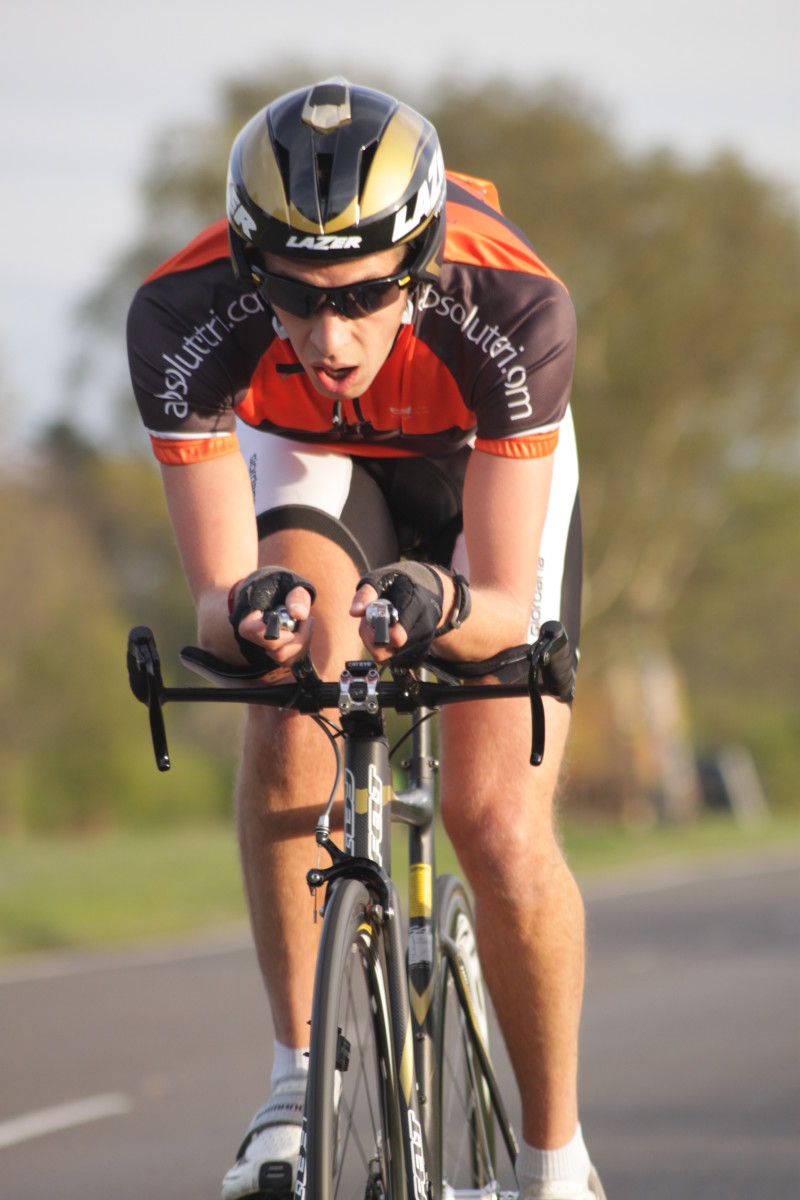
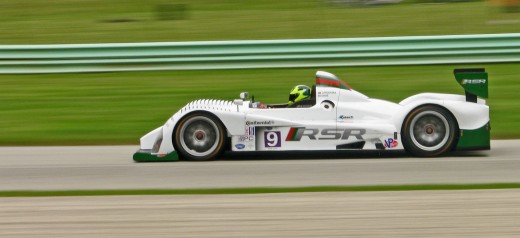
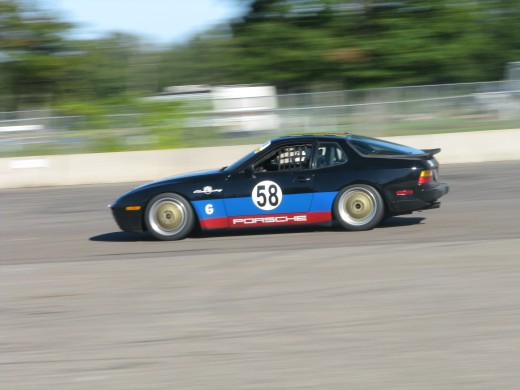
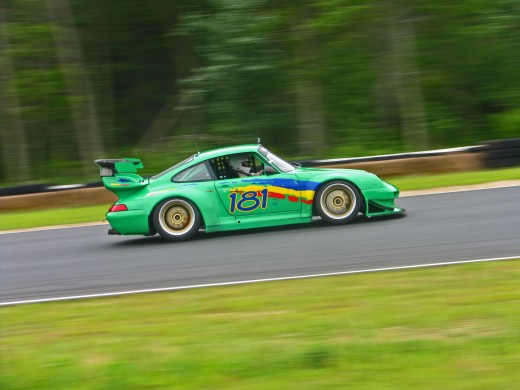
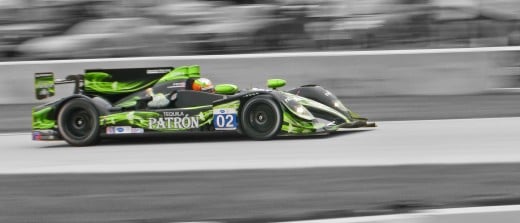
One of the most important types of shots for a motorsports photographer is the “panning” shot which captures the car in perfect focus with a blurred background. This gives the viewer the impression that the subject is moving at high speed. Anyone can capture a clear photo of a race car on track- what separates the average Joe from a better photographer is the sense of motion in the shot as opposed to capturing what looks like a car parked on track.
In order to have motion blur in the background, you’ll need a slow shutter speed. That means the camera is “looking” through the lens for a longer amount of time. Anyone who has tried to take photos in a dark room knows how hard it is to get a clear photo without blurriness. As things move relative to the camera, it “sees” objects in multiple locations- hence the blur. Normally, the shutter speed is fast enough that this effect is neutralized. You’ll be doing the opposite in order to capture the “essence of speed.”
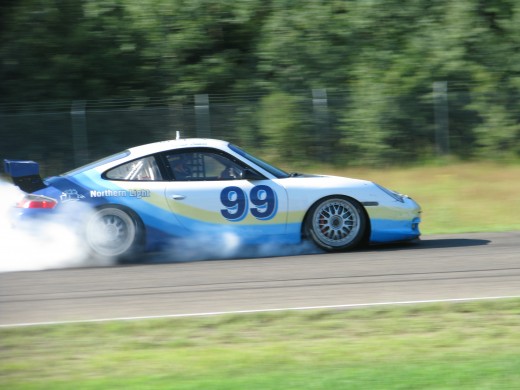
Step 1: Set up the Camera
Shutter speed- how long the shutter is open- a longer shutter speed will let in more light and also create more blur
Aperture- functions as the pupil of the camera. A wider aperture lets in more light. Generally, as you slow down the shutter speed, you will need to close the aperture to compensate and prevent overexposure.
You’ll first need to adjust some settings on your camera. The two modes you will use most often are Shutter Speed Priority (TV on Canons) and Manual (M on Canons). Shutter Speed Priority will allow you to adjust the shutter speed manually, and will set up the aperture and other settings automatically. In lower light situations, this is all you will need. However, the camera can get confused in extremely sunny situations and not let you slow down the shutter speed without drastically overexposing the photo. This is where you may want to switch to Manual mode which will allow you to select the aperture and shutter speed settings. A high F-stop number (my camera ranges from 2.7-8.0) means the aperture is more closed.
The more you slow down the shutter speed, the harder it gets to pull off the shot. Try starting off with something like 1/250 or 1/200 and work your way down. Remember to try Shutter Speed Priority first, and if that is resulting in overexposed shots switch to Manual and move to a higher f-stop (close up the aperture).
Step 2: Panning
Now that the camera has been prepared, you’re ready to start shooting! You’re using a slow shutter speed, so anything that is moving, relative to the camera, will be blurred. To keep the car in focus, you’ll have to follow it with the viewfinder along the track. That way, the car will appear to the camera to be stationary while everything else is rocketing in the opposite direction. It will take repetitions, but you’ll eventually get the hang of keeping the car in the same spot in the viewfinder as it drives by.
Don’t get discouraged if most of your shots are blurry or cut off half the car! I’ve been shooting pro and amateur sports car racing for 10 years and I still throw out 10-30% of my shots from any given race weekend. This is a high-risk high-reward technique that will give you some really bad shots, but will also ensure that the ones that turn out are great.
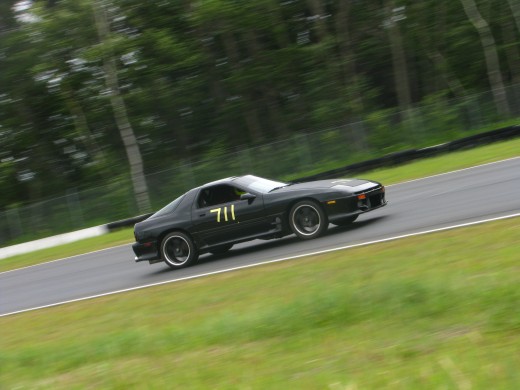
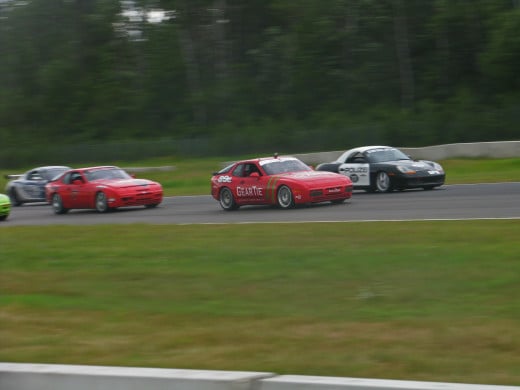
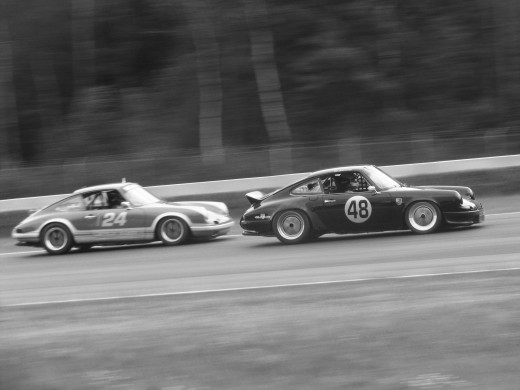
Tips and Tricks
If you are having difficulty getting your camera to autofocus on a moving target fast enough, pre-focus on the empty spot of the track where you plan to capture the car. Then use panning and take the shot at the spot where you pre-focused!
If your viewfinder has a rectangle over the middle, try keeping that on the same part of the car- such as a wheel or driver’s window. This may be easier than keeping the entire car situated in the same place within the entire viewfinder.
Remember the rule of thirds! Try keeping the back of the car closer to the edge of the frame than the front- this gives the car a place to go within the shot and better conveys the essence of speed.
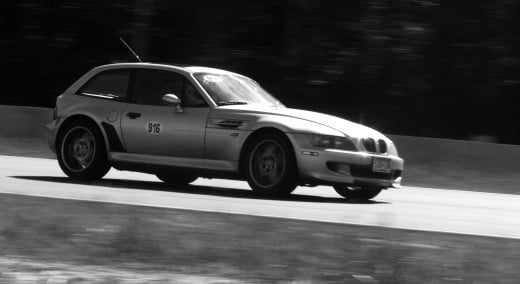
Experiment with tilting the camera itself. This can give the impression of elevation change and add drama in addition to the motion blur.
Stand, don’t sit or kneel. You will want to rotate your body at the waist as you follow the car with the viewfinder. This will help keep the camera stable- preventing extra blurriness from camera shake. You will want to line up your feet so they are pointing at the spot where you want to capture the car. This will help keep your location consistent if you always take the shot as your upper body lines up with your legs.
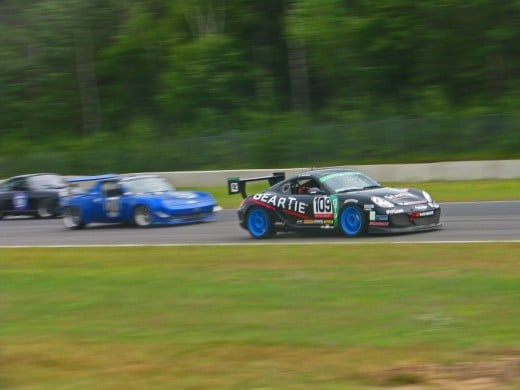
If there are multiple cars in the same frame, use the fastest car as your subject for panning. That way, you’ll capture not only the speed of the car relative to the background, but also to the other car(s).
