- HubPages»
- Arts and Design»
- Graphic Art & Design»
- Design Software
How to Apply Makeup to a Photo in Adobe Photoshop CS3


The basic tools and basic presets in every versions of Adobe Photoshop are same. If you have Photoshop CS2 skills you can easily use CS3, or CS4 for that matter. However, the later versions have an edge over the earlier versions because of easy to use interface, new tools and presets, and some really cool features.
There are number of ways to apply makeup in photoshop. Here are the methods I find easy for skin retouching, digital eye makeup, and applying photo effects.

Before
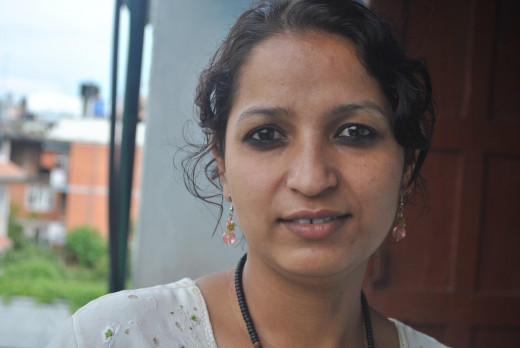
After

Apply Makeup in Photoshop: Skin Retouching
Open the photo
Duplicate the layer (Ctrl J). This helps you to compare the original photo and retouched photo. You can hide the layer by clicking eye icon in the layer palate.
Begin skin retouch by cleaning dark spots, blemishes and wrinkles. Select soft healing brush, hover over the spot you want to clear, and then stamp. The spot will vanish. You can also use patch tool to clear wrinkles and blemishes. Select the area to be cleaned, and move the selection to the clean area. Make sure the source box is checked.
After all the blemishes have been cleared, click clone tool. Select the area you want to use as source, most of the time it is around check bone, by pressing Alt Click. Make sure opacity is set between 15 and 25, and flow around 50 percent.
Stamp the clone tool all over the skin. As you stamp, you also have to select the source area simultaneously by pressing Alt Click.
Select burn tool. Choose midtones and exposure around 15. Brush eyebrows, eyelashes, check bone, iris, and lips to give darker tone.
Select Dodge tool, and highlight forehead, white part of eyeballs and chin. Select Midtones and set exposure between 10 and 15 percent.
Before
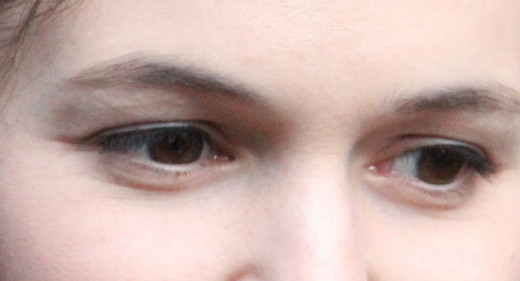
After

Apply Makeup in Photoshop: Eye Shadows, Eyebrows, Eyelashes
Open the photo.
Create a new layer.
Choose the color you want to use as eye shadow. Select soft brush and apply color below the eye brows. If you want to do smoky eye makeup, choose dark color and apply the color around the eyes.
Select eraser tool, set opacity between 8 and 10, and erase the edges below the eyebrows.
Go to blending options and choose overlay as blending mode. (Double click the layer)
Select blur tool, set opacity around 30, and blur eye shadow.
Go to Hue/Saturation (Ctrl U), and adjust hue, saturation and lightness.
If you are not still satisfied with the result, reduce the opacity, and use burn or dodge tool to give eye shadow real look.
After you are done with eye shadow, go to burn tool, set opacity around 30, and gently brush over eyelashes and eye brows.
Before
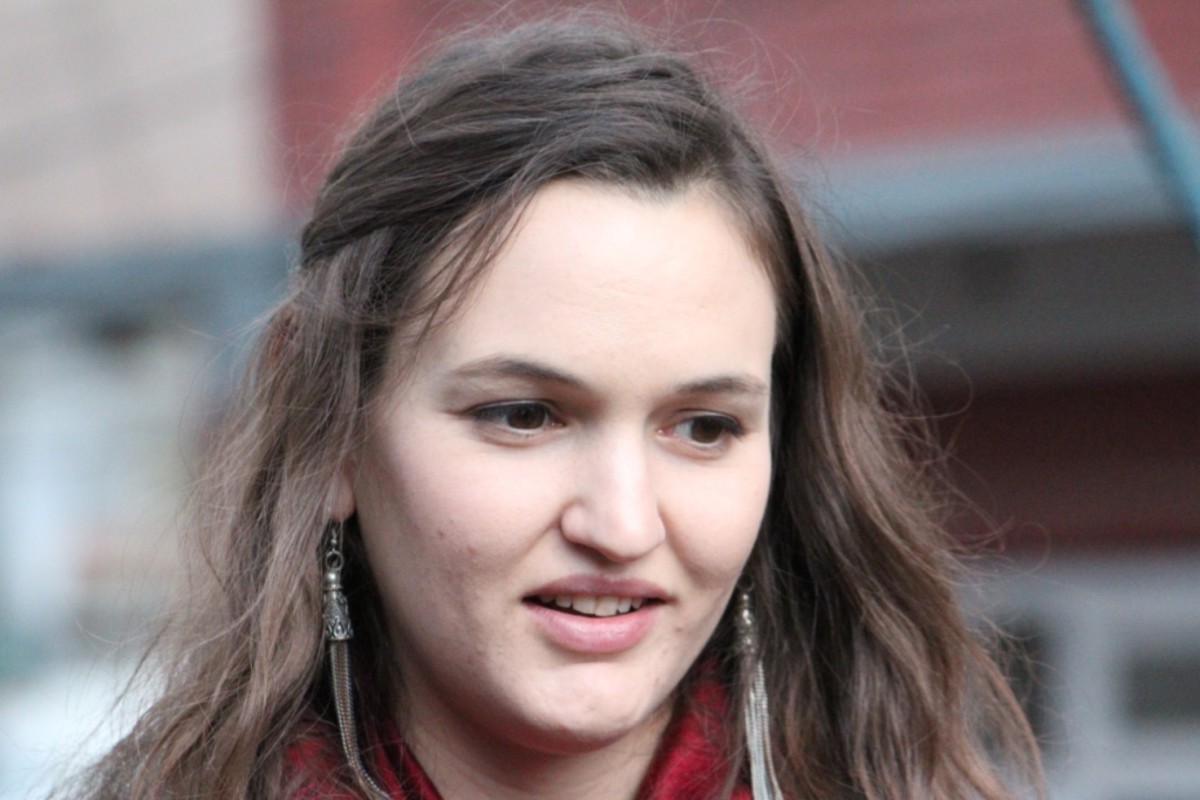
After


Changing Eye Color in Photoshop
Open the photo and zoom in eyes.
Select iris by using elliptical marquee tool, or pen tool if you like. (You can also use magnetic lasso tool, you are free to use the tool you find comfortable)
Left click, select feather and set radius to 3. If you are using pen tool, a dialogue box will appear when you click left, choose make selection and set the feather radius to 3.
Go to Image→Adjustments→Curve.
Drag the curve upward to brighten eye. Choose green or blue color in the channel box and drag the curve upward. Color of the eyes will change according to the color you choose.
Select dodge tool, choose small brush, set hardness to 50 percent.
Select highlight from the range box and set exposure around 30 percent. Brush around the iris.
Choose midtones, set exposure around 20 and brush over the white part of the eyeball.
Select burn tool, choose midtones, and set exposure around 30 percent. Brush over outline to give little depth. Increase exposure to 50 percent and brush the centre of the pupil.
Set foreground color to white. Select soft brush and stamp in the centre of pupil to give lightening effect.
Before
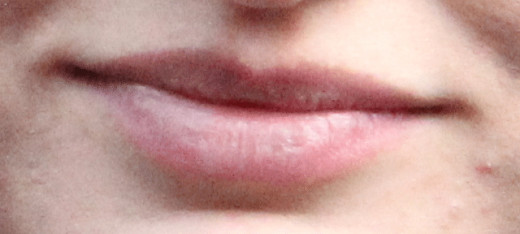
After

Lips Makeup in Photoshop
Open the photo.
Create a new layer.
Choose the color you want to use in the lips.
Choose soft brush, set opacity and flow to 100 percent.
Apply color over the lips.
Go to blending options and choose soft light/overlay as blending mode.
Click Crtl U and set hue, saturation and lightness.
Decrease opacity around 70 percent.


