How to Attach a Pressor Foot Holder to a Sewing Machine

What is a Pressor Foot?
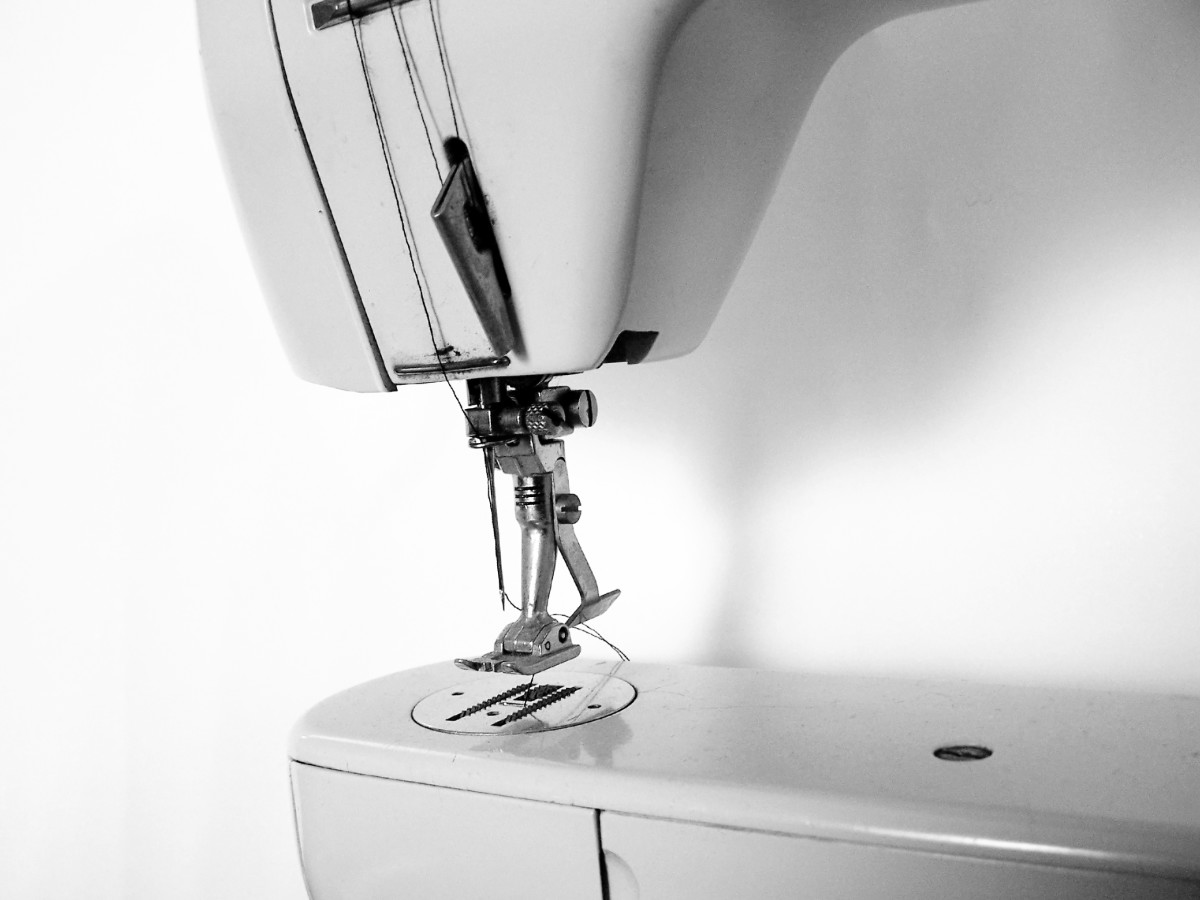
The pressor foot is the part of the sewing machine that holds the fabric down when sewing. It generally has a flat part on the bottom with a hole in the center where the needle goes down into it, and has many different shapes depending on the type of stitch or fabric being sewn.
Some sewing machines will have a pressor feet that are shaped like boots (will have a shank on it that attaches to the machine) and some will be flat and will have the actual feet simply attached to it. Different brands will have a specific type of pressor foot that can be used in their machines. For example, a Bernina brand high shank pressor foot is not compatible (and cannot be used interchangeably) with a Singer brand snap-on pressor foot. They can be high, super high, slanted, low or even snap-on.
Look at your sewing machine manual for a list of compatible types and models of pressor feet. Having an array of different sewing pressor feet are very helpful when used in conjunction with different sewing techniques.
Basic Steps to Replacing a Pressor Foot Holder and Snap-On Pressor Feet
Those types of sewing machines that come with snap on pressor feet will have a pressor foot holder to snap into. To change a snap-on pressor foot, or to insert a pressor foot holder, follow these general instructions below. Always refer to the manufacturer's sewing manual, though, for specific instructions as models may be slightly different.
- Turn the sewing machine off.
- Raise the pressor bar to its highest position.
- Insert the pressor foot holder into the slot, and screw down to hold into place.
- Lift the pressor foot release lever, and lower the pressor bar down onto the snap-on pressor foot. The pressor foot will snap on into place when the pressor foot release lever is moved down.
- To remove a snap-on pressor foot, raise the pressor bar again. Lift the pressor foot lever and the snap-on pressor foot will automatically be released. Remove and replace with another one, using step 4 above.


