- HubPages»
- Arts and Design»
- Graphic Art & Design»
- Design Software
How to Change Angles in Artwork Using Adobe Photoshop Elements

This Adobe Photoshop Elements tutorial includes:
How to place Illustrator, EPS, PDF, JPEG or PNG files
How to reposition, scale/resize artwork
How to rotate and flip artwork
How to skew and change angles in artwork
These Photoshop Elements instructions also work with Photoshop CS3 and above. However, you must be aware that tools are in different location.

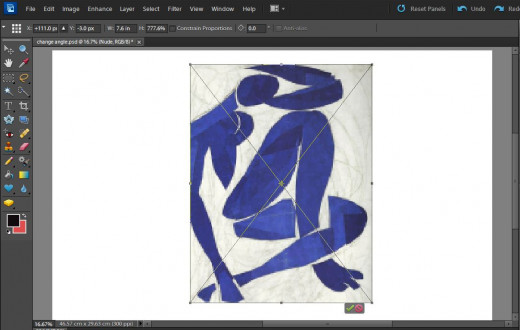
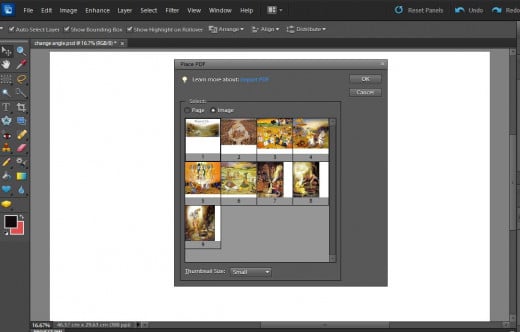
Place artwork in Photoshop Elements document
Create a new document in Photoshop Elements.
Go to File – Place and choose Illustrator, EPS, PDF, JPEG or PNG file you want to place. If it is a multipage file like PDF or Illustrator, you have options for Page or Image selection. Choose Image and select the artwork you want to place. Hit OK.
When you place artwork in Photoshop Elements document, you cannot edit text or vector data because placing will rasterize the artwork.
The artwork will appear inside a box with its original aspect ratio; however, if the artwork is larger than the Photoshop Elements document, it will resize itself.

Reposition artwork
To manually position your artwork, click at the center point inside the box, and then drag upward/downward and left/right. Your artwork will change its position.
In the menu ribbon, you can see options for X and Y coordinates of the artwork. To set specific positioning of the artwork, type values for X and Y coordinates. You can use values in percent, inch, centimeters, or pixels.
You can also position your artwork, by clicking and dragging X and Y on the menu ribbon.

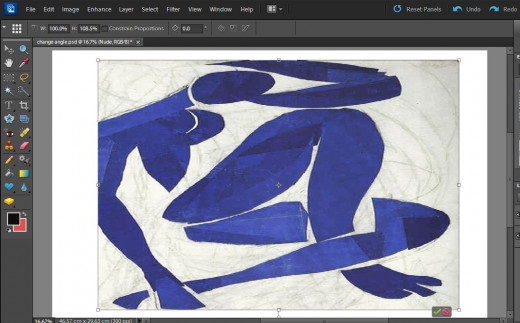
Scale or resize artwork
You can resize/scale artwork by clicking and dragging one of the point in the boundary line, or one of the corners, of the artwork.
To maintain original proportions of X and Y coordinates, check Constrain Proportions in the menu ribbon and then click and drag corner.
You can also scale your artwork without changing original proportion by holding Shift and then clicking and dragging.
Another way to scale your artwork is by clicking and dragging W (Horizontal) and H (Vertical) on the menu ribbon.
If you want to be specific with scaling, you can type W and H values in percentage, inch, centimeters, or pixels.

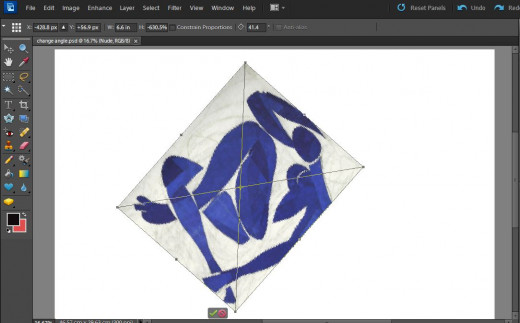
Rotate and flip artwork
You can rotate your artwork by moving double-headed arrow at the corners of the artwork. To rotate your artwork, click and drag double-headed arrow up or down.
You can set specific rotation angle by entering value in the Rotate box in the menu ribbon.
You can also rotate your artwork by clicking and dragging Rotate icon on the menu ribbon left and right.
To flip your artwork, click pointers on the boundary line and drag left/right or up/down until your artwork is flipped.

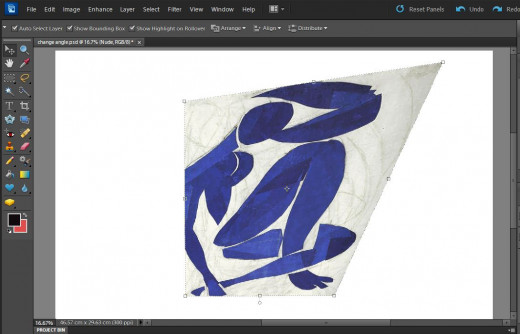
Skew and change angles in artwork
To skew artwork, set rotation angle to 0 degree, hold Ctrl key, and click and drag the pointer on the boundary of the artwork.
To skew artwork without losing proportion, hold Shift, and click and drag pointer on the boundary.
You can also click and drag from the corners to change perspective of the artwork. Once you have changed the angle of the artwork, click check mark on the bottom of your artwork.
To cancel the changes, click cancel button. When you click cancel button, the artwork you placed in Photoshop Elements will disappear.

How to Change Angles in Artwork Using Adobe Photoshop Elements
You can also change angles in artwork by using Transform and Rotate options directly from the menu. When you place artwork in Photoshop Elements document, you cannot edit vector data, however, in this method you can edit your data.
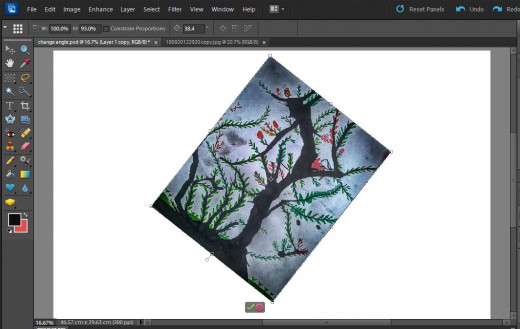
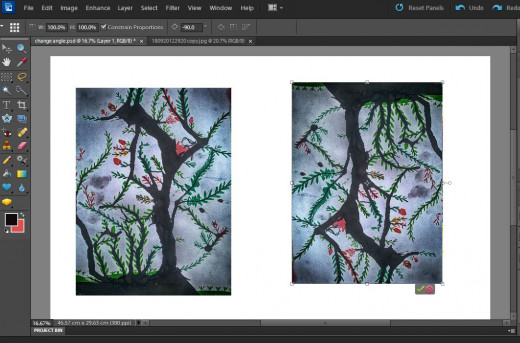
Open the artwork in Photoshop Elements.
Select the entire canvas and then copy.
Create a new document larger than the size of your artwork.
Paste the artwork in the new document.
Go to Image – Rotate
There are multiple options for rotating and flipping such as rotate 90 degree left, 90 degree right, 180 degree, Flip Vertical, Flip Horizontal etc. You can also choose Custom option and enter the angle value for rotating your artwork.
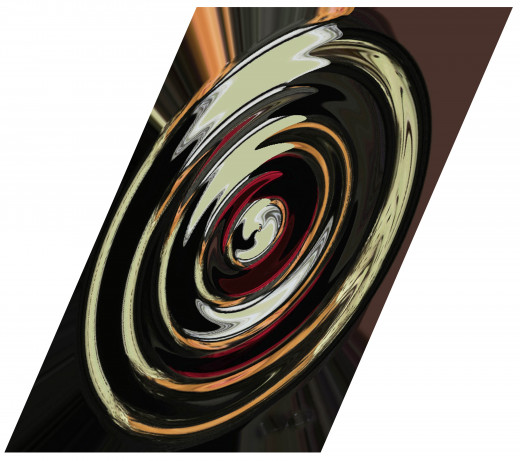
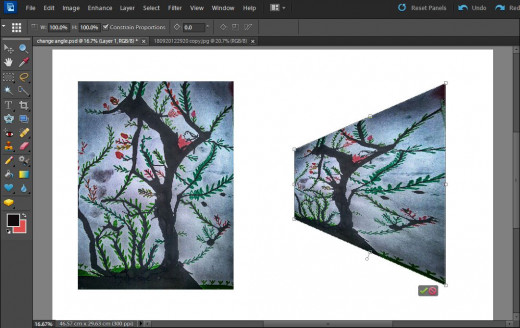
Go to Image – Transform; there are different options for Transform.
Free Transform (Ctrl T) allows you to manually rotate, skew, flip, and resize your artwork.
Skew allows you to position your artwork in different angles. To skew, click and drag left/right from the boundary point.
Distort allows you to deform the artwork. Click and drag from the corner.
Perspective allows you to change perspective of the artwork. Click and drag from the corners while pressing Ctrl and Shift keys, or Ctrl, Alt and Shift keys.
To resize artwork, go to Image – Resize, and choose different options such as Image size, Canvas size, and Scale.


