GIMP photo editing - How to Change the Perspective of a Photograph
Copying a Picture the 'lazy' way
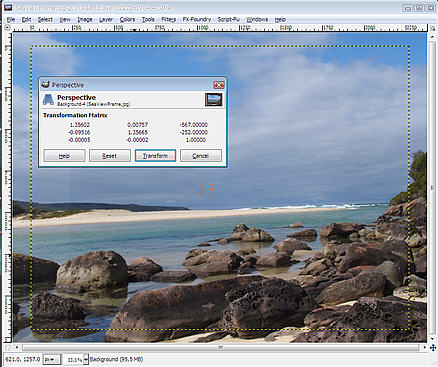
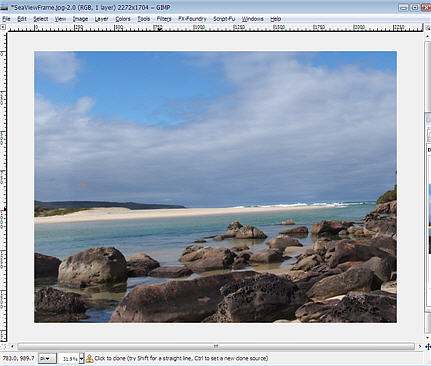
A practical use of Perspective
There are many reasons as to why you would want to change the Perspective of a Digital Image. Sometimes it is to create a dramatic effect by making a building look taller. It is also very useful for adjusting a pasted Layer so as its perspective matches the background you are pasting it on to.
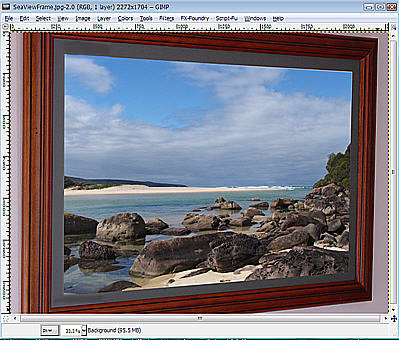
Another useful application is the example I am using. Sometimes a client has asked me to use a picture, but the only print that they have is framed on the wall. (Yes unfortunately this happens in the real world of practical Graphic Design). This is OK especially if the end product intention (eg a brochure) is a reduced substantially in size.
Rather than spending an hour or so and a considerable amount of stress pulling the picture out of the frame, setting up lighting, a tripod etc, you can just shoot a high quality image of the framed picture...but on an angle to avoid reflection in the glass. You can see the result in the top Image.
If you haven't already downloaded The GIMP (an excellent open source digital Image editor) you can visit their site and download it for free.
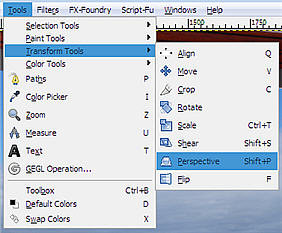
After opening the Image in The GIMP simply choose Tools > Transform Tools > Perspective from the menu above the Image.
Hold down your left mouse button and keep dragging the corners of the Image until you have the Image adjusted tyo your liking then press the Transform button.
If you have a good digital camera to start off with the results are surprisingly good. You will probably have to adjust the Brightness and Contrast a little but with a bit of luck you will get an acceptable result.


