- HubPages»
- Arts and Design»
- Photography»
- Photography Instruction & How-Tos
How to Convert a Kodak Instamatic to 35mm
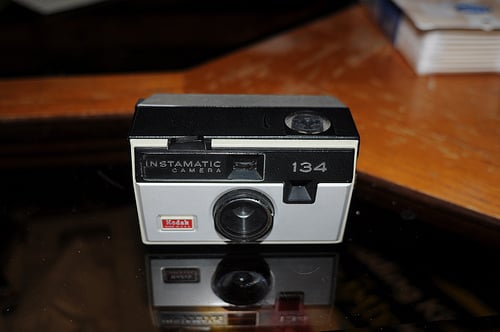
Finding a New Use for an Old Camera
The Kodak Instamatic was one of the most prolific inexpensive cameras ever produced. In circulation from the 1960s - 1980s, there are many different varieties but they all had one thing in common - they all used 126 type film which is no longer produced. However, this camera can be given new life by converting it to use 35mm film! Following is a guide to our conversion process. Because there are many different versions of this camera, yours may have slight variations in placement of parts. Ours had a rotating cube flash which made it more complex.
Supplies and Tools
You will need the following supplies:
- a roll of 35mm film
- the plastic spools from a 126 film roll (from ebay or other sources on the internet, or a Soligor spool)
- thick light-tight tape
- black electrical tape
- film changing bag
You will need the following tools:
- small Phillips head screwdriver
- a digital camera
- a file
- exacto knife
- scissors
The digital camera is for your benefit. As you open the camera and disassemble it, you will eventually need to reassemble it. Take a picture of the camera at every stage so that you can reference it to reassemble correctly.
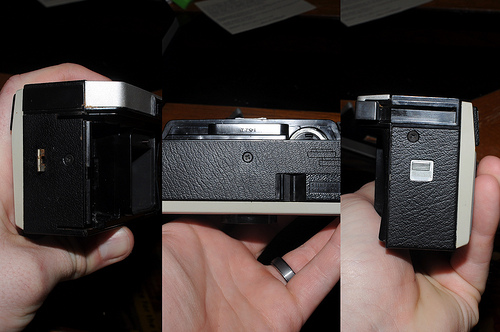
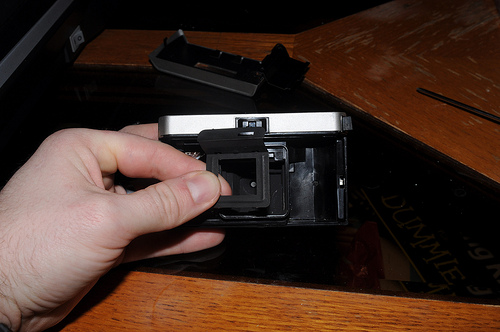
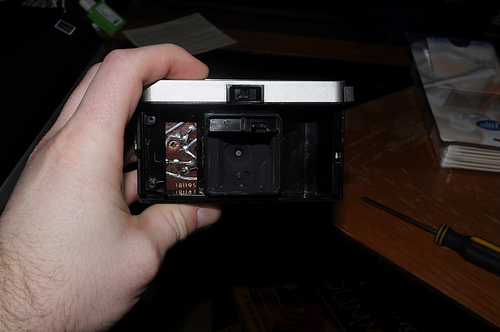
Step One
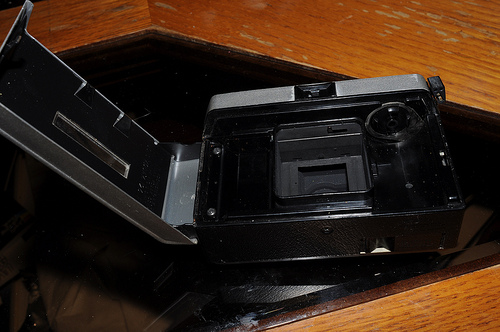
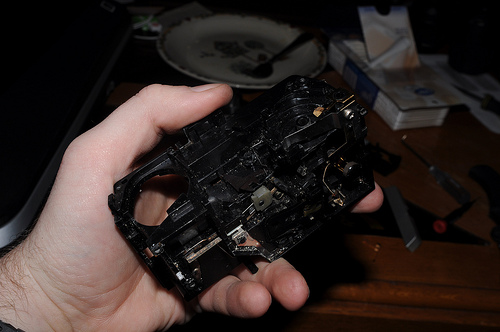
- Remove the exterior components
- Open the back cover and take out the two screws that hold it on
- Take out the three case screws
- Pop out the shaped insert
- Remove the screw under the shaped insert
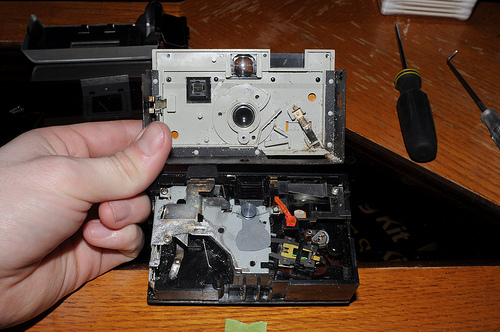

Step Two
2. Removing interior components
- Pull off the front face, taking note of the layout of interior components. You definitely want a picture here.
- Pop off the glued-on top and remove screws beneath. Be alert for springs that may spring out.
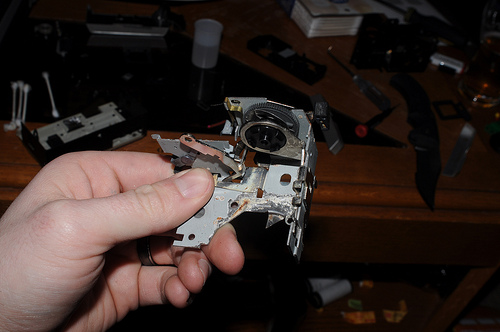
- Take the big metal frame off the body, then remove the catch-pin that engages the hole for the 126 film.


Step Three
3. Altering interior components
- On the big metal frame side, find the three-pointed mechanism and remove it.
- Once you have it, remove the part between thumb and forefinger in the picture and file any cut-burrs smooth.
- Reassemble all interior components in reverse order of dis-assembly, making sure all springs and moving parts remain in alignment.

Step Four
4. Prepping the 126 film spool
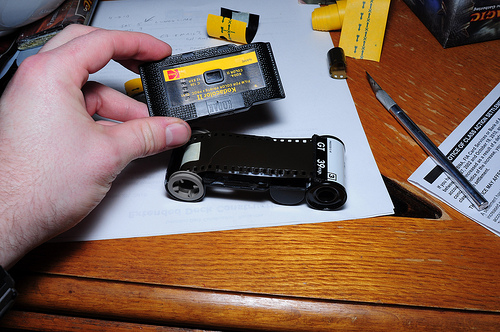
- Open the 126 film cartridge. Ours (1972 kodacolor) was spot glued in four places and heat sealed at the end. Be cautious, slow and meticulous as you will need this cartridge intact. Soligor, a film manufactured in Italy is supposedly easier to open.
- Use the light-blocking paper that came inside it and your light tight tape to cover the frame-number window.
Step Five
5. Re-spooling 35mm to the 126 spool
- Move the following into your changing bag: both halves of the case, 35mm film, scissors, the original take-up spool and black electrician's tape
- Inside the bag, cut the end of the 35mm film to a square edge and tape it to the take-up spool
- Remove the 35mm from it's canister and cut it free.
- Handling only the edges, carefully wind the film as tight as possible into a coil.
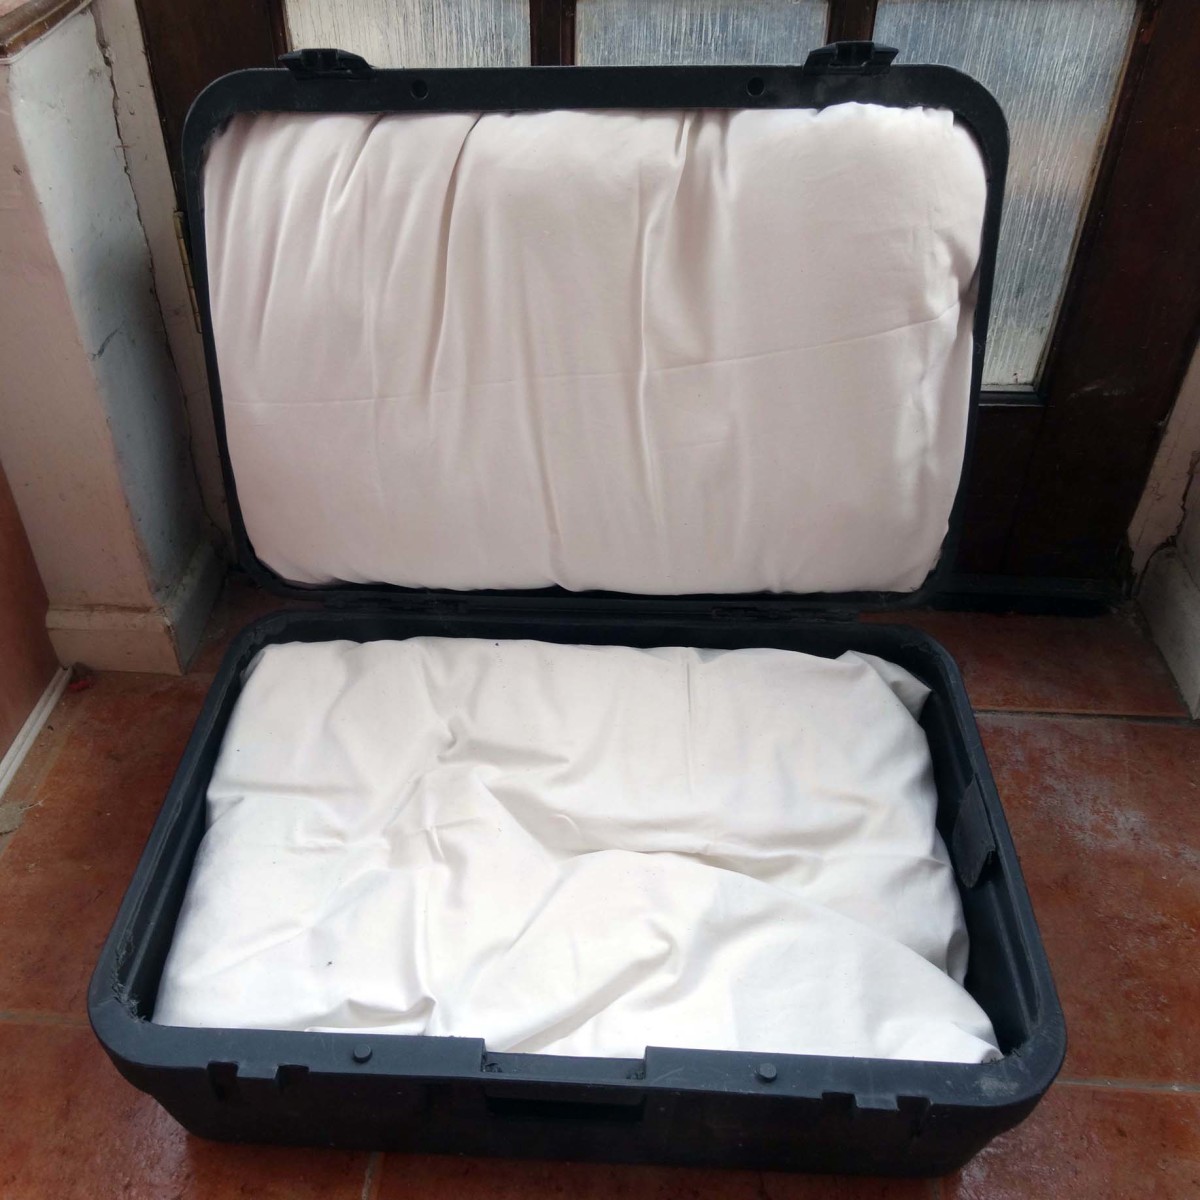
- Place the 126 take up spool into it's proper place in the case and put the coil of film into the other side.
- Extend the film across the cartridge and tape it to the take up spool
- Put the other half of the case back on, making sure everything lines up properly.
- Seal all outer edges with black electrical tape.
Step Six
6. Remove the film canister from the bag and install into the camera.
Now you are ready to shoot with the camera. Wind the camera 3 times between photos. On a 36 exposure roll you will generally get 20-24 shots.
For each roll you will have to respool a 35mm roll but you can use the same cartridge multiple times. Take your film to your favorite developer (or self-develop) the same way you would with any other 35mm roll.
Results
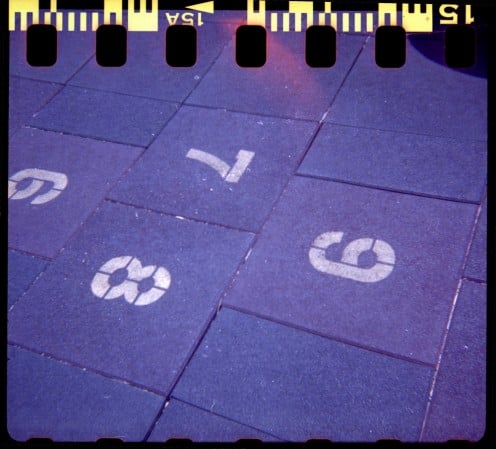
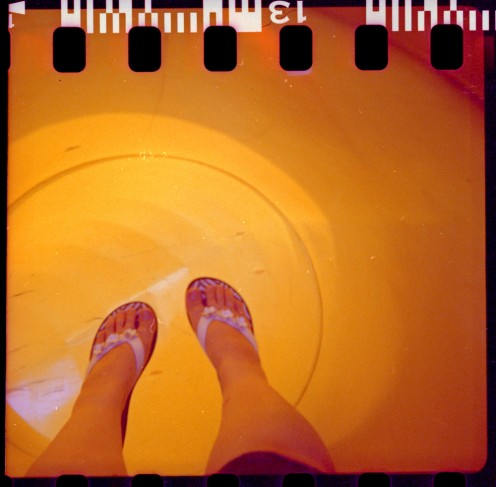
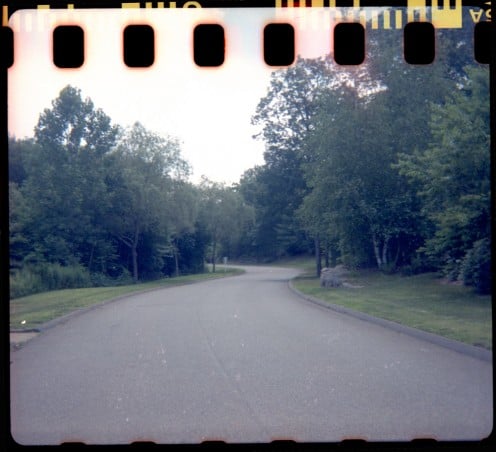
Your results will be a square shaped photo with slight vignetting and a 60s vintage feel. Outdoor or bright light shooting is recommended.
