How to Creat Glass Mosaics: Step 2 Grouting
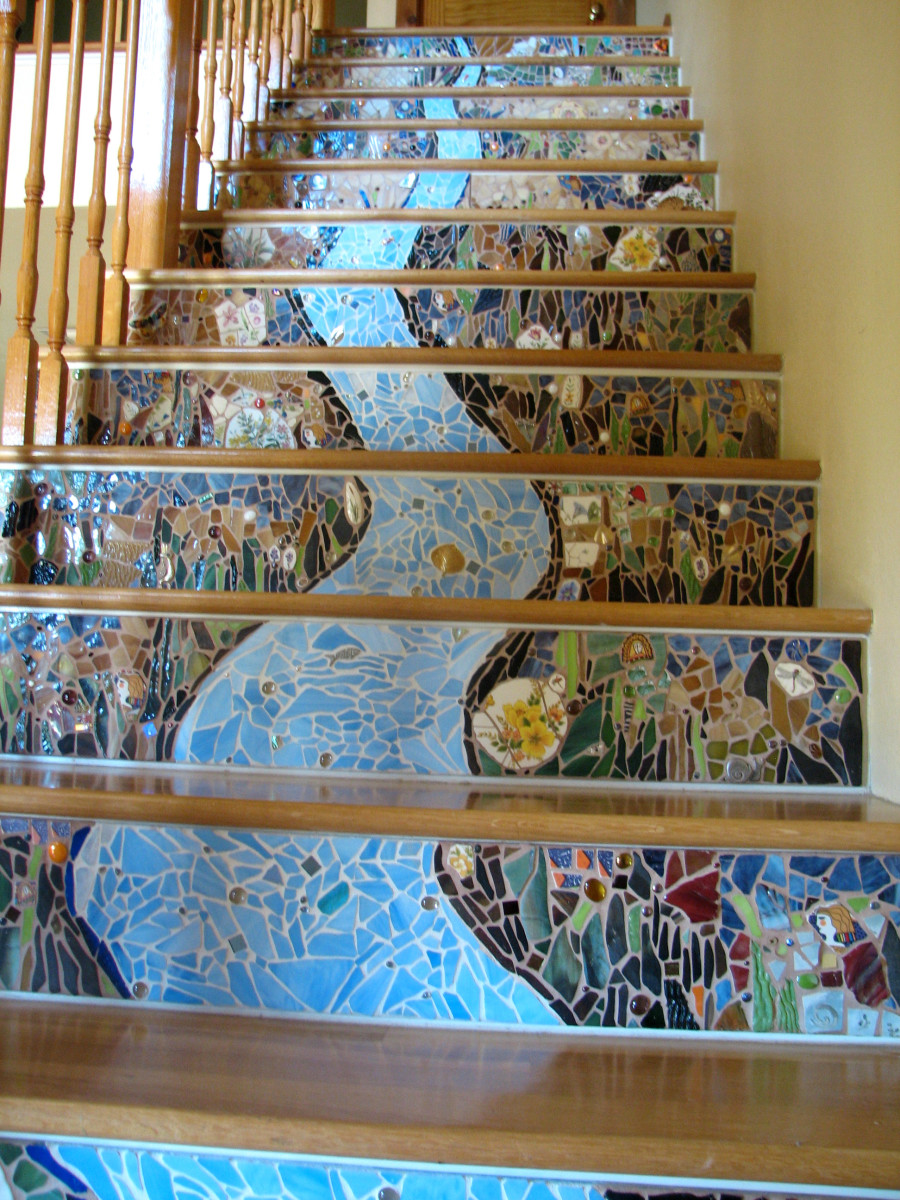
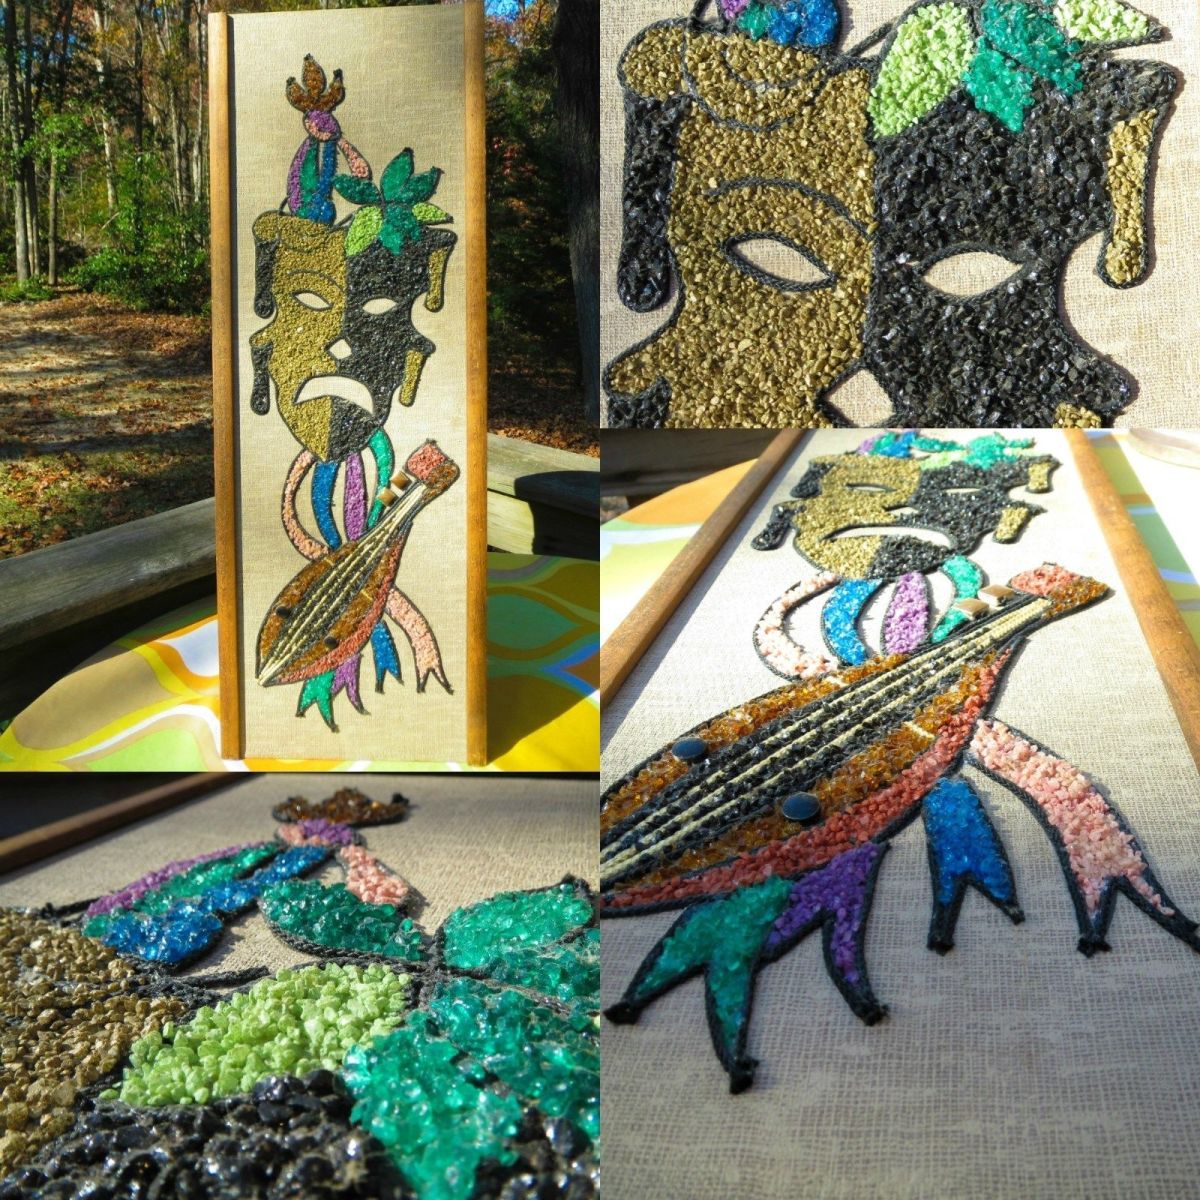
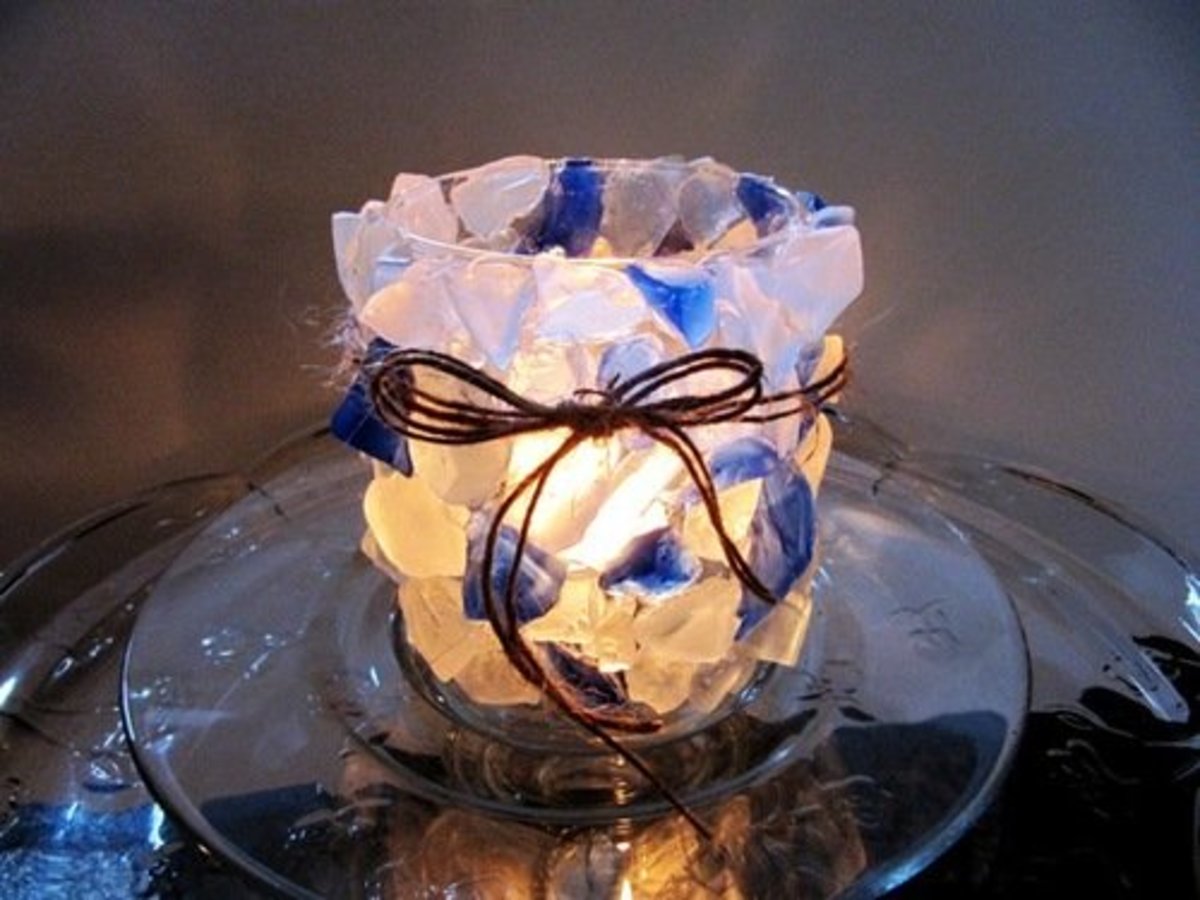
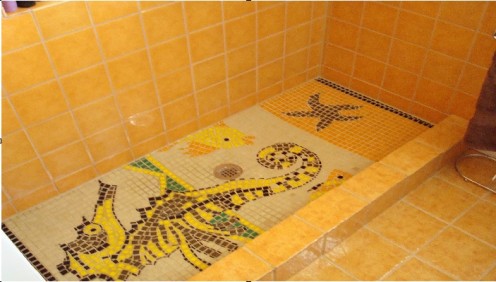
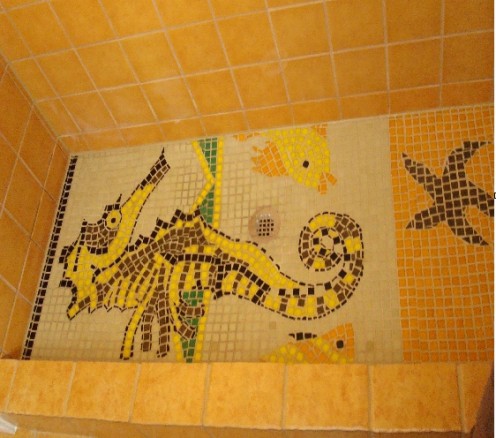
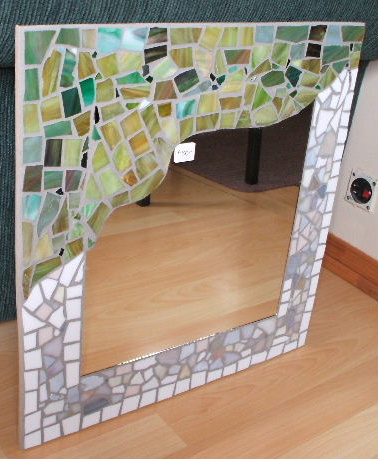
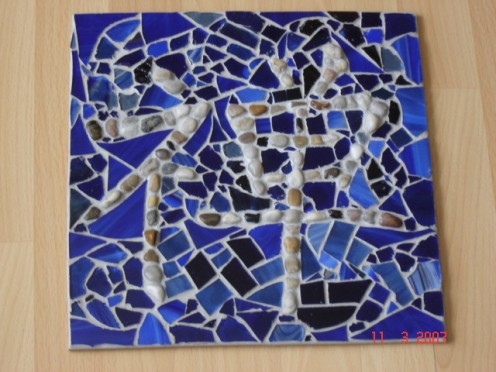
some of my glass mosaic works
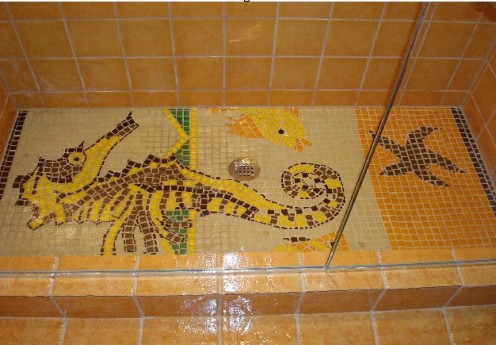
Grouting your glass tile mosaic
Now that your glass mosaic is ready to grout, I suggest you read my previous hub on grouting to get some detailed info on the types of grout available. If this is your first glass mosaic, I would suggest strongly that you go with a sanded grout until you get the hang of grouting a few mosaics. If you are adept at grouting, then go ahead with an unsanded grout, especially if the spaces between the tiles are very small and you want a nice smooth finishing. With most of my mosaics, I still go with the sanded grout, even for the glass tiles.
Once you have grouted (refer to my previous hub once again on grouting for details ) and cleaned off your glass mosaic, wait for an hour or so to remove the grout that covers some of your tiles. Make sure to use a plastic tool to remove the excess hardened cement because anything else will scratch the surface of the glass and leave marks that cannot be removed. Once you have finished, polish the mosaic with a soft clean cloth to shine the glass and buff it.
Now you have created your first glass mosaic! Congratulations!
In my next hub I will talk about creating 3-D mosaics using ceramic and stained glass in the same project giving a 3 dimensional piece of art that is fun to touch and look at!!
© 2008 K D Martel

