How to Create 3-D Mosaics: Step 1
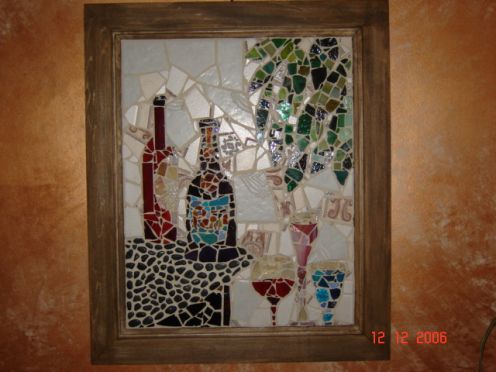
Step 1: Creating your 3-D Mosaic!
Now, the fun begins! Please refer to my previous hubs on beginning mosaics if you need to learn about specific steps.
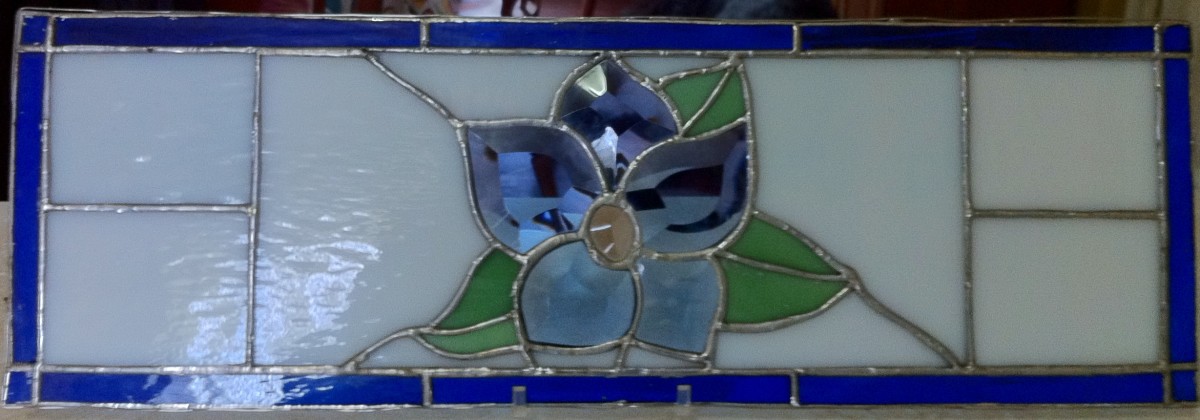
Once you have chosen the medium you want to work with today, say ceramic and stained glass with a few glass beads, take your design (which should be drawn on your board and ready to go) and determine which medium you will start with and the colour needed.
You should normally start with the glass since it is much thinner than the ceramic. Place your glass tiles, then glass beads. If you have chosen stones or small pebbles, glue them first. If working with a pebble and stained glass mosaic, I would glue down the pebbles and stones first so that when I do put down the glass, I can work around the irregular shapes. So once you have glued down the glass and beads, start to put down the ceramic.
A little tip when placing pebbles and stones: try to put glue on the parts of the stone that will be actually touching the board. Because of uneven surfaces, you want the stone to have enough glue on the surfaces that will actually be touching the panel.
When you are finished laying down the glass and ceramic, leave the project dry for at least 3 days. Glass takes longer to properly adhere to the board and the same goes for pebbles and stones. If the stones are large and because of their uneven surfaces, you really want to get a good bond here before you proceed with grouting.
© 2008 K D Martel

