How to Create 3-D Mosaics: Step 2
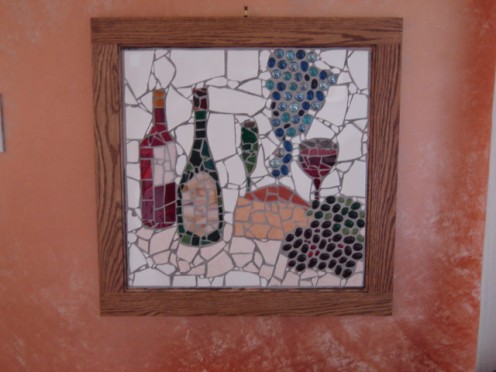
Step 2: Grouting, Cleaning Your 3-D Mosaic
Your wonderful 3-D project is now ready to grout!
Once you have chosen your grout, prepare the mixture as per the manufacturer's instructions and start grouting your mosaic. If working with stones and pebbles, be careful not to be too forceful as not to break the glue bond. Remove the excess grout with your spatula as best you can (you might notice some glass or ceramic tiles disappearing because of the uneven elements of the mosaic, but we'll take care of this later!) and wait a bit before beginning the sponging off process to clean the mosaic further.
Once you have waited the time indicated, take your bowl or bucket of warm water and sponge and begin cleaning off as much excess grout as you can from your piece. Cleaning 3-D mosaics is more time consuming and takes a little more patience! Uneven stones and pebbles will have greater amounts of grout around them, often hiding flatter glass and ceramic. Once you have removed the most cement you can from the mosaic. Wait half an hour or so to begin the final cleaning process.
Once the grout has set and is hard, take a plastic tool as not to scratch the stones and glass and commence the final cleaning of your mosaic. Yes, you'll have to dig your glass out, especially from around the edges where the ceramic meets it. Ceramic tile is thicker and the glass is much thinner, so often the edges of the glass are hidden by the grout. What I usually do is dig away and brush the excess grout off with a soft brush so that I always have a clear space to work with. Once you are finished, it will be worth the effort to see how your mosaic will appear! Finish off with a soft cloth to buff the mosaic and enjoy your work of art!
© 2008 K D Martel

