How to Create Beautiful Stained Glass Mosaics!
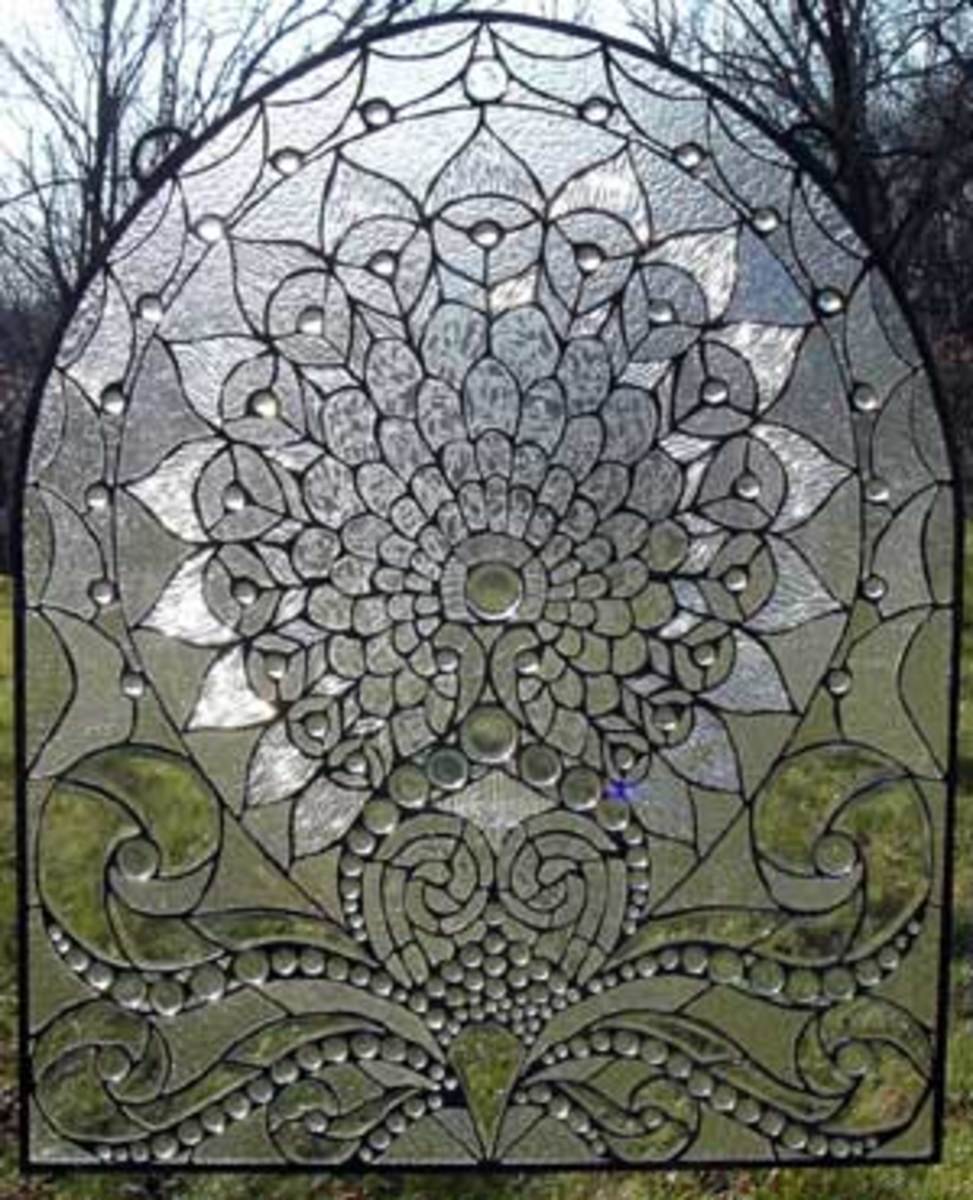
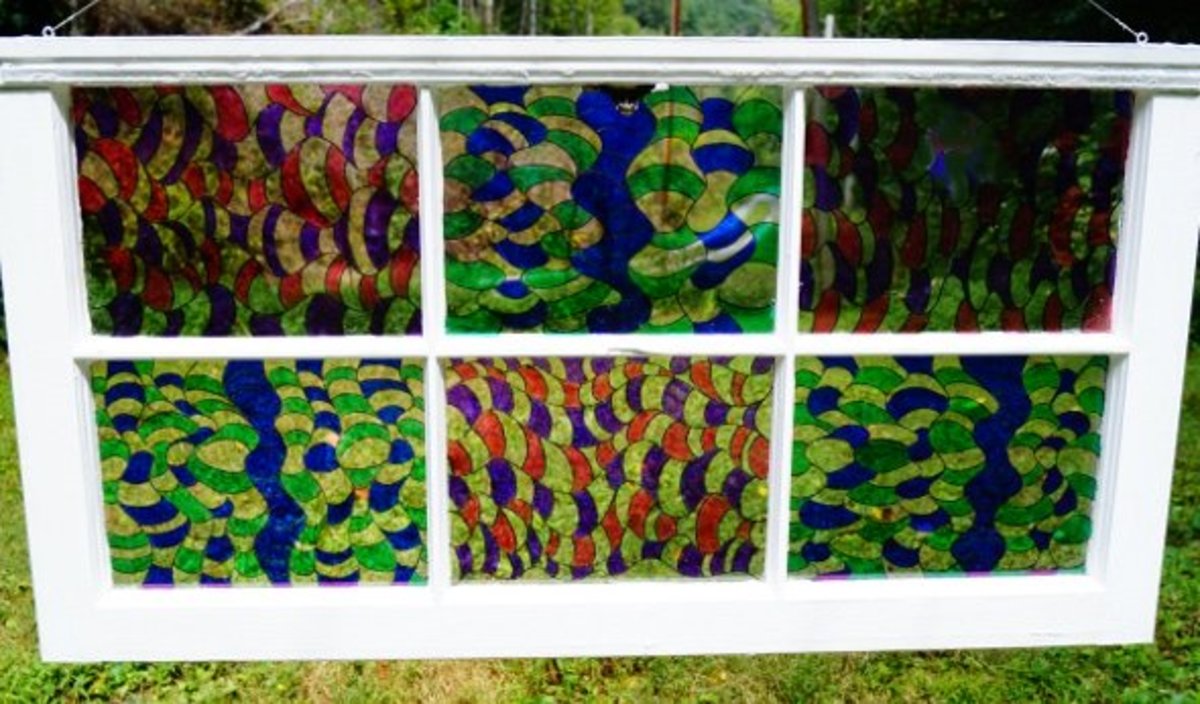
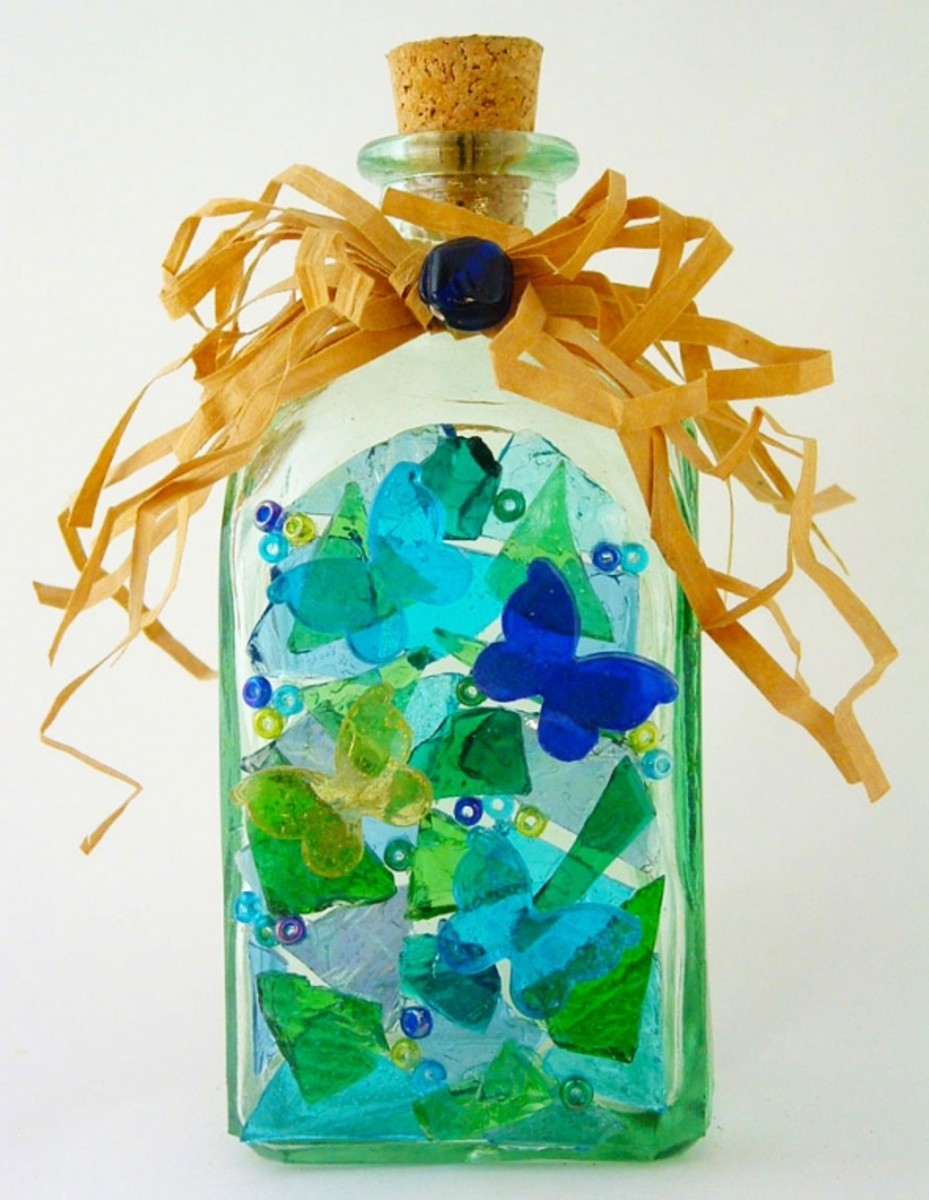
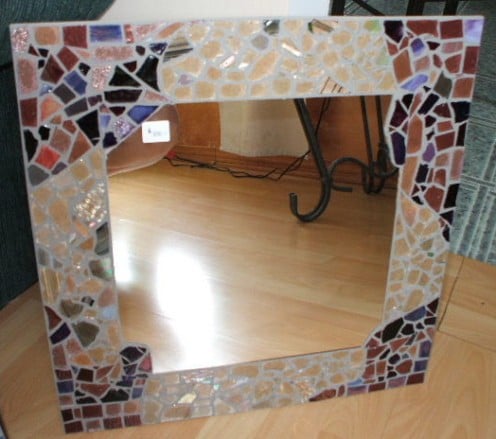
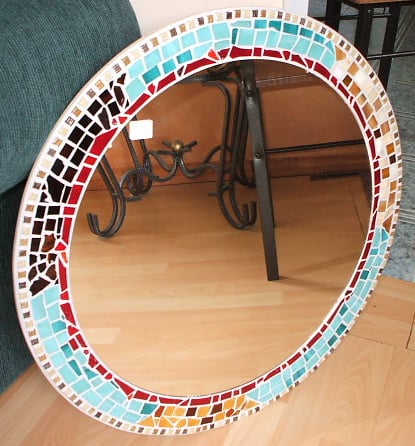
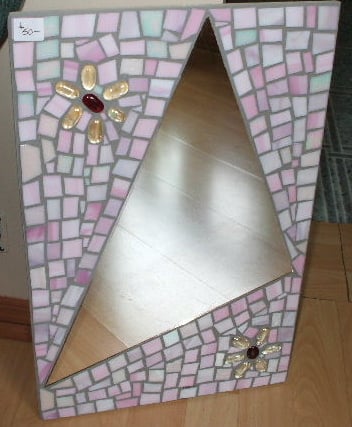
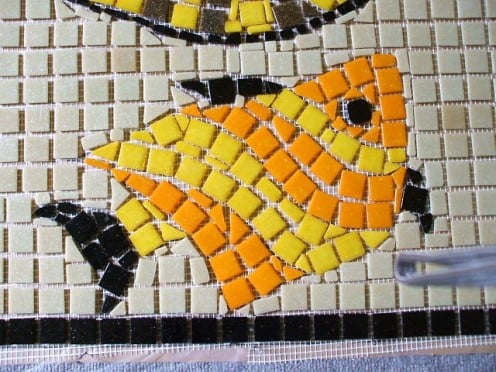
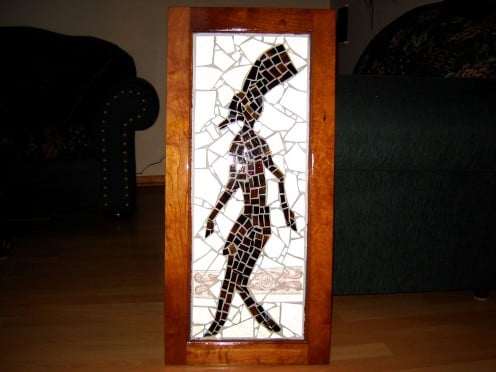
some of my stained glass mosaic work
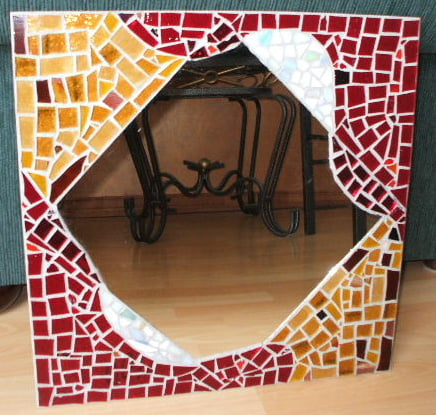
An Introduction to Stained Glass Mosaics: Stained Glass
As promised, here is a section dealing with the making of glass tile mosaics!!
If you notice, you'll see many forms of glass mosaics around. Many artists work with glass smalti or tiles in various sizes from tiny ¼'' to ¾'' that you can order online at many good glass tile mosaic stores. The tiles come in square shapes of various colours of the rainbow! You can also purchase the larger 1'' glass tiles at hardware or ceramic stores. These tiles are thicker and more difficult to cut and work with unless you simply use the pieces to make geometric designs without too much cutting involved. I do use them from time to time when a client specifies it, ¾'' glass tiles that I buy from a speciality shop to do certain projects. But in the long run, it is more expensive and trickier to work with, especially if you have to cut them. So over the years, I have developed my own method of creating glass mosaic tiles using leftover stained glass shards.
Before making mosaics over twelve years ago, I used to make stained glass projects. I discovered mosaics and never went back. Yet, upon looking at my inventory of stained glass sheets, I decided to use them in making my mosaic creations. Eventually, I discovered that I could actually buy stained glass shards and pieces on Ebay for much cheaper than buying small sections at the local stained glass store. Go onto Ebay and often, you can find stained glass artists selling their glass shards in mixtures of various colours and textures! I even bought a few years ago, from the estate of a deceased stained glass artist, over 100 lbs of glass sheets, shards and beads for very very cheap, including shipping.
There are even some that sell their shards in 1, 2 and 5 lb bags that have been tumbled so that there are no sharp cutting edges remaining. What I like about these is that the pieces are already all mosaic sized and you just use them as they are. They make great projects and their appearance is random and beautiful! I order a few pounds every now and then and when they arrive, I sort them out by colour and put them in my jars ready to use for when I need them.
Another way I have discovered is that when I use shards that are bigger, or I need several tiles of the same coloured glass, I simply cut the glass with a glass cutter into small squares and tumble them in a small machine to get rid of the cutting edges. I found a few years ago, an old tumbler for $5.00 on Ebay. I load the tumbler up with freshly cut glass tiles, enough water to cover them and a drop of dish soap (to remove the dirt and glass cutter oil). I tumble them for an hour, rinse them off and dry them. The edges do not cut anymore and are ready to use!
One important reminder, if you are ordering your glass mosaic tiles and must cut them, try to file down the cutting edges because it is glass and they cut like h---!! I remember many years ago, before I got my tumbler, I would simply cut my glass and install it into my mosaic. A good friend of mine came by and touched the mosaic with her finger and ended up slicing it deeply on the glass which had not been grouted yet. Boy did I feel bad! I now tumble all my glass before installing. However, if you buy the glass smalti or tiles and you need to cut them into smaller shapes to fit the pattern or design that you are making, you will need to file down that edge. Instead of tumbling, I simply grind the edges down on my glass grinder. This is more time consuming, but is essential for these type of tiles which often are made from a much stronger glass mixture with mineral for the colouring.
So now that we have finished with this short intro on stained glass tiles, prepare your stained glass pieces, Weldbond glue, board backing as specified in the preparation of the ceramic mosaic project!
In my next hub, I will be explaining the stained glass mosaic procedure.
© 2008 K D Martel

