Using Gimp: How to Create Color Accents with The Gimp - Color Isolation in Gimp

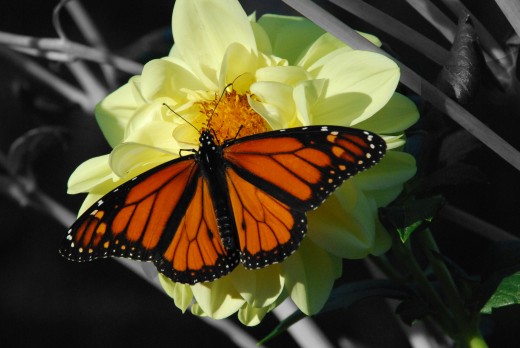
Creating Color Accent Using The Gimp
You can easily create your own color accented photographs using The Gimp by following the steps below.
There are three different methods, the New Layer Method, the Selection Method and the Select By Color Method. The best method varies on the image you are color accenting. If you are finding it difficult to create the color accent try using another method. Once you are using the correct method for the the image you should find it very easy to create the color accent.
Method 1 - The New Layer Method
In this method we will create a New Layer and remove the color from the top layer. Then we will erase the portions of the top layer where we want the color to peak through.
- Create the new layer by selecting Layer > New From Visible.
- Remove the color from the new layer by selecting Color > Desaturate.
- Use the eraser tool to clear away the areas of the top layer where you want to see the colored layer below.
Method 2 - The Selection Method
In this method we will select the area that we want to leave colored. Then we will invert the selection and remove the color from the new selection.
- Use the selection tools to select the area that you would like to leave colorized.
- Invert the selection by clicking on Select > Invert.
- Remove the color from the new selection by pressing Color > Desaturate.
Method 3 - The Select By Color Method
In this method we will select a particular color. Then we will invert the selection and remove the color from the new selection, leaving use with just the one color we selected in the image.
- Use Select > By Color to make a selection of the color that you would like to keep.
- Invert the selection by clicking Select > Invert.
- Remove the color from the new selection by pressing Color > Desaturate.


")


