- HubPages»
- Arts and Design»
- Graphic Art & Design»
- Design Software
How to Create Color Accents in Adobe PhotoShop Using CS5

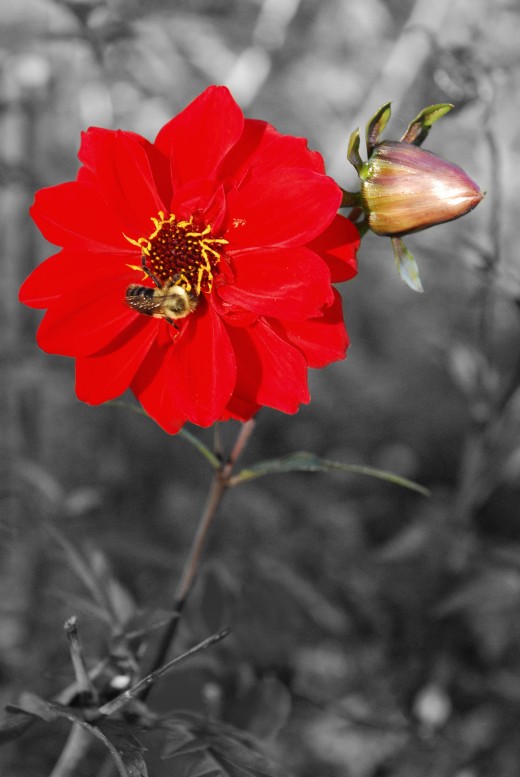
Creating Color Accents in Adobe Photoshop
By following the step-by-step instructions below you can create color accents in Adobe PhotoShop.
There are three different methods which you can use to create a color accent in Adobe Photoshop. The New Layer Method, The Selection Method and the Select By Color Method.
Depending on the image one method may be much harder than the other. So if you are finding it difficult to create a color accent on an image you may want to try a different method.
New Layer Method
Using this method we will create a new layer, convert the top layer to black and white, then erase the areas where we want to be colored.
- Create a New Layer from the existing layer by selecting Layer > New > Layer. Make sure to check the Use Previous Layer to Create Clipping Mask option.
- Remove the color from the new layer by selecting Image > Adjust > Desaturate.
- Now, use the eraser tool to wipe away the parts of the top black and white layer where you want to see the color.
Selection Method
Using this method we will select the area we want to accent, invert the selection and then convert the new selection to black and white.
- Select the area that you would like to leave colored.
- Invert the selection by pressing Selection > Invert or Select > Inverse, depending on your version.
- Drop the color out of the inverted selection by selecting Image > Adjust > Desaturate.
Select By Color Method
Using this method we will select only a certain color range, invert the selection and convert the rest of the image to black and white.
- Use Select > Color Range to select the color you would like to accent.
- Invert the selection by pressing Selection > Invert or Select > Inverse, depending on your version.
- Drop the color out of the inverted selection by selecting Image > Adjust > Desaturate.


