How to Create Glass Mosaics: Step 1
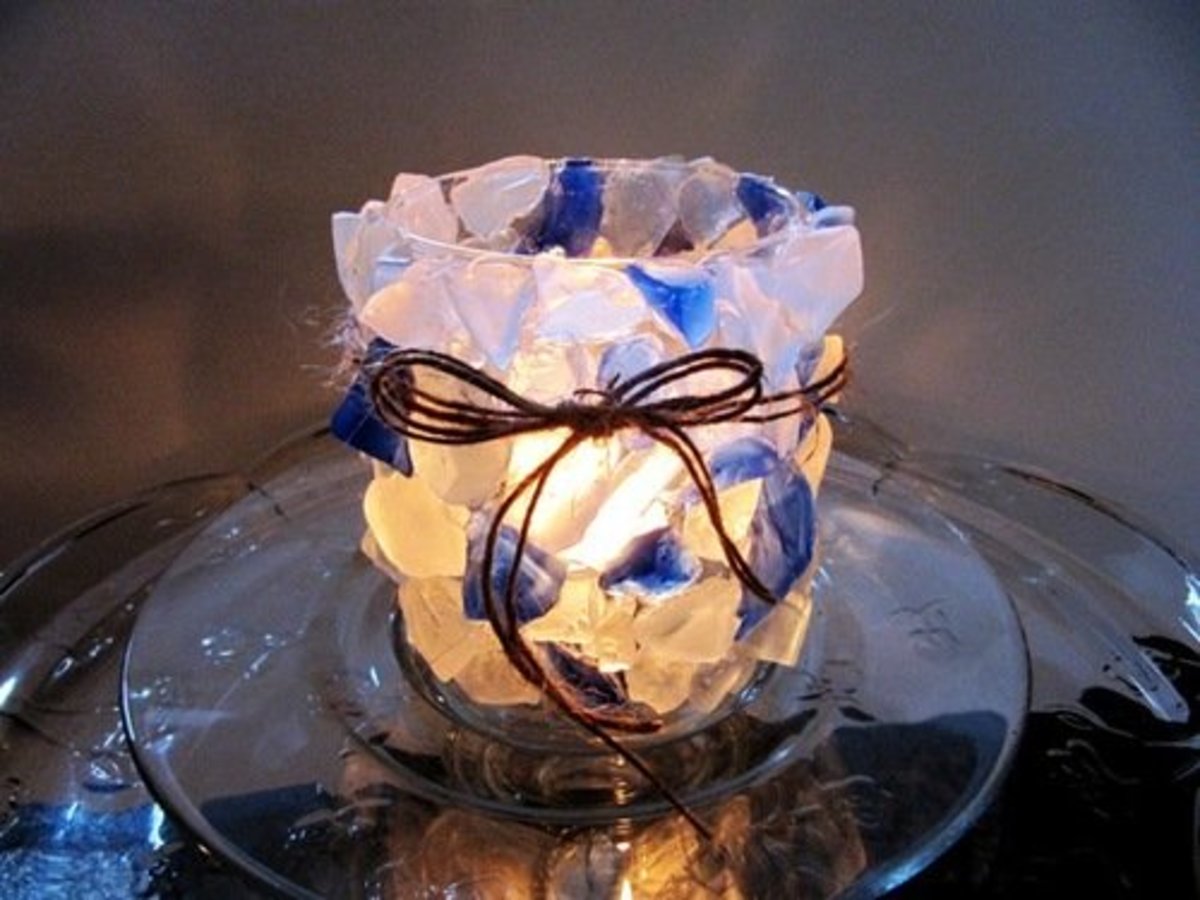
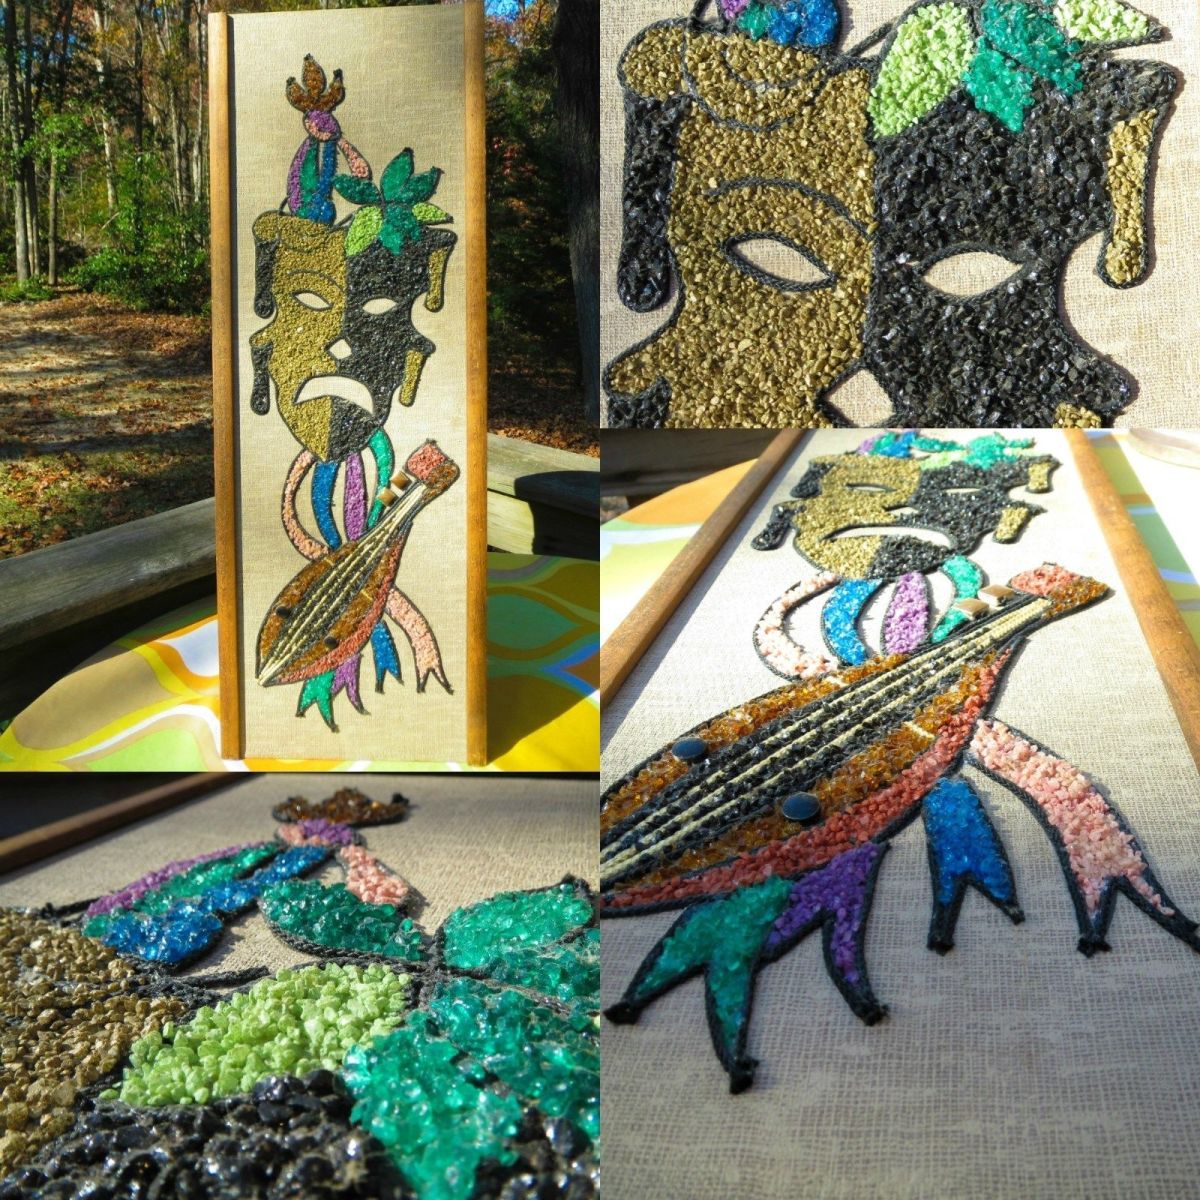
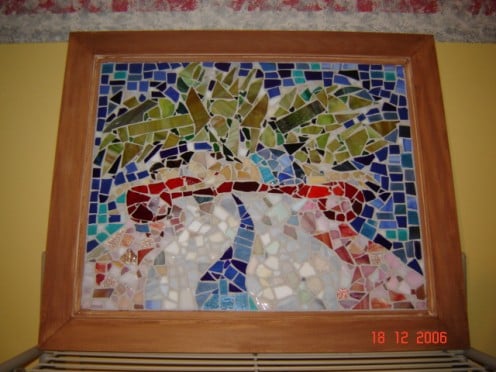
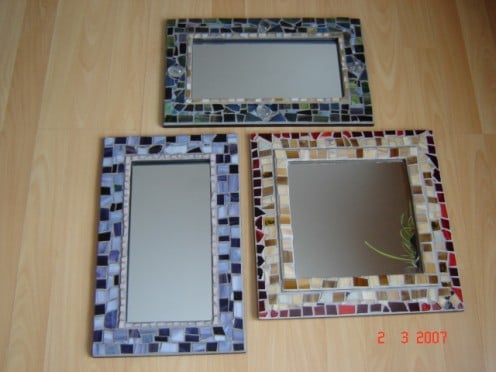
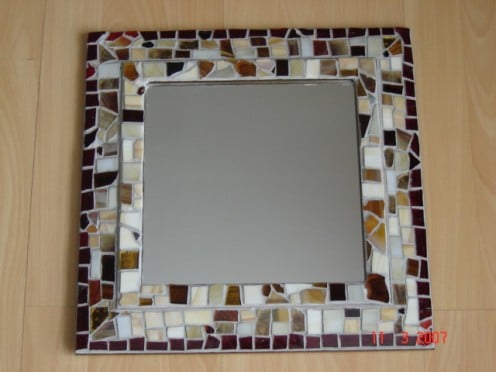
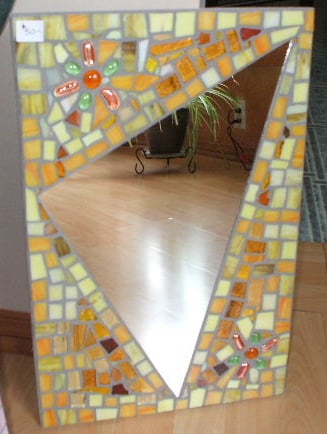
Examples of my Glass Mosaics

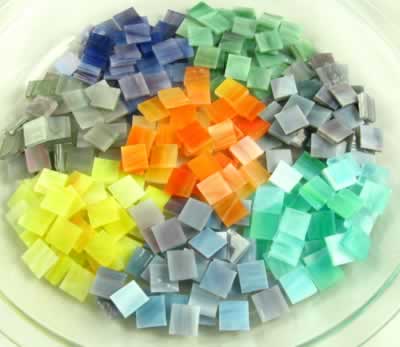
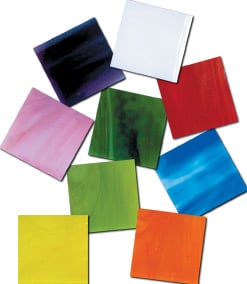
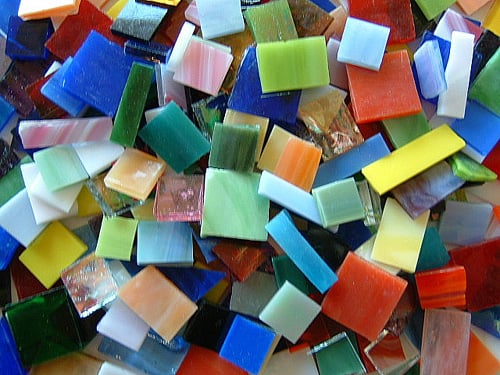
Preparing Your Glass Mosaic for Gluing:
Now that you have decided upon a design, chosen your glass tiles and have your glue and board ready, you are set!
Usually, I proceed in the same manner as with ceramic mosaics. I don't lay the tiles down beforehand, then glue them, but I place them one by one, gluing each tile individually and using my intuition as I go along. Normally, try to start by doing parts of the design that are the same colour, then switching to another colour once finished. If you are working a design that has say, a blue, but you want to use different shades of blue, place the tiles in a way that has one tone of blue followed by a different shade of blue. Be careful with putting the glue on the glass. Glass is not porous like ceramic and does not absorb the glue. If you put too much, the glue will squish out from beneath the tile when you lay it down. Unless you are using a glass tile that is textured on the side you lay it down, you might have to use more glue in this instance so that it will stick to the board. Another important hint: I always clean off each glass tile before I lay it down with a clean soft rag to remove any oil or dirt left behind. Glass picks up quite a bit of debris by the time you do lay it down on your project and if not properly cleaned, could prevent the glue from sticking properly to the backboard!
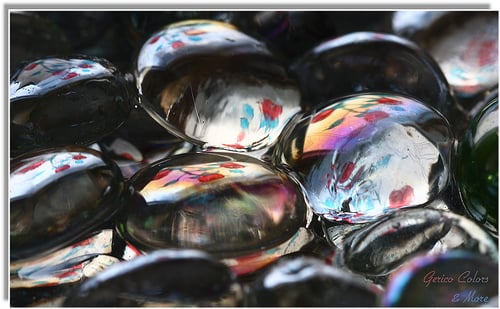
When creating a glass mosaic, sometimes I will incorporate glass beads and crystals into the design. You can buy these glass beads in various colours, sometimes metallic at the dollars stores, craft shops and Wal-Mart. They make interesting additions to your project and add sparkle!
As previously mentioned in my other hubs on creating mosaics, if you are making a mirror, make sure you tape the mirror up properly so that you won't dirty it or scratch it with the grout later on. Also, a little tip of mine: I create many mirrors for my clients, and the most popular are stained glass. Sometimes, I will simply go to a store that sells mirrors in different sizes, shapes (round, rectangular, square) buy them, especially when on sale and build beautiful mosaics onto them! Don't forget to sand the finish off which might be painted or plastic or textured and raised in different heights. This will allow the glued mosaic tile to adhere properly to the prepared surface.
Leave your project dry for at least 3 days. The reason is because the glue beneath the glass tile takes much longer to dry than with a ceramic mosaic tile. The glass is sealed and does not breathe and if you check your tiles carefully (if the glass is transparent a bit) you will notice that the glue is still whitish and not clear. If you grout too early, the humidity from the grout will unglue the tile from its place and will certainly frustrate you!
In my next hub, we will talk about the grouting and cleaning process for the glass mosaics.
© 2008 K D Martel

