- HubPages»
- Arts and Design»
- Graphic Art & Design»
- Design Software
How to Create Watercolor Effect in Photoshop
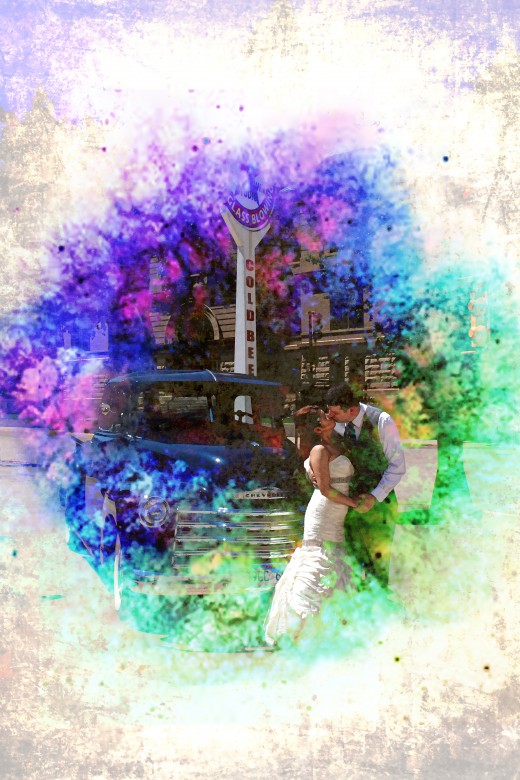
A few months ago I was looking for something new service to add to my photography business. I came across watercolor in Photoshop. This is a fun technique and prints look pretty cool. Why don't we get into it?
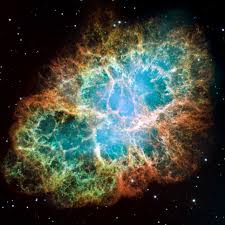
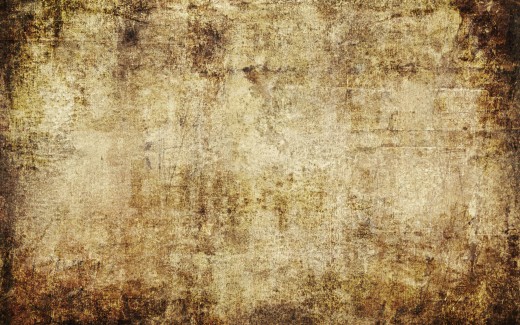
Find a photo you would like to add the watercolor effect to and open it in Photoshop. You will also need stock images for Crab Nebula and Grunge backround.
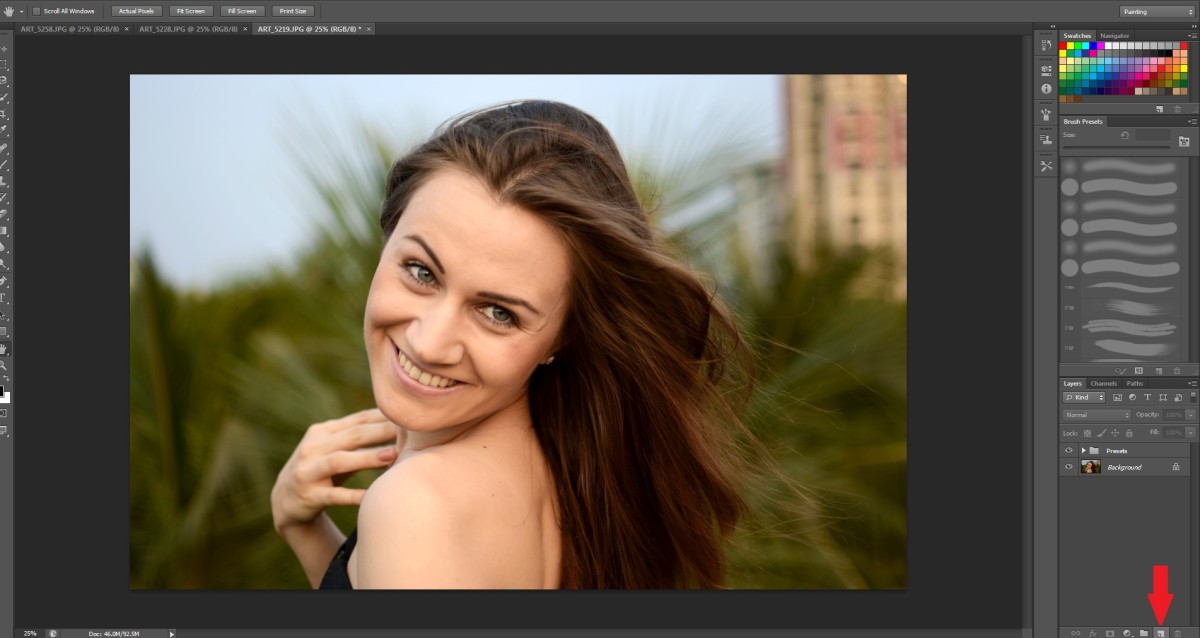
Start with your portrait of choice.
- Duplicate the portrait layer by using ctrl + j
- Name the duplicate portrait layer "Portrait"
- Hide the "Portrait" layer
Highlight the backround layer
- Set the foreground color to white
- Press ctrl + delete (backspace)
- At this point your backround layer should now be white
Go to the Crab Nebula tab
- Using the move tool, drag the nebula to your portrait
- By hoovering over your portrait tab it will automatically open
- Position the nebula where you would like it
- Change the layer to subtract
- Duplicate the layer by using ctrl + j
- Position the 2nd nebula to where you would like it
Create a new layer
- Change the paint bucket to gradient
- Select the color set you'd like to use
- Drag your color from the upper left corner to the lower right corner
- Change blending to overlay with an opacity of 70%
- Rename layer to "Color"
Go to the Grunge backround tab
- Using the move tool, drag the backround to your portrait
- By hoovering over your portrait tab it will automatically open
- Position the backround in the upper left corner
- Resize backround to fit the canvas
- Change the layer to color dodge with opacity of 15%
- Duplicate the layer by using ctrl + j
- Change the layer to pin light with opacity of 30%
Add a new adjustment layer
- Black & White
- Opacity 30%
- Create clipping mask
Now back to that "Portrait" we hid back at the start of all this
- Unhide layer and highlight it so it's the layer you are now working with
- Change layer to lighten
- Position the layer within the nebula layers to where you would like to have your portrait positioned
- Duplicate layer 3x by using ctrl + j [x3]
When all 3 layers are created
- Highlight "PortraitCopy", "PortraitCopy2", "PortraitCopy 3"
- Create clipping mask
- Hide copies 2 & 3
Highlight "PortraitCopy"
- Filter -> Filter Gallery -> Colored Pencil
- Pencil Width - 7
- Stroke Pressure - 10
- Paper Brightness - 50
- Set layer to pin light with opacity of 50%
Unhide and highlight "PortraitCopy2"
- Filter -> Filter Gallery -> Water Color
- Brush Detail - 7
- Shadow Intensity - 3
- Texture - 1
- Set layer to multiply with opacity of 100%
Unhide and highlight "PortraitCopy3"
- Set layer to screen with opacity of 30%
Highlight the original "Portrait" layer
- Add layer mask
- Using the eraser, erase any unwanted parts of the layer
Highlight the 2nd Nebula
- Add layer mask
- Using the eraser at 23%, erase any unwanted parts of the layer
Highlight the 1st Nebula & create a new layer
- Set foreground to black
- Use the brush tool, using soft round brush with opacity of 100%, paint the parts you want to have stand out
Highlight top layer "PortraitCopy3" & create a new layer
- Click on the foreground color and set it to Gray (808080)
- Press ctrl + delete (backspace)
- Filter -> Noise -> Add Noise
- Amount 400%
- Distribution - Uniform
- Check Monochromatic
- Set layer to Soft Light with opacity 30%
Merge all layers into one later (shift + ctrl + alt + e)
- Add filter -> Blur -> Surface Blur
- Radius - 9 pixels
- Threshold - 8 levels
- Duplicate the surface blur by pressing ctrl + f
You are all done! I hope you got results that you love!
