- HubPages»
- Arts and Design»
- Crafts & Handiwork»
- Textiles»
- Knitting
How to Design Your First Hand-Knit Sweater: Part 2
Garter Stitch Gauge
Finally to the knitting!
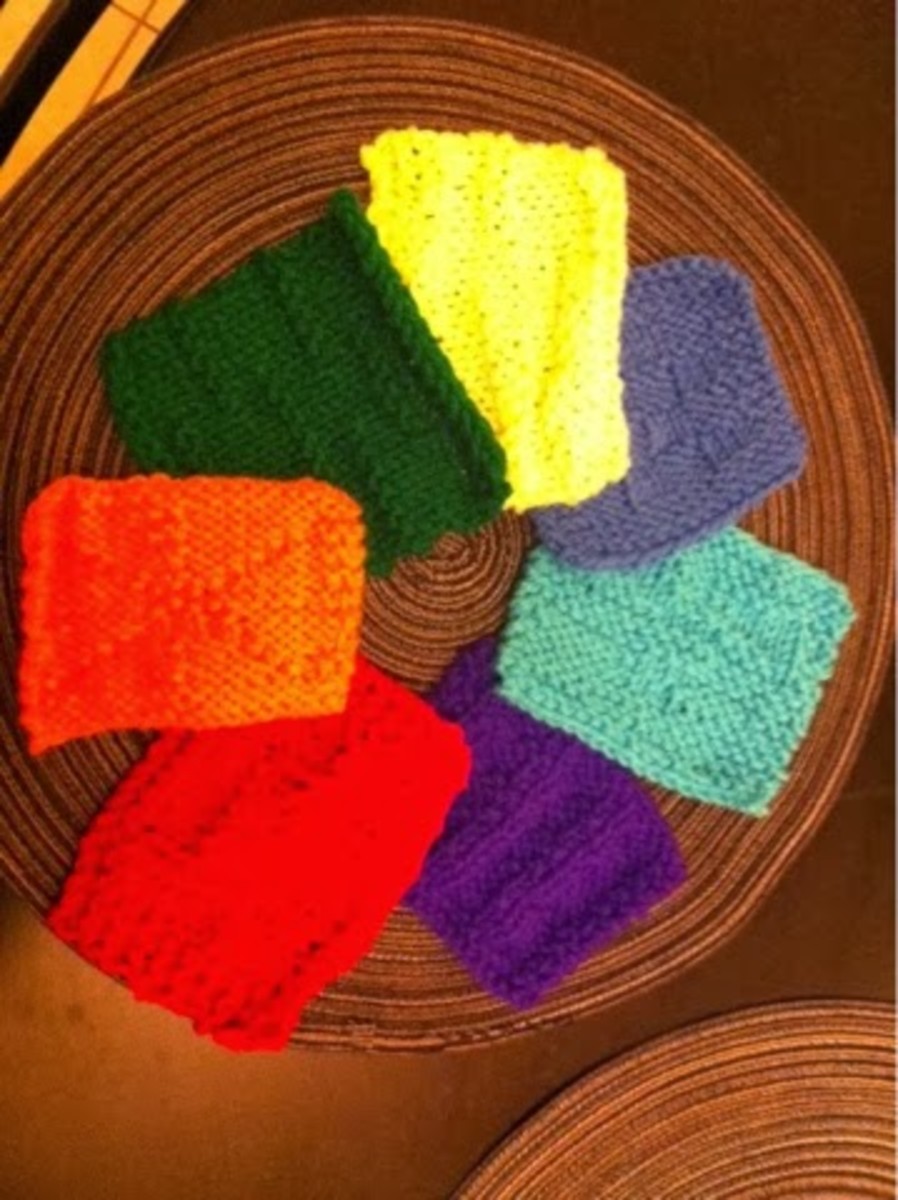
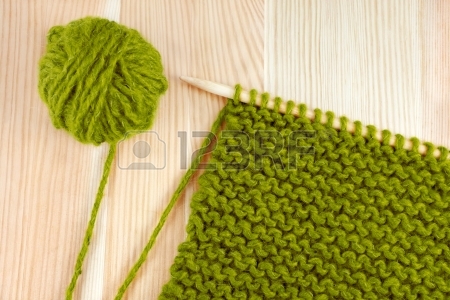
Now that we've got our measurements and our style selected, we're going to actually pick up the needles and start knitting. The very first thing you want to do is cast on 20 stitches, and work in garter stitch (knit stitches) until your work measures 4in. This is called a gauge swatch, and is an important process in not only design but knitting of any kind. Bind off your swatch and lay it flat. People recommend washing and drying this swatch just as you would your finished project before you measure it, and even tho I am sometimes guilty of skipping that step, it's advice you should take to heart!
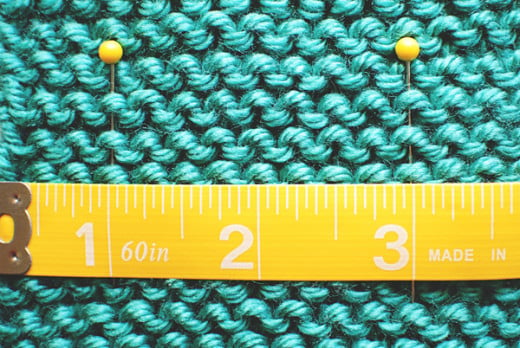
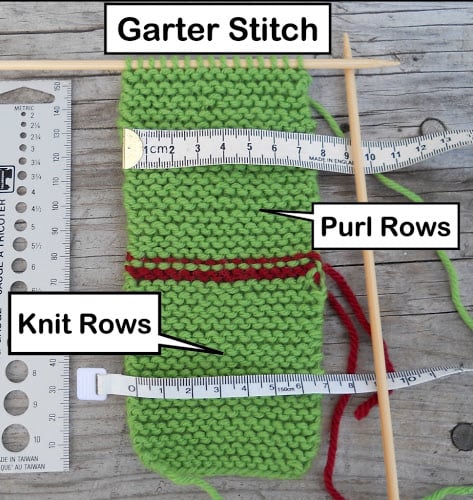
When you get your swatch ready, iron it and lay it flat. Using the same measuring tape you used to measure your body, lay it across the middle of the swatch. Pick an inch, as close to the center as you can get, and count the stitches. This is so much easier to do if you've picked a bright yarn. If you're unfamiliar with garter stitches, you may have additional difficulty. This just gets better with practice. Basically, what you're looking for is the little Vs or the little bumps. I, personally, count the Vs. Write this number down, move the measuring tape, and count a different spot. Do this as many times as you feel comfortable, because this number is EXTREMELY important. I got three stitches per inch. Write your own number down. This is your stitch gauge.
Gauge in Garter Stitch
Fun With Math!
Now, turn the measuring tape vertically, and count the rows. Again, this is something that just takes practice. It's the same process as counting the stitches; the only difference is that it's done vertically rather than horizontally. I have six rows per inch. Write this number down as well. This is your row gauge.
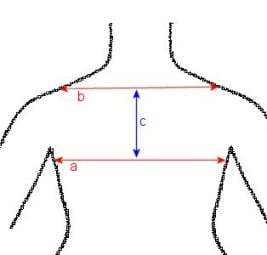
Now, to get the stitches we need for the sweater, we're going to have to do some math. I'll be using my numbers as an example. Don't worry! It's rather easy math. We're going to first multiply our horizontal measurements by our stitch gauge.
Waist – 26 x 3 = 78
underbust- 34 x 3 = 102
bust – 40 x 3 = 120
This is the number of stitches it will take to create these measurements.
To get the rows, we're going to add our vertical measurements to our row gauge.
Armhole- 19 x 6 = 114
Torso- 23 x 6 = 138
Arm- 26 x 6 = 156
Now we have the number of rows it will take to create these measurements. That means that we can draft our pattern!
Seriously. Measure more than once.
MATHMATICAL
To draft the pattern we'll have to do a little bit more math. So far we have the basic shape of the sweater in our heads, and we just need to get it down on paper.
To begin with, the armhole gague is actually for both arms, so we'll need to half it in order to get the number of rows per side (half on the front, half of the back.)
114/2 = 57
This means that it will take 57 rows per side to make the armhole. To figure out how many rows we need before that, we'll subtract this number from our total rows. In my case that would be 138.
138-57=81
Keep in mind that for each horizontal measurement, you'll be making 2 pieces, the front and back. So we'll need to cut those in half as well.
Waist – 78/2= 39
underbust- 102/2= 51
bust – 120/2= 60
I like to add a half inch for seam allowances on each side, so I'll add an inch to those numbers.
Waist- 39+1=40
Underbust- 51+1=52
Bust- 60+1=61
Armhole Length
Body
Cast on the number or stitches for your waist(babydoll) or bust/chest(boxy). In my case I would cast on 40 (61). Work in garter stitch for 81 rows. The number of rows is the solution you got before, so yours probably won't be 81. Just use the number you got.
Now, we'll shape our armholes by taking in our project by 2 inches on either side. We'll use our stitch gauge to calculate this. For me, 3x2=6. So on my 82nd row, I'm going to bind off 6 stitches, and work the rest in garter stitch. On my 83rd row, I'm going to bind off 6 stitches. Now, we're going to work the rest of our project. Because I had 57 rows in my armhole shaping, but I've already worked 2, I'm going to continue to work 55 in garter stitch, and then bind off. You'll take the number from your measurement. Congratulations! You've finished the first part of your sweater!
Work the front exactly as the back. So just make the piece you already made again!
Work the Sleeves
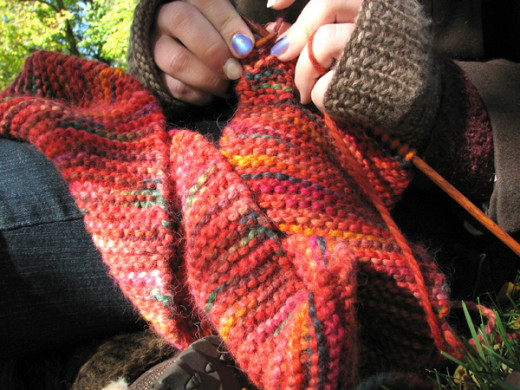
The arms are basically going to be scarves. They'll be loose around the wrists, unless you want to do some decreases. All you have to do is find out how many stitches to cast on! This part should be easy by now! For me, my armhole size is 19 inches. I'm going to multiply that by my handy stitch gauge.
19x3=57
Plus my inch for seam allowance
57+3= 60
So I'll cast on 60, and work for my arm length, 156 rows, and bind off! It's that easy!
Make your second sleeve just like the first!
You now have all the pieces for your sweater!
If I wanted my sleeves to be more fitted, I would measure my wrist, 8in. I would then multiply that by the stitch gauge.
8*3=24
I would want to decrease to this length at a rate of 1 stitch per row, so let's see how many that would take. First, I would subtract my wrist from my armhole.
60-24=36
So it would take 36 rows to decrease. So we'll subtract that from our total rows, in my case 156.
156-36=120
So I would case on 60, work for 120 rows. Then I would begin a pattern of K, K2together, K until the end of the row for my final 36 rows. Then I would bind off.
© 2015 blargablarga


