How to Design a DVD Label in Microsoft Word

Designing in Microsoft Word.
Microsoft Word is not just a word editor, you can use it as a powerful designing software.
Let us see how we can use Microsoft Word to design a DVD label using a template.
Getting the DVD label template online.
The DVD label template can be found in the Labels section.
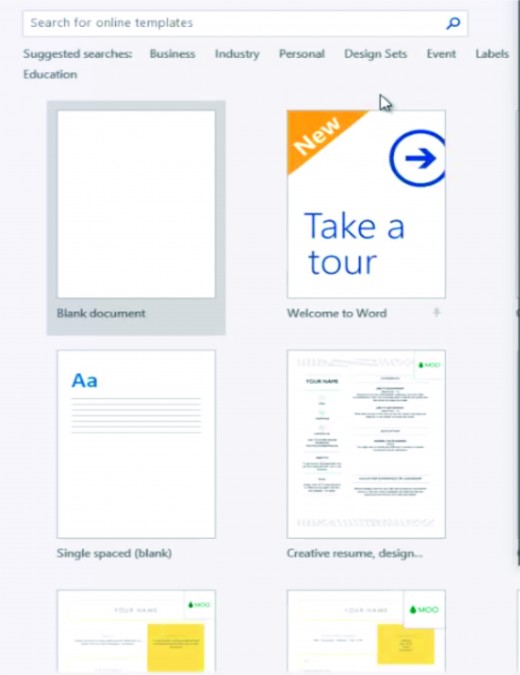
Make sure you are connected to the internet and launch Microsoft word. Part of your screen should be looking similar to the image above.
The labels can be located as shown below. Click labels in the suggested searches or in the categories. See picture.

Choosing the right template will save you a lot of time. Scroll down and choose a template that you want. Let us choose CD or DVD label (2 per page).

Creating and downloading the DVD label template offline.
Now that you selected the desired template, you need to download and edit and edit it offline. To do that click the label, when it pops up, click create. It will then download automatically.
After the template has finished downloading, we can now edit it offline by typing directly into the text area. But unfortunately, the content of the DVD or CD may go beyond the default text area or you may not like its default position. So let us look at how to overcome that problem in the next few steps.
Creating the the DVD label template.
After clicking that template, a pop-up would show as in the image below. Click the create button.
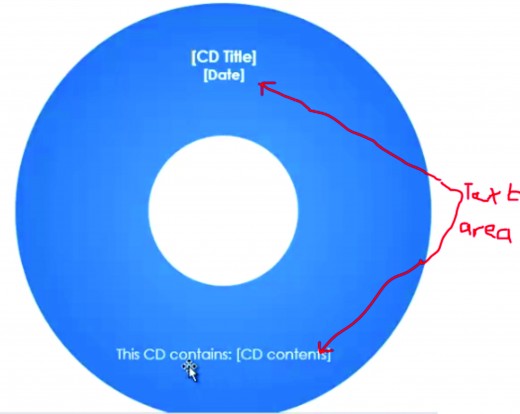
This is how the DVD label template will pop-up when you click on it.

The text areas are where the arrows are pointing to. These text areas can only take limited contents, so we will use a different strategy.
Using Picture Fill and Textbox
The idea is to use a Picture Fill for the DVD label. That is, we have to use text box to put more text on the picture. Let’s quickly do that by importing a picture into Microsoft word in a different document.
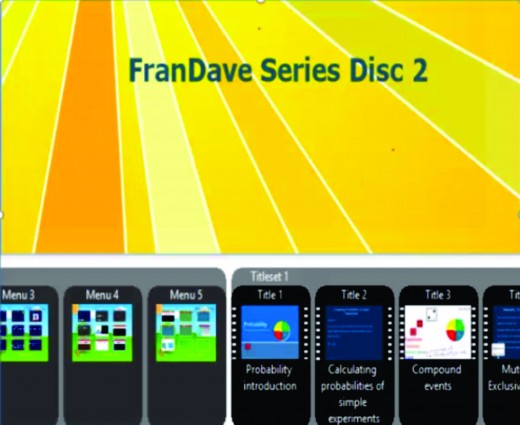
The image below is what I have used. Yours could also be any nice image with dimensions say 5.15 by 4.17
Choose a picture with a nice dimension.
Inserting text on the image.
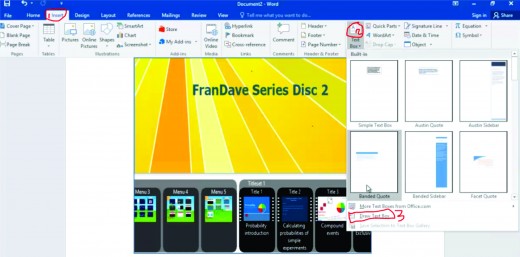
Now click the insert tab and click text box and then click draw text box. See the image below.
See how it is done in the picture below
Writing inside the textbox.
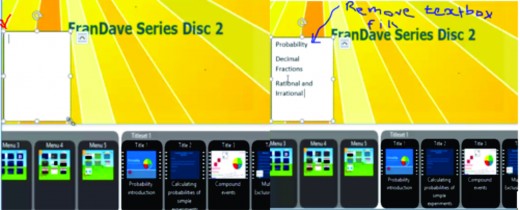
After clicking draw textbox, locate an appropriate area on the picture and draw a textbox as shown below.
We can now type whatever we want into the text area. You can add more textboxes if you wish. You need to format the textbox to No Fill, so select the textbox, click format and click No Fill. Repeat the same process to remove the outline of the textbox if you wish to do so. See image below:
Formatting the textbox
After removing texbox fill, your work looks like this one.

Customizing with your own picture.
You may also want to include a picture of yourself on the DVD. If you insert a new picture, it may overlap as it did in the diagram below. Click the picture and select the Format tab, Wrap text and click Tight.
The picture then floats for you to move around and crop to any shape. As for me, I cropped it to a circular shape. You can also do that by selecting the picture, go to Format and click crop to shape, then select circle.
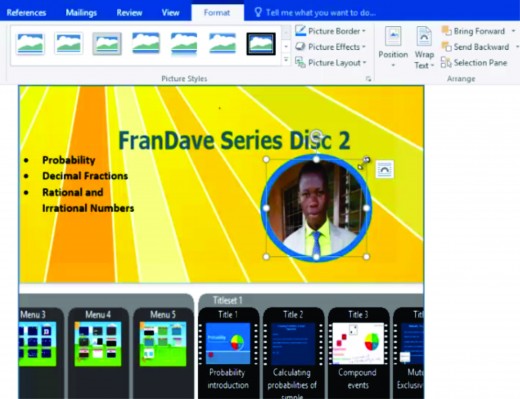
Use the Picture tool to change the border and adjust it to get something similar to the image below.

After formatting the picture, it should come up like this
Snip the picture using the snipping tool
Use the snipping tool to snip the final image and save it. After that go back to the DVD label template and select the first DVD shape. You have to be very careful over here.
After selecting it you will see only one rectangle around the shape. You then need to click inside again to activate the shape. This time you will see two rectangles around the shape. See the images below
The selection should make it look like this if it s correctly done.
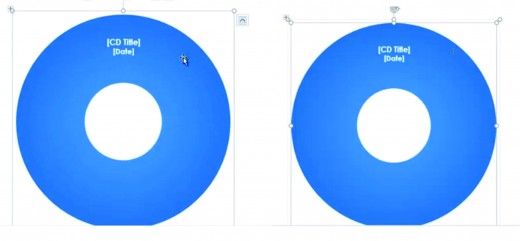
When you select the CD label and it is looking like the one on the right above, right click in it and select Format object.

If you follow the instructions carefully your work should now be looking like the one below.
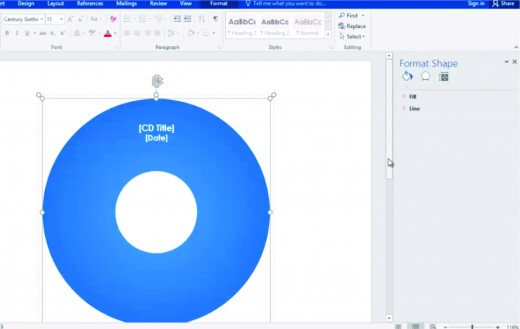
We are almost there. We are now going to fill the label with our picture that we designed. So, click Fill then click file, then browse to where you saved the pi
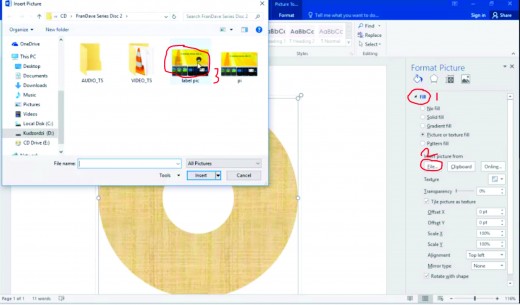
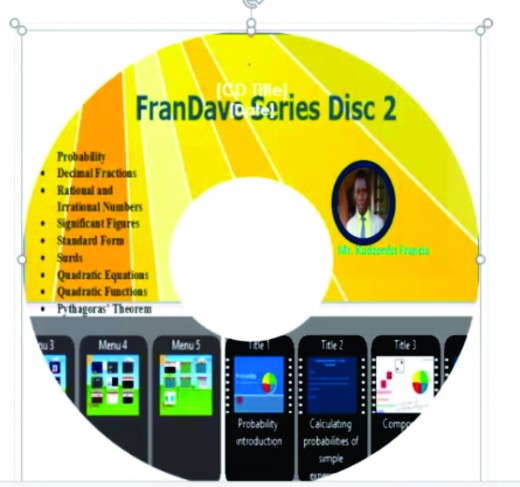
Double click the picture and you will get the result below if everything is successful.
Customze or default textbox?
You may choose to delete the default textboxes or customize them to suit your desire. You can repeat the same process for the second label.
© 2018 FkAcademy
Related

How to Insert an Excel Table Into Microsoft Word

GIMP Tutorial - How to Create Layers
")
How to Use Word Processing Software (NVQ Diploma in Business and Administration & IT)

IncludePicture: How To Mail Merge Graphics and Photos in Microsoft Word Step By Step

How to Install Custom Content and Mods in "The Sims 4" (PC & Mac)


