How to Do Lightning Effects in Photoshop
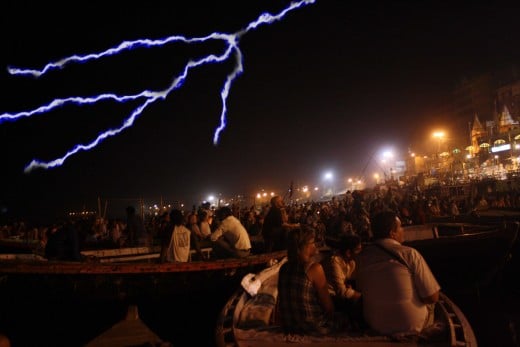

You can manipulate photo in Photoshop by creating lightning effects. Creating artificial lightning or adding lightning effects in photo is fun. There are number of ways to do lightning effects. Here are some methods I follow, and I believe even the beginners will find these lightning effects tutorials handy. You don’t have to be rigid and follow my settings, you may experiment with tools and presets, especially in the Filter gallery, and get amazing results.

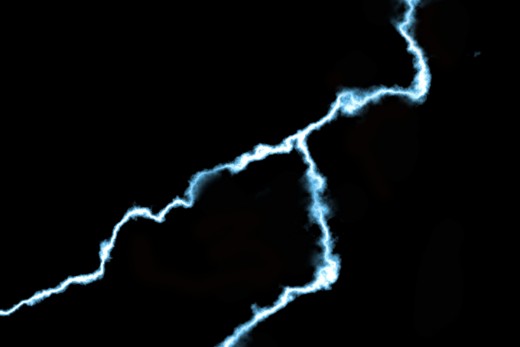
Photoshop Lightning Tutorial
Create a new document.
Set black as foreground color and white as background color.
Go to Gradient tool, select black and white preset. Make sure you have chosen linear gradient.
Drag the pointers and set the color range. The color range determines the thickness and the curve of the lightning strike. If you are not satisfied, you can always go back and reset the pointers in Gradient bar.
After you have set the gradient, hold shift and drag. Your canvas will be filled with black and white gradient.
Go to Filter→Render→Difference Clouds
Go to Image→Adjustments→Invert (Short Cut Key: Ctrl I)
Go to Image→Adjustments→Levels (Short Cut Key: Ctrl L)
Set Input level to high so that you get a thin strike resembling lightning.
Create a new layer, and select Gradient tool. This time drag the line in different orientation. Click Ctrl F to create Difference Clouds, Ctrl I to Invert and Crtl L for Levels. Go to blending options and choose screen as blending mode.
Click Ctrl T and transform the orientation of the lightning effect so that it blends with the first strike.
Click Ctrl E and blend the layers.
You can create as many lightning strikes as you like and blend with the first lightning effect, but make sure do don’t overdo it.
Select a hard brush and paint black color over unnecessary parts. Choose soft brush to blur the edges of the strike, if necessary.
Go to Image→Adjustments→Hue/Saturation (Short Cut Key: Ctrl U)
Check Colorize and set hue and saturation.

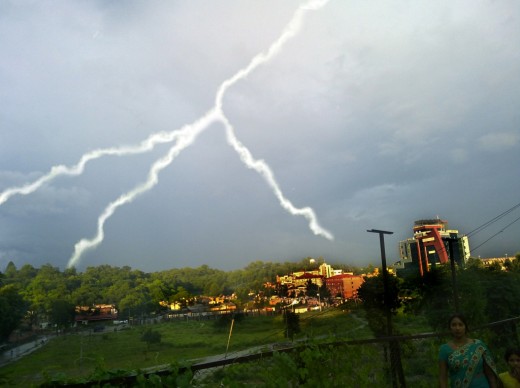

Adding Lightning Effects in a Photo in Photoshop
Open a photo in Photoshop.
Create a new layer. Make sure your foreground color is black.
Click Gradient tool and select black and white preset.
Hold shift and drag, your canvas will be filled with black and white gradient.
Go to Filter→Render→Difference Clouds
Click Ctrl I to Invert, Crtl L for Levels. Adjust the levels so that the strike you see in the canvas resembles lightning. You can create few other strikes if you want.
Go to blending options and select screen as blending mode.
If you have set the background of gradient layer to transparent, you can simply choose eraser tool and delete unnecessary parts. If not then add a layer mask. You can find layer mask icon on the bottom of layer panel. Now, you can go to the gradient layer, select soft brush and delete unnecessary parts.
Click Ctrl U to set hue and saturation. Check colorize and drag the pointers on hue and saturation left and right to set the color of lightning effect.
You can also go to Color Balance (Ctrl B) to set the color of the lightning.


