How to Draw Realistic Hands Tutorial
Updated on September 9, 2013
* Lets get started. Take out a sheet of paper, pencil and lets begin.
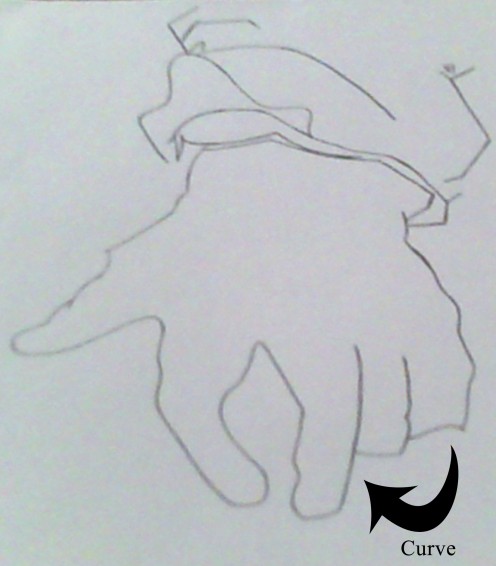
Step # 1: Begin Sketching a Hand
Imagine the hand inside of a glove and draw the outer shape of a hand and fingers. *Remember fingers do not relax into straight lines. They tend to curve no matter how gravity pulls on them. Look at your fingers and see the curves. Grab your pencil and begin drawing the outer shape of your hand from the thumb until you get to your little finger. The arrow in the drawing indicates how the fingers may curve so try and draw as many curves as you see. In the drawing I also drew part of the end of my sleeve. If you want to draw part of your sleeve you can.
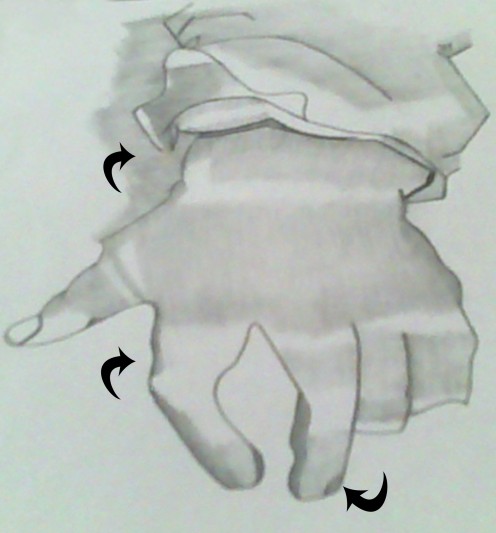
Step # 2: Add Details to fingers
Carefully observe the shape between the fingers. Begin to shade the areas of the hand and thumb. Look at your hand to see where the dark and light tones in your hand are located. Next, take the tip of your pencil and lightly shade the areas. Continue to shade the dark areas until you are satisfied with how it looks. In addition, continue to shade lightly in certain areas until satisfied. If you shade too dark then slightly erase the shaded area with a clean eraser and then go over it. The arrows in the drawing indicate where I shaded areas of my hand. Notice how I shaded dark around the edges of my hand and a bit light by the tips of my fingers.
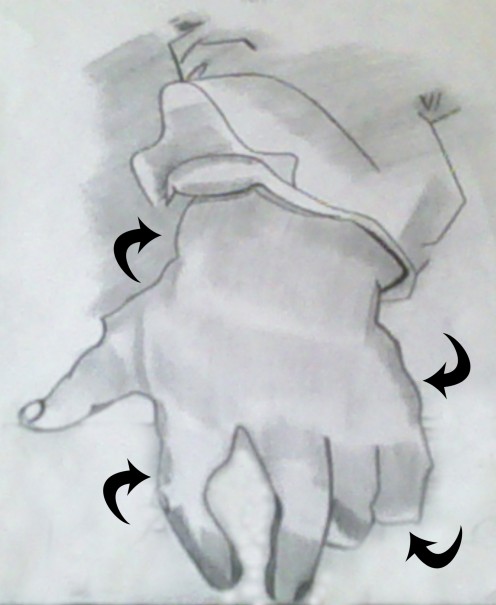
Step # 3: Refine Drawing
Refine the lines between the fingers and thumb to make them appear more curved if needed. Continue shading the areas of the hand and fingers until you have finished all of the shading. The arrows in the drawing indicate the areas where I continued to shade. Then add finger nails. You don’t need to shade the fingernails because they should be clear. If you draw part of your sleeve then you can continue shading it as well until you are satisfied with how it looks.
Final Step # 4: Finish Adding More Tone
Refine lines by continuing to shade the hand, fingers and erase extra lines if necessary to complete the drawing. For the final part of the drawing I smoothed out the led by utilizing a tortillion. The arrows in the drawing indicates where I added more shading and also where I utilized the tortillion to smooth the drawing so that it appears to look realistic.