How to Drill Perfect Round Holes in Glass


If you’re a crafter and have found a new project that requires drilling holes in glass it can be a tricky feat to accomplish if you're not using the right tools. Holes in glass can be used for hanging glass art, drilling holes in fish tanks or whatever your drilling needs may be. At times it can be tough to do without breaking the glass in the process but below are a few tips, with and without, a drill press that can help.


Things you will need:
Marker
Ruler
Non-clear Tape
Glass Object
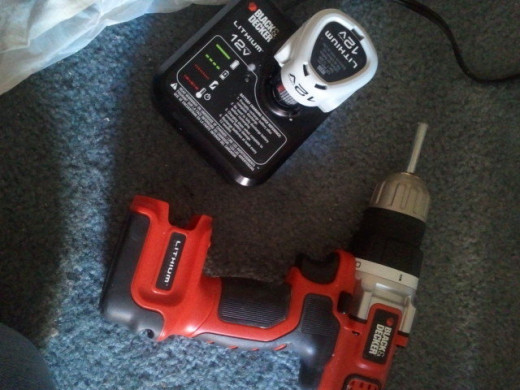
Drill Press
Hand Drill
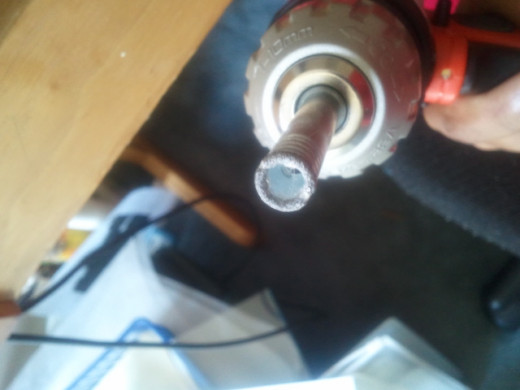
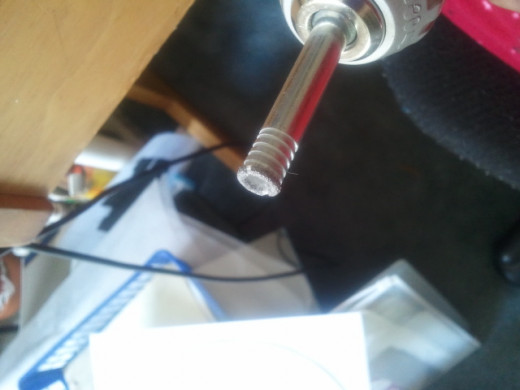
Diamond Hole Saw Drill Bit
Molding Clay
Water
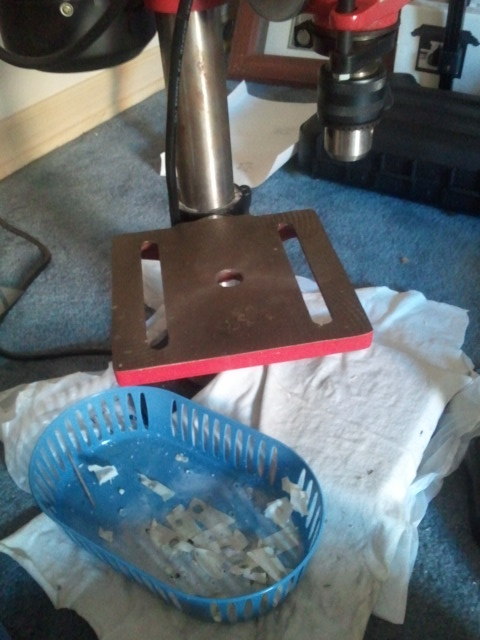
Basket (for catching spilled water after hole is drilled)


Drilling a Precise Hole
Step 1: Mark Your Area
If you have a specific area to drill, use your ruler and marker to dot where you want to drill.
Step 2: Place Your Tape
Underneath the glass of where you are drilling, place your tape where your dot that you put above the glass, is. This helps you see where your marking is to know where you are drilling.
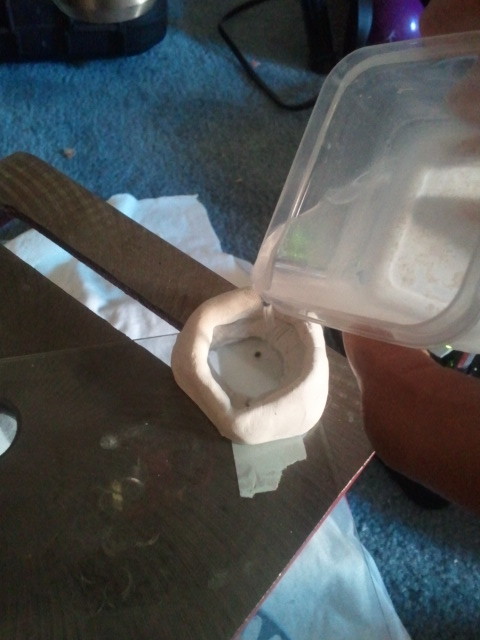
Step 3: Mold Your Clay
Form a thin strip (about half an inch in width) of your molding clay into a circle that surrounds the area you want to start forming your hole. Your dot should be in the center of the circle. Make sure the clay is spaced out enough as to not interfere with the drill bit. This circle of clay will be holding in the water that is needed to minimize the friction between the drill bit and glass.
To ensure the clay is firmly placed on your glass check underneath the glass (if you are able to) and press the clay down. You will see it change in color as it presses down. This can indicate that it is a good seal.
Step 4: Pour Water Into Molding Clay
Keep a small container/cup of water nearby. Pour just enough to cover the tip of the drill but not too much where it can spill over the edge of your molding clay. Drilling with a drill bit immersed in water prevents the drill bit from getting too hot and wearing down its tip.
Step 5: Start to Drill
Using your drill press to first start off your hole is very helpful. It can help form a groove that will enable your hand drill to stay in place.
To get an idea of where you want your hole to be, with your drill press handle, lower drill bit just enough near the surface of the glass and your mark to see where your drill bit will land when you are ready to start. When you feel you have the correct placement lower your drill bit onto the glass and begin to drill. Hold bit on glass with just enough pressure to begin the groove. (Silently doing a count in your head will help you judge on further projects how long to hold your bit to glass. I find it comfortable to count until 90 to get a good deep groove started.) Empty water into basket you have set aside. When groove is begun, raise drill press and bit up back to its starting position. Why only create a groove with the drill press? I found that trying to create my hole with the drill press alone, cracked it every time. It may however, work for you.
If drilling multiple holes, to reuse the clay you're using, remove clay leaving it in its same circular form. Smooth out the bottom of the clay first. This makes it easy to seal it down over your next hole. Repeat above action until you are ready to move onto your hand drill. Or if you have tons of clay to spare, create your circles of clay and dot markings for each hole you will create.
*For multi-use do not pour used water back into container. This will cloud your water and make it difficult to see your markings for the next hole you drill.
Step 6: Deepen Groove/ Forming Hole
Remove your drill bit and insert it into your hand drill. Place glass on the table of drill press. Make sure it is over a spot on the table where there is no dropout. It should be on a solid spot on your press' table. (Drilling over a dropout area on the drill press table can cause you to break the glass when the drill bit goes through.The bit needs something hard and flat to complete the hole.) With your hand drill, fit the drill bit inside groove you made in step 5. Hold hand drill at a 90 degree angle. Hold this position to a count of about 40 or so. Next, hold hand drill at a 45 degree angle on at least 4 sides of the groove allowing the drill to sit on each side for about a count of 30. This helps deepen and thin the groove, causing it to almost detach from the glass.
After that, begin to swivel drill in a circular motion. This helps to complete the wearing down of of the loosening groove, breaking the glass further. Once you begin to feel the bit and drill tug a little you know that you have broken through. Another sign can be water leaking from the bottom of your hole. Remove water but keep clay in place just in case the hole hasn’t been completely broken through. Lift up glass to make sure drill bit has cut hole.
Step 7: Smooth Out Hole
Once hole has been formed, lay glass on drill press table where there are no dropout areas and on a low setting place bit in hole and smooth out the hole. Flip over glass and do the same. Since this is just a few pumps of the drill don’t worry about using the clay and water for smoothing.
Drilling Without a Drill Press
If you're looking to drill a hole and it doesn't matter where it's placed on the glass, drilling a hole without a drill press can be a bit tricky and not quite as neat. If you use your hand drill only for this project, it may be more difficult to keep your marking in the center of where you are drilling. But again, if it really doesn't matter where the hole is placed you can go this route. By starting off at a 45 degree angle on the glass and trying to keep your hand firmly placed in one place you can start a groove that normally would have been started by the drill press.
Once the groove is made you can continue with step 5 from up above.

Diamond Hole Saw Drill Bits

Tips on How to Drill
Voile!


