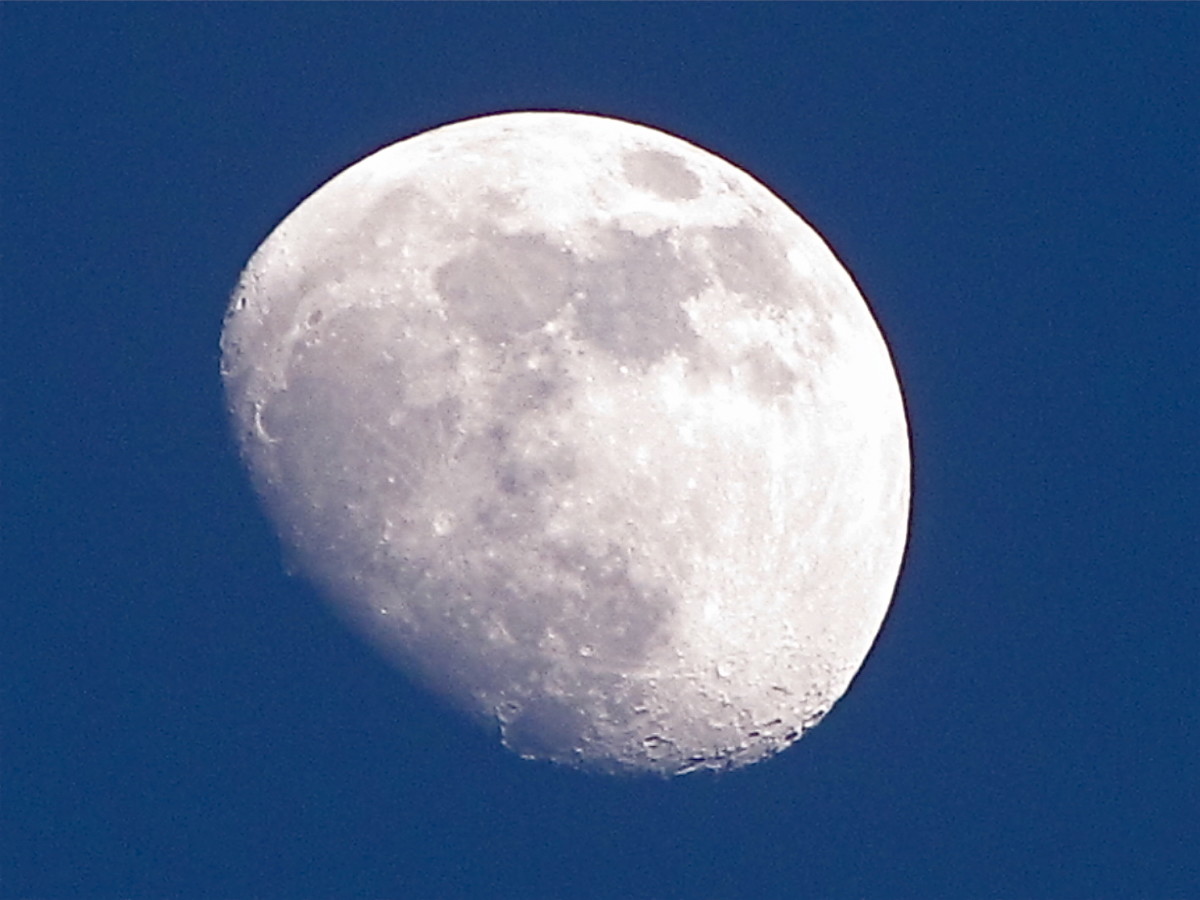
Tips to Improve Your Nature Photography
Tips & Techniques to Help You Improve Your Nature Photography

Regardless of what is the photographic style or genre that captivates you the most, no matter how many photographs you have taken of your favorite subjects, and for that matter how long you have been doing so, if you do not understand how to work the scene, i.e work the light, your pictures will probably remain "so...so" in the yes of publishers and anyone who may turn your pictures into published works.
Even if you photograph for your own purposes like to publish your own e-Book, you still need to ensure that your pictures are of the highest quality technically speaking. They must be sharp, well composed, and more often than not be pleasing to look at.
Diffused side light (afternoon)
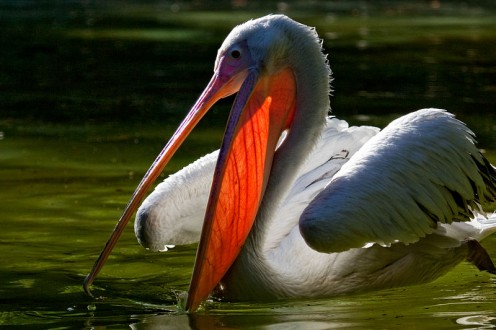
Assuming that you understand your gear well enough and this means understanding perfectly how the f stops, the shutter speeds, the use of a tripod, various lenses, especially zooms and macros plus when to and when not to use artificial light, you need to know that without light there is no photography and understanding what type of light can turn an average picture into a great picture is often the key to make you stand above the rest.
When concentrating on nature photography you will seldom have the time to set up any sort of artificial light like a strobe or a good flash unit unless you always carry one attached to the camera, and even then sometimes this is not enough plus you run the risk after using a flash , that your subject will more than likely leave the scene.
It is these times that you need to be keenly aware of the light that you have available and for this you need to know how to use it to your advantage plus how each light situation affects the final product.
Do you understand how light can affect a shot?
First you need to see the direction the light is coming from; overhead, from the sides or from behind the subject. Pay attention to how the light falls on your subject and what effects it has.
Does it creates harsh shadows like the light from midday that can create very strong contrasts and unsightly shadows plus may tend to "over-wash" some parts of the subject.
If the light is coming from behind the subject you will get a silhouette and unless that is what you want, you will need a good strong flash burst but this can often make pictures appear unnatural.
If the light comes from one side of the subject like when the Sun is beginning to set, it can create shadows on one part of the subject and will give an image of a subject which has half its body in the dark. May work for some situations but it is usually not good for nature shots.
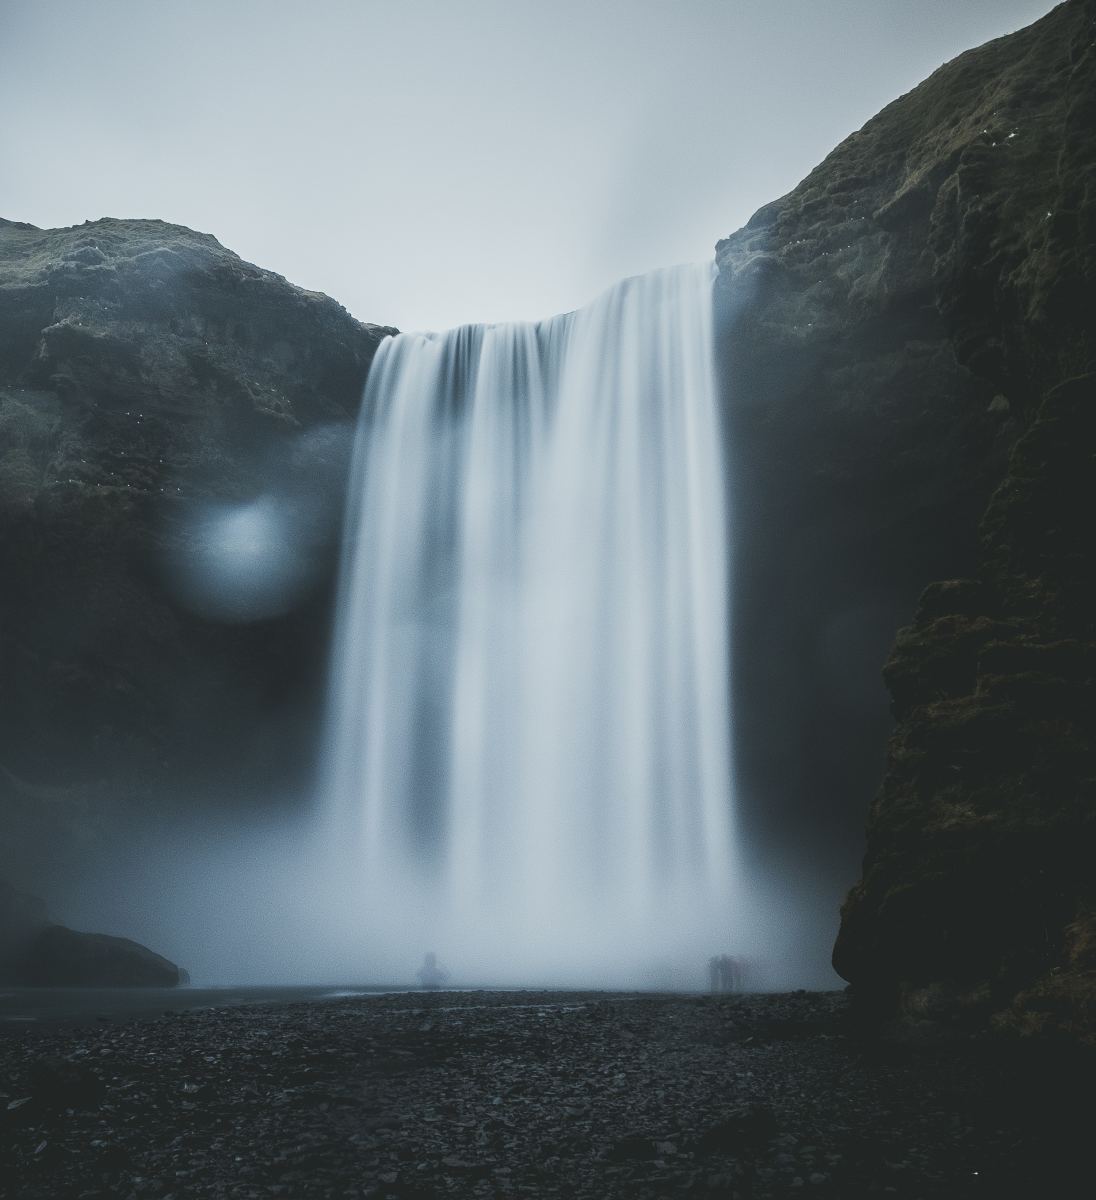
Diffused light is the one that comes from the sky when it is overcast and because it is being "filtered" by the clouds, it is usually a soft light perfect for giving the entire scene a nice pleasing look to it.
Direct light is the one that most nature professional photographers prefer. This is light that is behind the photograph and which fully and evenly illuminates the subject.
Mid day (overhead) & Late in the day (sides)
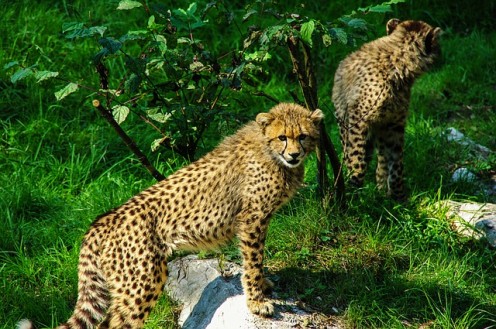
"Is accurate color important in photography? Accuracy is important for portraiture and product shots, but beyond that, all's fair in photography. A blue color cast could be just right in a photo of a winter snow scene or a dusk city skyline. And a yellow color cast might help convey the heat of a desert landscape." http://www.lynda.com/
Pay attention to the time of day since this is what determines the "color" quality of the ambient light.
This color can go from yellow-ish to reds and oranges (in photography these are called warm) when it is late (or very early) in the day while more of a bluish tone (cooler) is present during the middle of the day.
If the day is overcast, i.e rain, fog, snow, dust , this will also tip the scale towards the more blueish tones. Let the color "temperature" work for you. Use cooler light to emphasize winter scenes and use the warmer colors to emphasize a vibrant scene of subject.
Using both a cool and warm color temperature formula can greatly serve to add dimension to the scene as well. This is usually accomplished by having a subject bathe in a warm light along with some portions in the shadows.
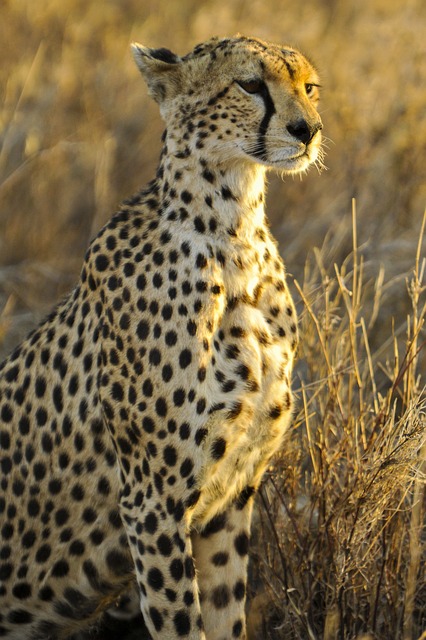
Shot in "warm" colors

Keep shooting, even after you think you've got the perfect shot. Light is continually changing and one moment it presents a great shot and the next may present an even better one.
When you think that you are done taking pictures of the subject, it best to take a few extra shots within a time interval of a few minutes or longer. You may end up being surprised as how different the light makes your subject appear in a matter of five or ten minutes.
It is always advisable to take more shots than you may end using than to miss one great photo because you thought you had enough shots.
Birds in winter (cool) light & Lynx
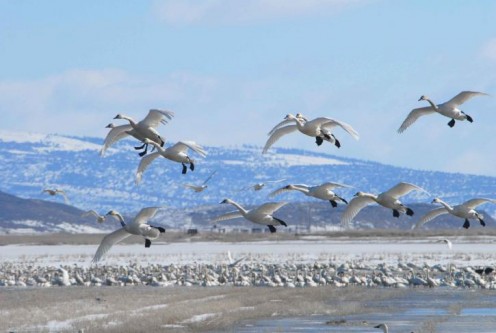
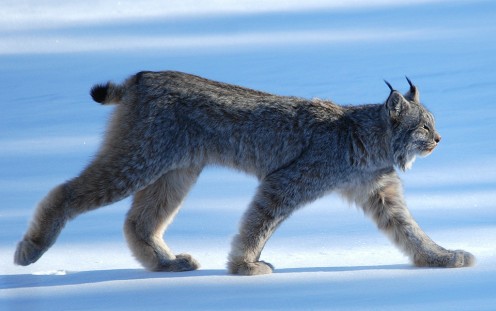
Side light

© 2015 Luis E Gonzalez

