- HubPages»
- Arts and Design»
- Crafts & Handiwork»
- Textiles»
- Embroidery
How to Learn Embroidery Stitches
Hand Embroidery
While there are many sewing machines that offer interesting options, they need space where they can be set up. Hand embroidery can be stored in a small work basket that is readily accessible. It is a skill that is creative, relaxing and can provide great satisfaction. A little patience is needed at the beginning, but learning embroidery stitches is fun, and only three or four basic stitches need to be mastered in order to produce really attractive items.
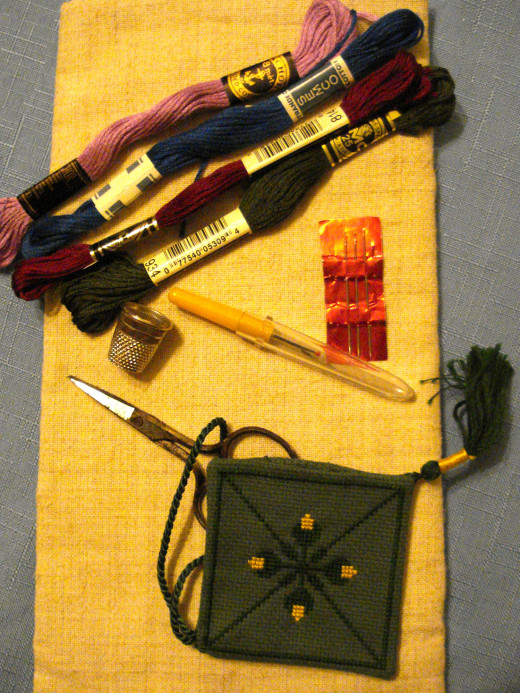
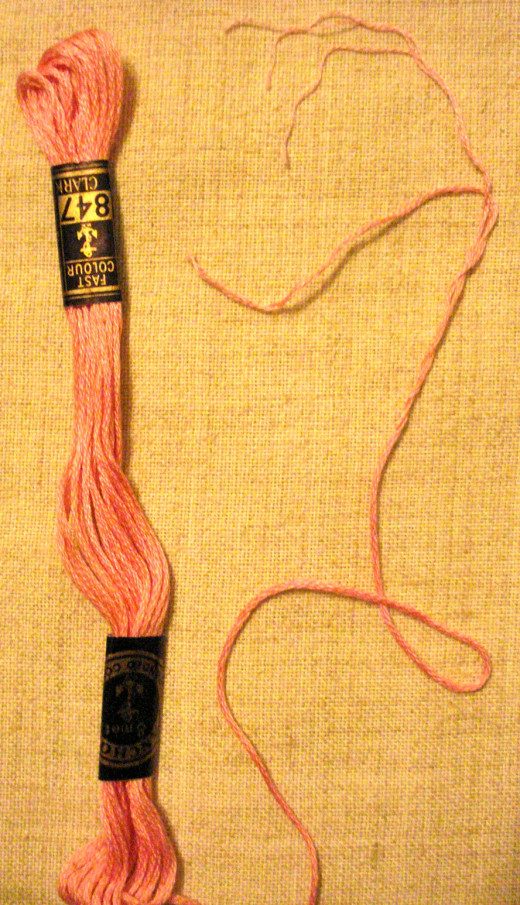
Materials: For the beginner, not many materials are needed and they are relatively inexpensive. Basically, for learning hand embroidery, all you need is
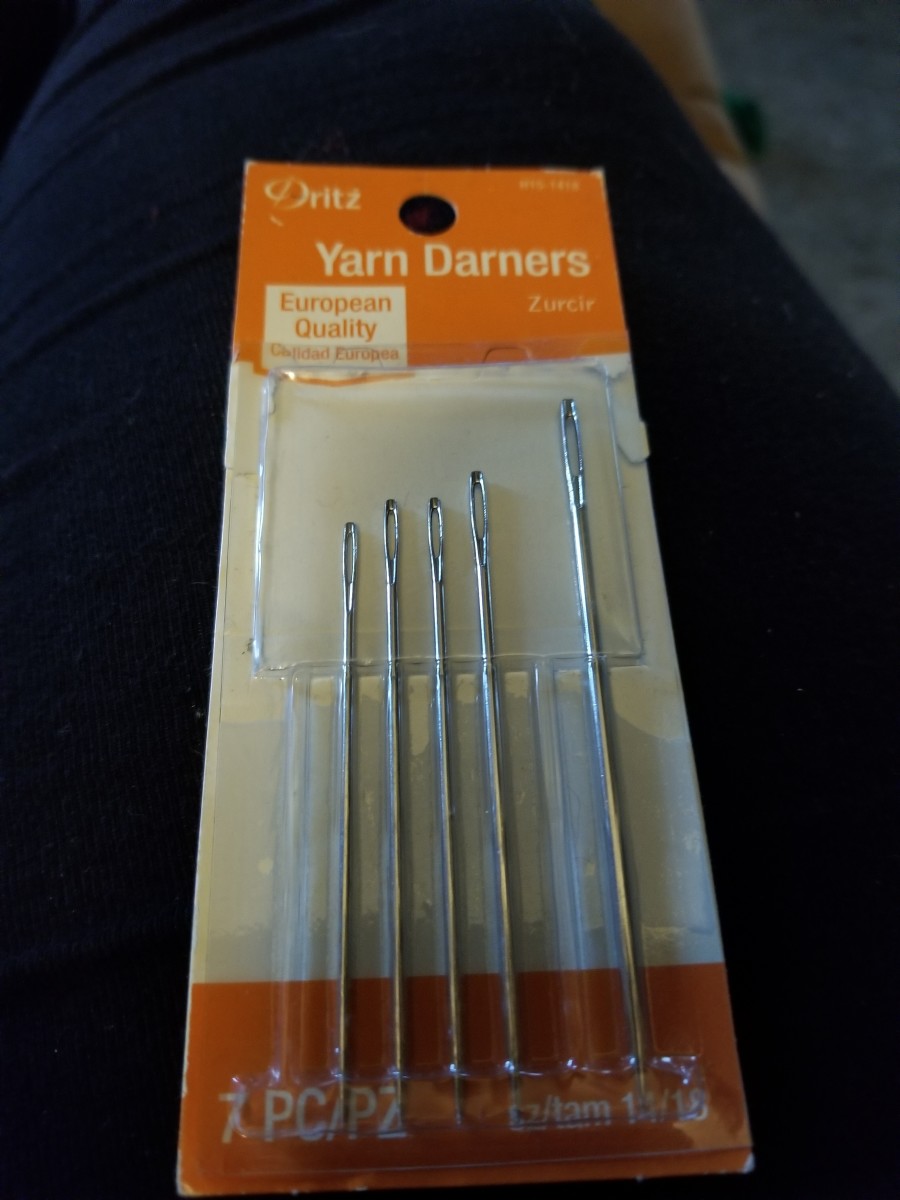
- a packet of sewing needles with eyes that are suitable for embroidery thread
- a few hanks of different coloured thread
- a small pair of sharp, pointed scissors
- some plain weave cotton or linen fabric to practise on
In Addition:
- A 'quick-unpick' tool may be useful
- A thimble can help to protect your fingers
Before You Start
- Preparing the Materials: Find a scrap of plain weave fabric on which you can try sewing the stitches in the same way as demonstrated in the sampler.
- With a pencil, draw a straight line alongside one of the horizontal threads in your fabric. You can follow this line for your practice stitches.
- The best thread to use is stranded cotton. Choose a colour, find an end of the thread in the hank and pull out about half a metre. Cut it off and fan out the end. You will find that there are six strands.
- Choose three strands and separate them from the other three. Sometimes they twist around and tangle, so it is helpful to have someone hold the other end, or you can hold it with your teeth.
- Put aside one lot of three strands, ready to use next, if you need them. Keep them neat, if necessary winding them around a small piece of card.
- Thread the remaining three strands through the eye of the needle.
The Beginning: Anchoring the Thread
Some quite good embroiderers begin with a knot at the end of the thread. While a knot holds the thread fast, it does not improve the appearance of the back of the work; the aim is to keep both sides as neat as possible.
It usually works quite well to anchor most embroidery stitches by taking several small running stitches along the line you plan to embroider on the right side of the work, say, for about one and a half to two centimetres. Leave a tiny tail poking out at the end of the thread on the wrong side. When you work over it, the embroidery stitches will help to anchor the end of the thread.
This method does not work for all stitches, as it might show. In that case it is best to anchor the tail of the thread on the back of some previous work in your design, if possible, making a back stitch or two in the one place to make sure the thread is firm and will not pull out.
Basic Embroidery Stitches
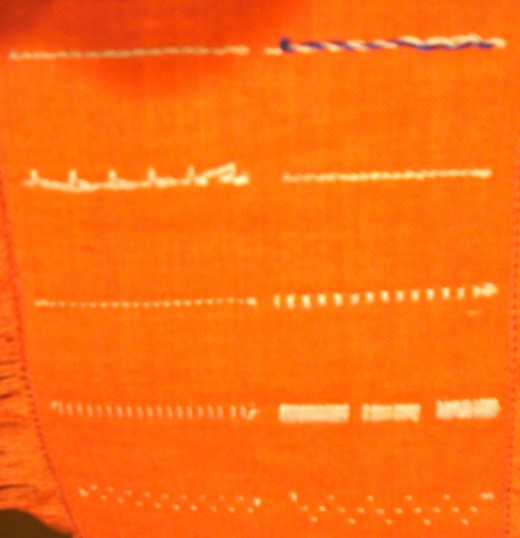
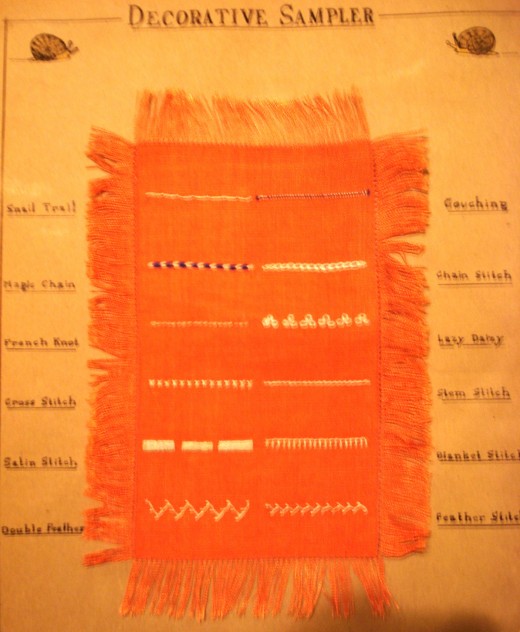
In the sampler below twelve different stitches are shown, but probably the basic embroidery stitches can be narrowed down to about four.
Stem Stitch: This is the fourth stitch down on the right side of the sampler. It is used for stems and for many designs that require a slender line. If you are right-handed, keep the thread to the right side of the work the whole time as you sew.
- Working from left to right along the line, push the needle into the fabric about three millimetres to the right of where the thread is anchored and bring it out back at the anchor.
- At each stitch the needle should come out just above the top of the previous stitch. This helps to make a neat, straight line.
- At the end of your practice line, take the needle to the back of the work and fasten with three small backstitches.
- Snip the thread, leaving a very small 'tail.'
Satin Stitch: This is the fifth stitch down on the left of the sampler. It has a satiny appearance and is very useful for filling in a variety of shapes.
- Working from the left to the right along the line, bring the needle from the thread anchor to the from of the fabric about two millimetres above the line.
- Following the weave of the fabric, insert the needle about two millimetres below the line.
- Continue making these vertical stitches, keeping them close together until you have covered the line.
French Knot: This is the third stitch down on the left side of the sampler. It is used for the centre of small flowers, eyes, and most places where a small dot is required.
- After anchoring the thread, bring the needle to the front of the fabric, push the needle into the fabric and out again, as if making a tiny stitch, but do not pull the needle all the way through.
- Wind the thread three times around the part of the needle that is away from its eye.
- Holding this twist of thread fairly firmly, draw the needle all the way through to form a neat knot.
- Close to the knot push the needle through to the back and fasten firmly.
- If you are making the one French Knot, cut the thread, leaving a very short tail. If you are making a row of knots, as in the sampler, continue a little along the line and make another knot.
Lazy Daisy: This is the third stitch down on the right side of the sampler. It can be used for small petals and in most places where a small, circular stitch is required.
- Push the needle partly through to make a small stitch the size you choose to make the petal.
- Bring the thread around under the pointed end of the needle and hold it in place with your thumb.
- Pull the needle through gently so a circular petal is formed.
- Push the needle back down almost in the same place, but the other side of the the thread to anchor the petal. As you do this you can take the point of the needle to where you want to position the next petal.
- When you have practised lazy daisy stitch all along the line, after you have anchored the last stitch leave the at the back, turn the fabric over and anchor at the back with three small back stitches.
A Variety of Stitches
Once you have mastered these four basic stitches, you will find that many of the other decorative embroidery stitches are based on variations of these are fairly easy to learn. Some other embroidery stitches are more complicated and are best saved for when you are ready to try them.
- Snail Trail is basically a series of small running stitches. As you end a running stitch, bring the needle to the front again, almost in the same spot as it went to the back, and make a French Knot before beginning the next running stitch. It is fun.
- Couching is a useful stitch when you want a line to stand out more. Using all six strands of a thread, anchor it on the wrong side, make one long stitch horizontally along your drawn line and anchor the end on the wrong side again. If it is very long, it can be best to anchor it at the beginning and leave the rest of it loose, covering it as you go. Then you 'couch' this thread with small vertical stitches of two or three strands of thread. The two threads can be different colours and different thicknesses; couching gold cord can be very effective in some heavy embroidery.
- Chain Stitch is a variation of Lazy Daisy and can be very effective.
- Magic Chain Stitch is a variation of Chain Stitch: it is created by using two contrasting coloured threads in two separate needles and alternating the use of each as you form the chain.
- Cross Stitch has many uses and is not difficult to do. The main thing to remember is to keep all the top cross-over stitches going in the same direction, or the work can look uneven.
Have you noticed that there are actually thirteen different stitches shown on the sampler?
The last one is used around the edges and is a special stitch used in Drawn Thread Work.
Happy Stitching!
Embroidery and Needlework
- Wool Embroidery: A Victorian Pincushion
Pincushions were really popular articles to make in Victorian times. Instructions are given here for designing and making a simple Victorian style pincushion that will give years of service to any embroiderer. - How to Sew a Fine Seam
With the growing popularity of hand-sewn clothing in mind, this article discusses how to make a french seam, an open seam and a flat seam. The same instructions can be followed if using a sewing-machine.


