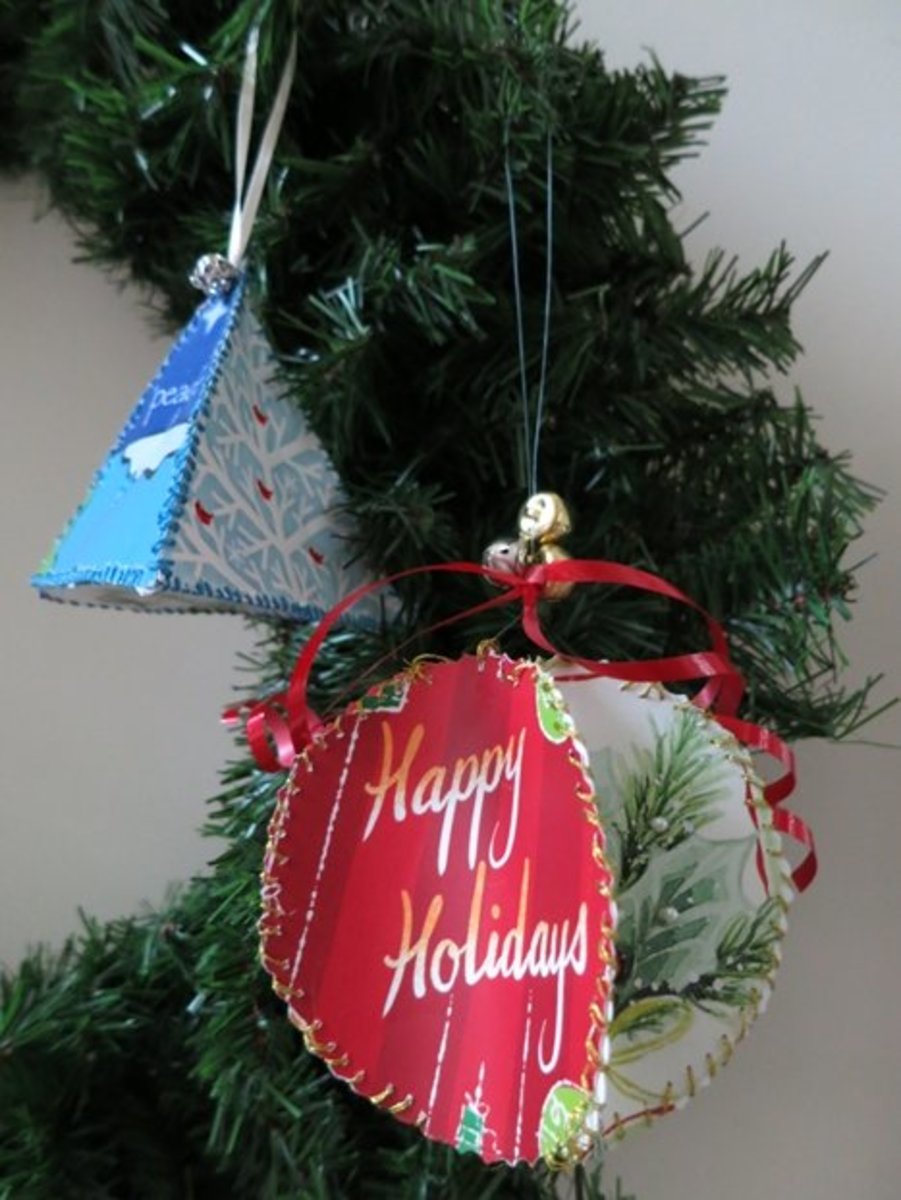
How to Make Christmas Fabric Ornaments
Soft, Inviting Fabric for Ornaments
Small Amounts of Fabric
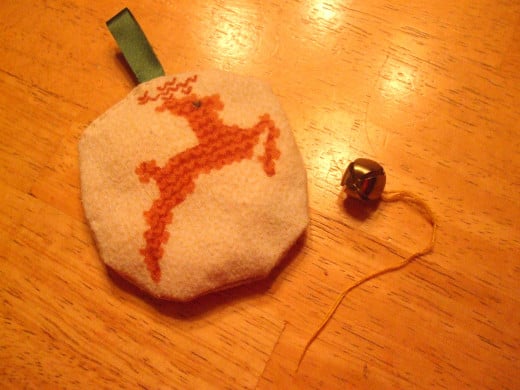
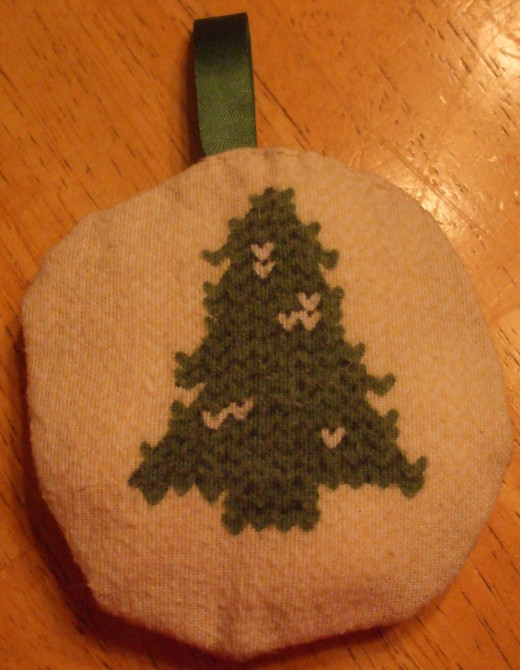
A great aspect of making fabric ornaments is that you can do a large scale project if you desire, or one at a time catch-as-catch-can. The latter has the advantage of being fit into your life as a baby is napping or while the rice is cooking.
Furthermore, since these can be done one at a time, they also can be done with small amounts of fabric, therefore there is not a concern for finding large, safe storage for huge pieces of undone work (as is the case for a partially finished dress.)
Supplies
- Fabric, medium-light weight, about 4 inches by 8 inches per ornament
- Scrap paper, pencil, and possibly a ruler for making a pattern
- Stuffing: cotton (cotton wool) balls, quilt batting, or light colored fabric
- Sharp scissors
- Thread
- Needle or sewing machine
- Straight pins
- Iron and ironing board
(Optional: 3-6 inches ribbon or cord for hanging loop; optional for decorating: more ribbon, rickrack, lace, small bells, fringe, buttons, pompoms…)
Supplies
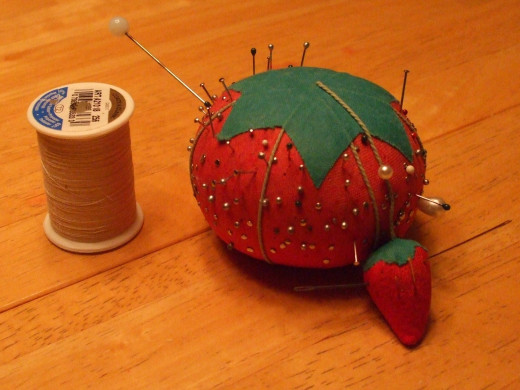
Work Space
Obviously, you will need space for the ironing board and sewing machine if you are using one.
In addition, you need a flat work area for cutting and assembling each ornament.
First, Plan
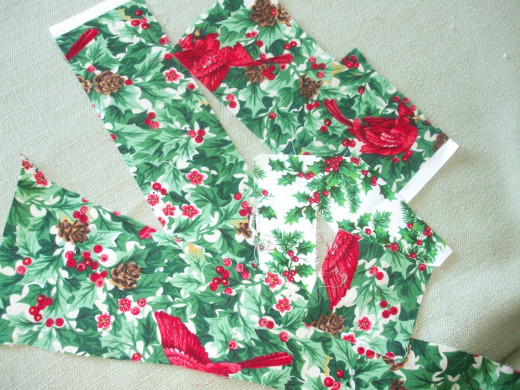
Consider the fabric you have available. In my mind, there is no such thing as “official Christmas colors.”
Yes, in the United States we tend to think of red and green as the colors for Christmas. However, each of us has her own artistic flair and colors that speak to us. Plus, if you are making a fabric ornament as a gift, you probably want to create something pleasing to the receiver. Therefore, I declare every color to be just WONDERFUL!
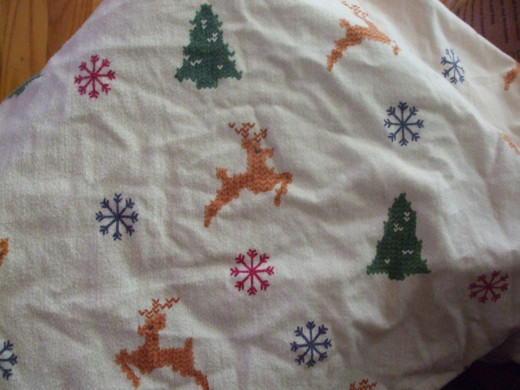
My ornaments come from scraps of leftovers from other sewing projects or from worn out Christmas linens (the good parts!)
If you are purchasing fabric for this project, some fabric stores have what are called “fat quarters.” These are bundles of fabric which are loosely quarter-yard cuts of fabric cut wide on one side. Their approximate size is 18" x 21". You may want to start with one of those, which should yield approximately 10 ornaments.
Next, also remembering what fabric you can access, think about what simple shape you would like for the ornament.
I recommend a simple square, rectangle, circle, oval, or triangle. My reason is to make it simple and easy and faster to assemble. However, if you are a master of sewing intricate shapes, go for the double helix!
Another word: there is no rule requiring you to use the same print on both sides of the ornament.
I personally try to use the same fabric, but if I am in a funky mood or if I am in extreme frugality and cannot make that work, I will use different fabrics on one ornament.
If one was extremely thrifty, he or she could even quilt tiny pieces of fabrics together to make two 4-inch square pieces, but that sounds like too much work to me.
Good Fabric Can be Found Under One's Nose!
Procedure
(I am instructing as if you are making just one ornament at a time.)
- Collect clean fabrics and iron them
- Decide what shape you will use
- Draw a pattern of that shape which stays within a 4 x 4 inch space. IMPORTANT: The final cutting shape includes a ¼ inch “border” which will not be seen. (It is also called a seam.) It is turned to the inside on the final product, so if there is a picture on the fabric which you want to have seen, make sure that it is not in the outer ¼ inch of the piece.
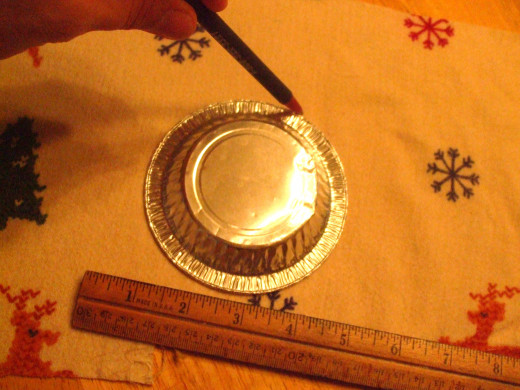
4. Cut two pieces of the pattern from the fabric. Be aware of top and bottom if it is important to the print or the shape.
5. Place the 2 fabric pieces RIGHT sides together. Pin together.
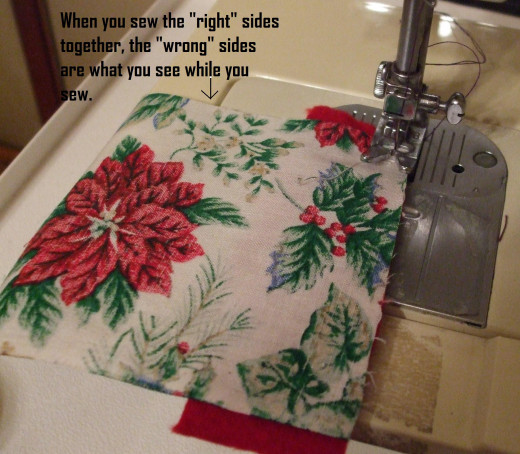
6. Sew along an imaginary line ¼ inch from the edge LEAVING an opening at the TOP of about 2 inches. This is to allow you to (1) insert the stuffing later, and (2) attach the hanging loop neatly. At the beginning and ending of your line of stitches, go back and forth a few times to hold the stitches (otherwise all your work is likely to unravel.)
7. Along any curved spots, cut little snips in the seam part only. This is to make turning the ornament right-side-out easier and so it will lay flat when turned.
How to Snip Along a Curved Seam
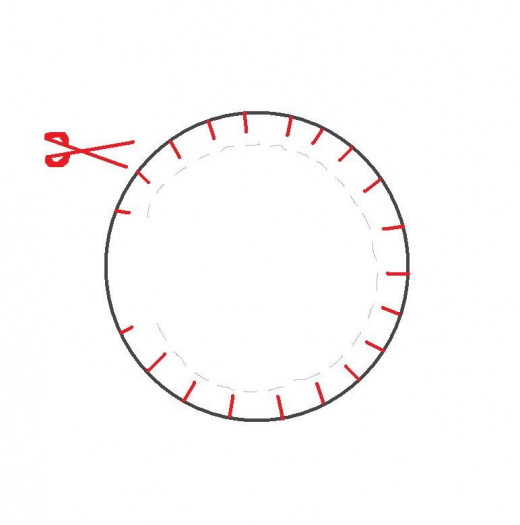
8. Turn the ornament right-side-out. Stuff with batting or cotton balls to a make pleasing shape. You can use a pen or chopstick to help push the cotton balls or stuffing into position.
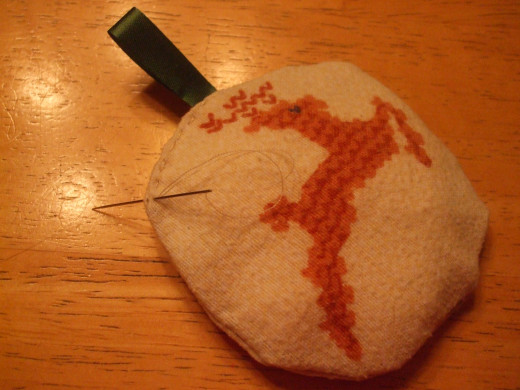
9. Now, turn the 2 inches of open seams inside the ornament and pin the ribbon loop’s ends inside. Now top-stitch the opening closed. This can be done by hand or machine.
10. Add any extra decoration, such as a little bell or ribbons, that you would like.
Easy and Fast
Once you get the knack of creating these, you can work on them whenever you have a few spare minutes. Please share your success stories in the comments section. Merry Christmas!
This content is accurate and true to the best of the author’s knowledge and is not meant to substitute for formal and individualized advice from a qualified professional.
© 2012 Maren Elizabeth Morgan

