How to Make Friendship Bracelets
What is a friendship bracelet?
A friendship bracelet is a bracelet one gives to a friend as gesture of friendship. Friendship bracelets originated with indigenous people in Central and South America. The bracelets were originally woven of yarn or hemp. When the bracelet was offered, the recipient would make a wish, and the person giving the bracelet would tie it on their friend’s wrist. The bracelet was to be worn until it fell off. When the bracelet fell off, it was thought the wish would come true.
What are friendship bracelets made of?
Friendship bracelets can be made of many different materials—woven or braided yarn or thread, macramé knots, single strands of beads strung on a length of jewelry beading wire with a clasp attached, stretch nylon cord, polymer clay, or memory wire.
This article will show you how to make friendship bracelets using memory wire and your choice of beads.
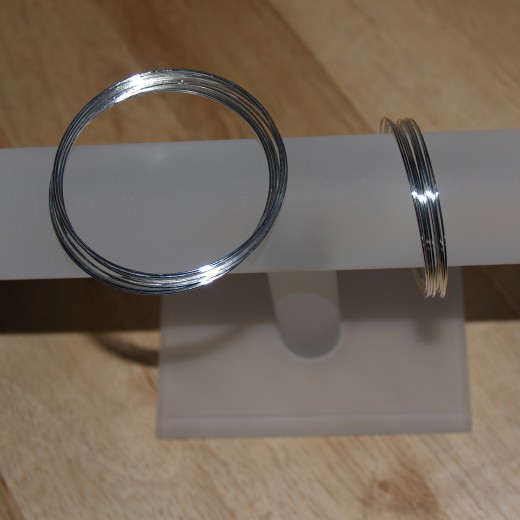
What is memory wire?
Memory wire is a type of wire that, when stretched, returns to its original shape.
The wire is a shape-metal alloy, a mixture of two or more elements that “remembers” its cold-forged shape and returns to it after being stretched. In the case of a bracelet made of memory wire, the bracelet is stretched when it is put a person’s wrist and returns to its original shape when removed.
Very few supplies and pieces of equipment are needed when making memory wire friendship bracelets. Those materials are described below.
Supplies and Equipment Needed for Making Friendship Bracelets
The following supplies and equipment are needed when making friendship bracelets from memory wire.
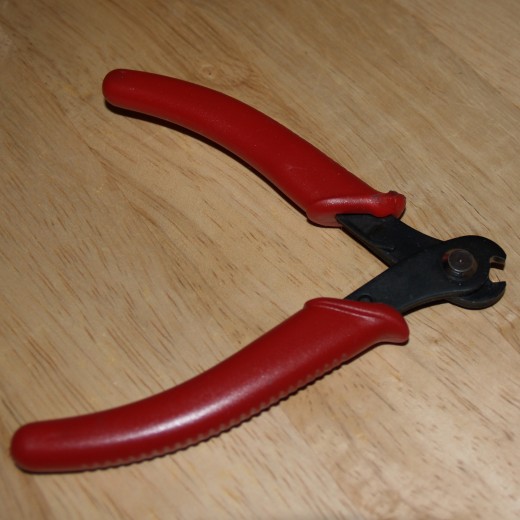
Memory Wire Cutter
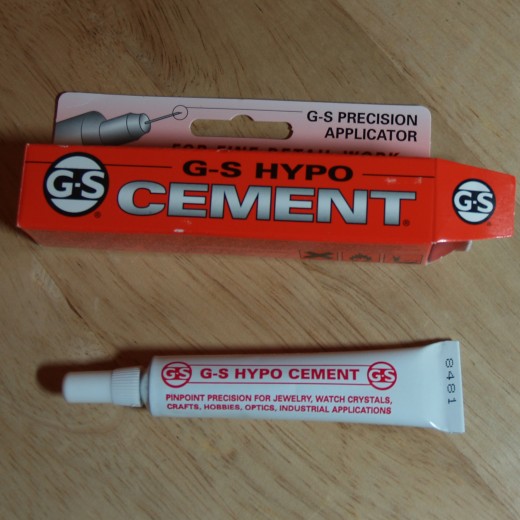
G-S Hypo Cement
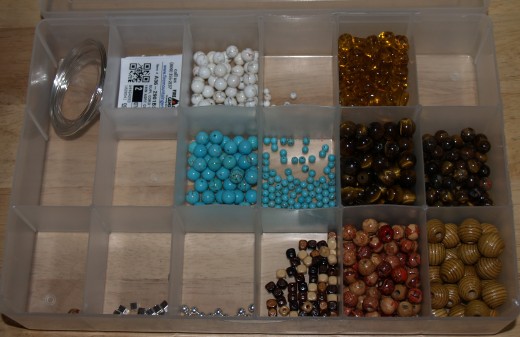
Beads of Your Choice
Step-by-Step Instructions for Making a Memory Wire Friendship Bracelet
1. Select the length of memory wire you want to use. Cut it from the memory wire coil using wire cutters specifically designed for that purpose.
2. Using G-S Hypo Cement, glue a half-drilled bead end onto the end of the memory wire coil. Let the glue dry before proceeding.
3. Select the beads you want to use, place them on the wire, and gently slide them toward the half-drilled bead. To prevent the coils from tangling, keep them slightly separated until you have covered two of the coils with beads.
4. After the coil has been covered with beads, glue a half-drilled bead onto the end of the wire.
5. Let the glue dry thoroughly before presenting the bracelet to a friend.
Have you ever made a bracelet using memory wire?
Tip #1
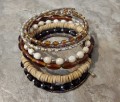
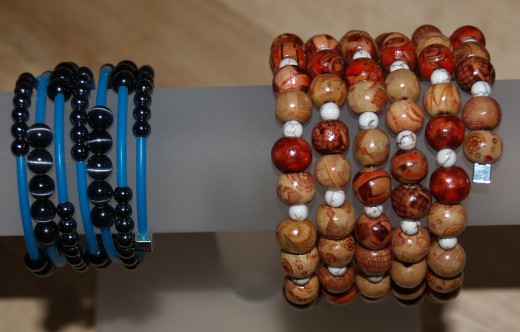
To add a solid band of color to your bracelet, rubber tube cord designed for use with memory wire can be substituted for some of the beads. To see an example of rubber tube cord used in a bracelet, refer to the bracelet on the left in the photograph at the top of the page.
Tip #2
Keep a piece of masking tape handy. If you have to take a break while stringing the beads, use the tape on the end of the wire to prevent the beads from sliding off the wire.


