How to Make HDR Photos - Combine Bracked Photos into one Picture - HDR Programs
Follow the steps below to create your own HDR Photos!
Step 1 - Bracketing
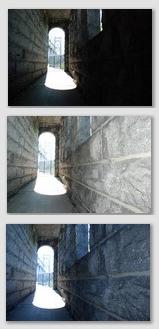
In order to create an HDR photograph you will need to take several photographs of the same image with different exposure values for each shot. Most digital SLR's have a feature called Bracketing, which will take 3 or more shots in automatically adjusting the exposure of each of them for you. Check your camera manual for instructions on setting up bracketing on
your particular camera.If your camera does not automatically bracket, you can always manually bracket by using adjusting the expose compensation or setting your camera to manual mode. If you are using manual mode make sure you adjust the shutterspeed and not the aperture as you want to keep the same depth of field throughout your photos. Read the Bracketing Photographs Guide for more information on how to set your camera up to bracket.
For HDR you will need:
- One Underexposed Photograph
- One Overexposed Photograph
- One Properly Exposed Photograph
So grab a tripod and take 3 bracketed shots of the same image.
Step 2 - Combine the Images
Now that you have have your 3 or more photographs you will need to use a program to combine them.There are a number of Free HDR Programs, including Picturenaut and Qtpfsgui as well as paid programs like Photomatrix.
These HDR Programs will take your all of the photos that you bracketed and merge them into one single HDR Photograph.
HDR Programs
- Photomatix HDR Software
HDR photo software & plugin for Lightroom, Aperture & Photoshop - Tone Mapping, Exposure Fusion & HDR Imaging for photography - Picturenaut HDR Software
... Free HDR software for you. Get it! - Luminance HDR Software
Luminance HDR is an open source HDR workflow tool. Download here.
Step 3 - Tone Mapping
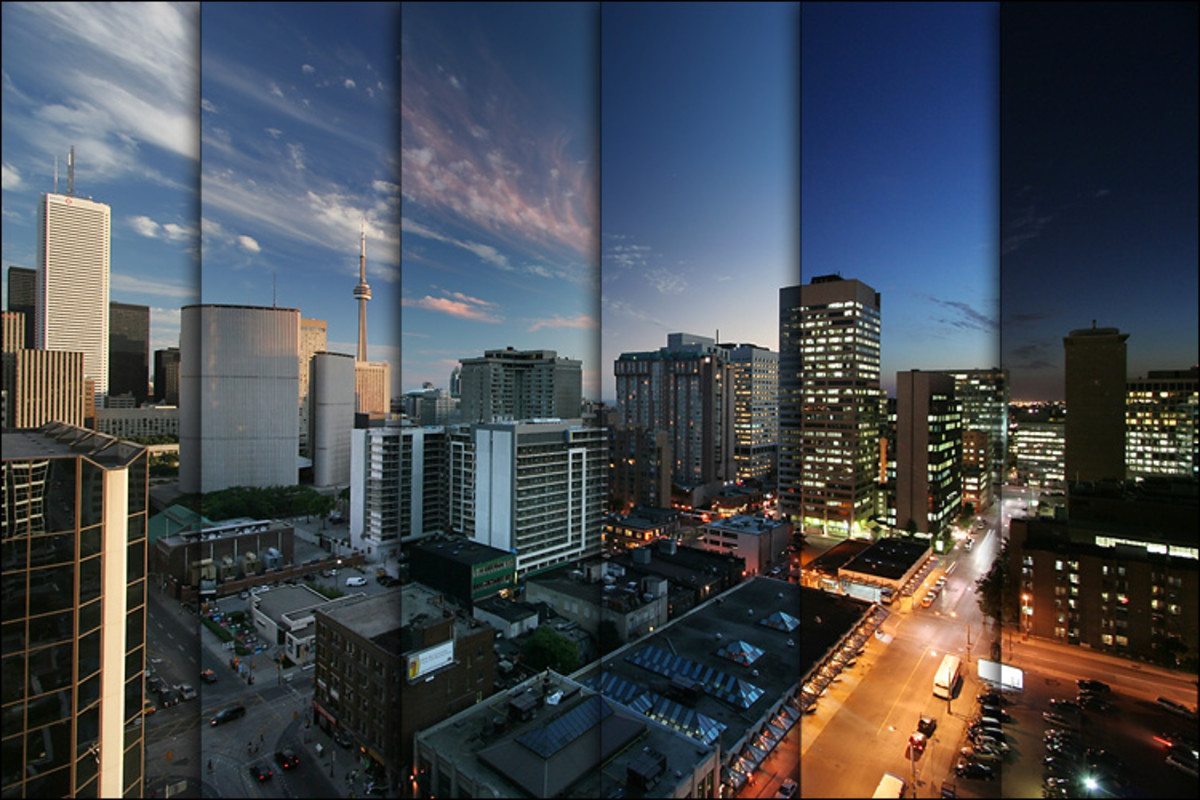
Now that you have your images combined into a single HDR Photograph you can take advantage of Tone Mapping. Tone Mapping lets lets you create a photograph showing all of the details hiding in the shadows from our over exposed image while keeping the detail in the bright areas from the under exposed image.
A 32-bit HDR Images contains more information than a normal jpg or raw file since it has the information multiple images in it. With tone mapping we will drop out some of the extra pixels we do not want and convert the image back to a 16-bit or 8-bit image.
There are a number of ways that tone mapping can be calculated and your HDR program will offer various settings that you can adjust to get the resulting image you want.
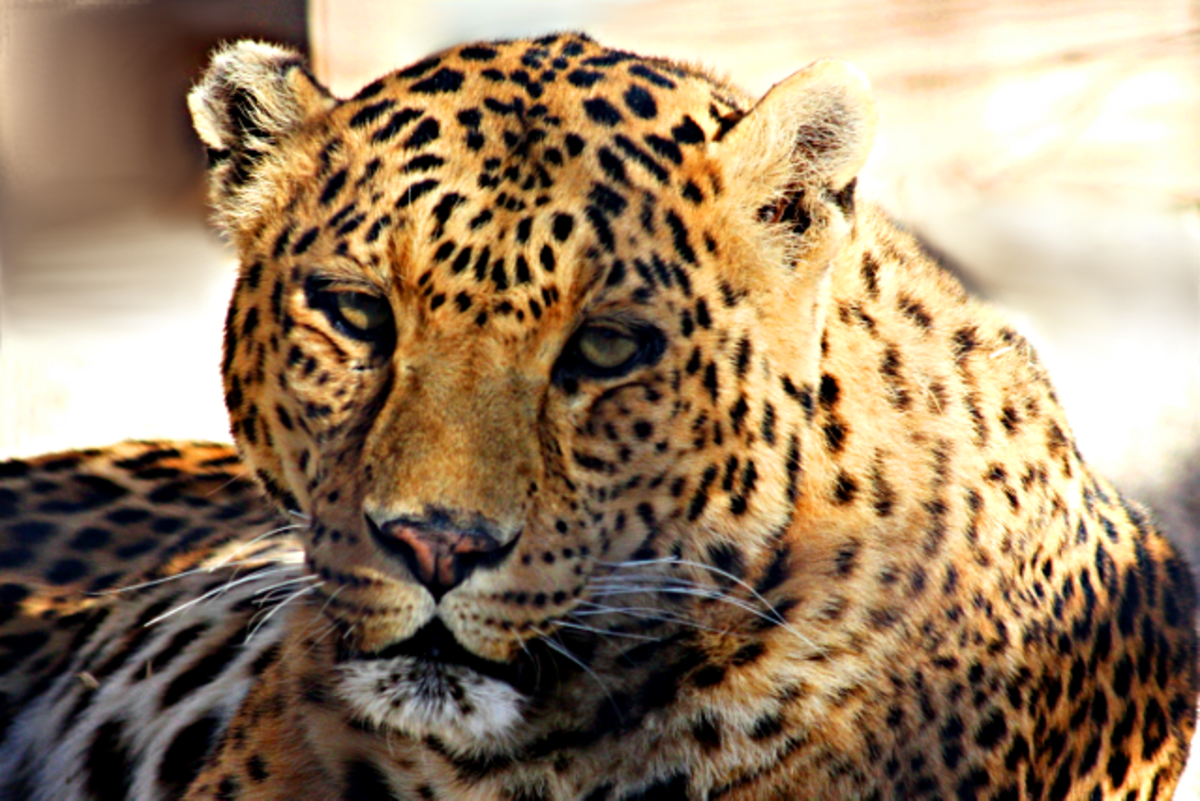
Resulting Image
