How to Make Pottery - How to Make Ceramics – Handbuilding Pottery and Ceramics
Solid Clay Figures Are Not Acceptable
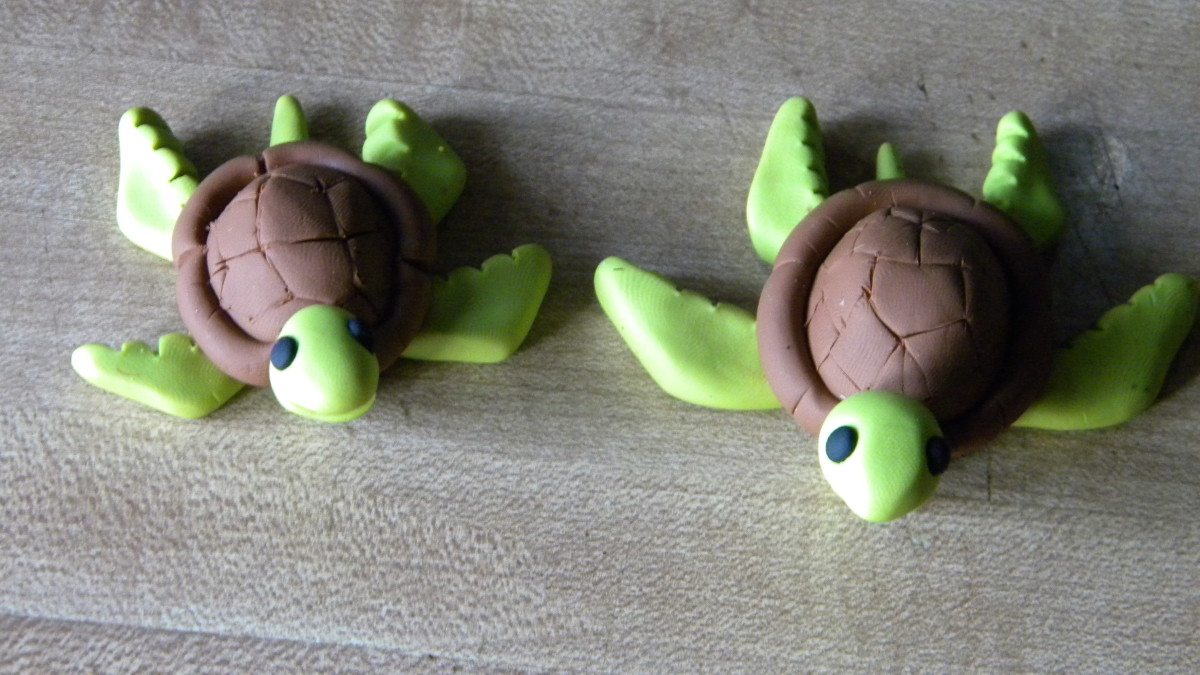
Having covered how clay is prepared here, its now time to look at the different fabrication techniques in pottery and ceramics. Building figures with clay is natural to humans. Give someone a ball of plastic clay and within a short time he will build a clay figure with it naturally. Children like working on clay and they will create neat figures that they appreciate by their standards. But there is one thing that children and beginners in ceramic and pottery will do with clay that is not acceptable – they will all build solid clay figures. In pottery and ceramic, solid clay figures are not acceptable. All clay figures must be hollow from inside but they look solid. Even where thick parts are necessary, holes have to be poked through the thick parts.
Pottery and Ceramic Figures Are Made Hollow
And the reasons why pottery and ceramic figures are hollow from inside are as follows:
- Thin walls are necessary to facilitate even drying and firing. Solid clay figures can not withstand kiln firing due to expansion and contraction. They instead will explode inside the kiln.
- Clay and glazes are expensive – hollow clay figures use less clay.
- Clay is dense like stone – hollow clay figures are light and easy to handle
- Firing clay figures uses a lot of energy – hollow clay figures requires less energy to reach maturation temperatures.
Beautiful Architectural Ceramic Sculptures
It is usually difficult for beginners to appreciate that the beautiful clay figures they see are hollow inside. Accept that because that is how it is. The beautiful architectural ceramic sculptures you see in your town are all hollow inside. Do not break them in attempt to find if they are hollow. Even the handle for your ceramic kettle is hollow but a hidden pinhole is made somewhere to allow for expansion and contraction of air inside that hollow space during firing. Once you have accepted that clay figures have to be hollow, we can now look at techniques of hand-building pottery and ceramics.
Fabrication Methods of Building Pottery and Ceramics
The main fabrication methods of building pottery and ceramics are:
- Hand Building methods – (a) pinching method (b) coil building method and (c) slab building method
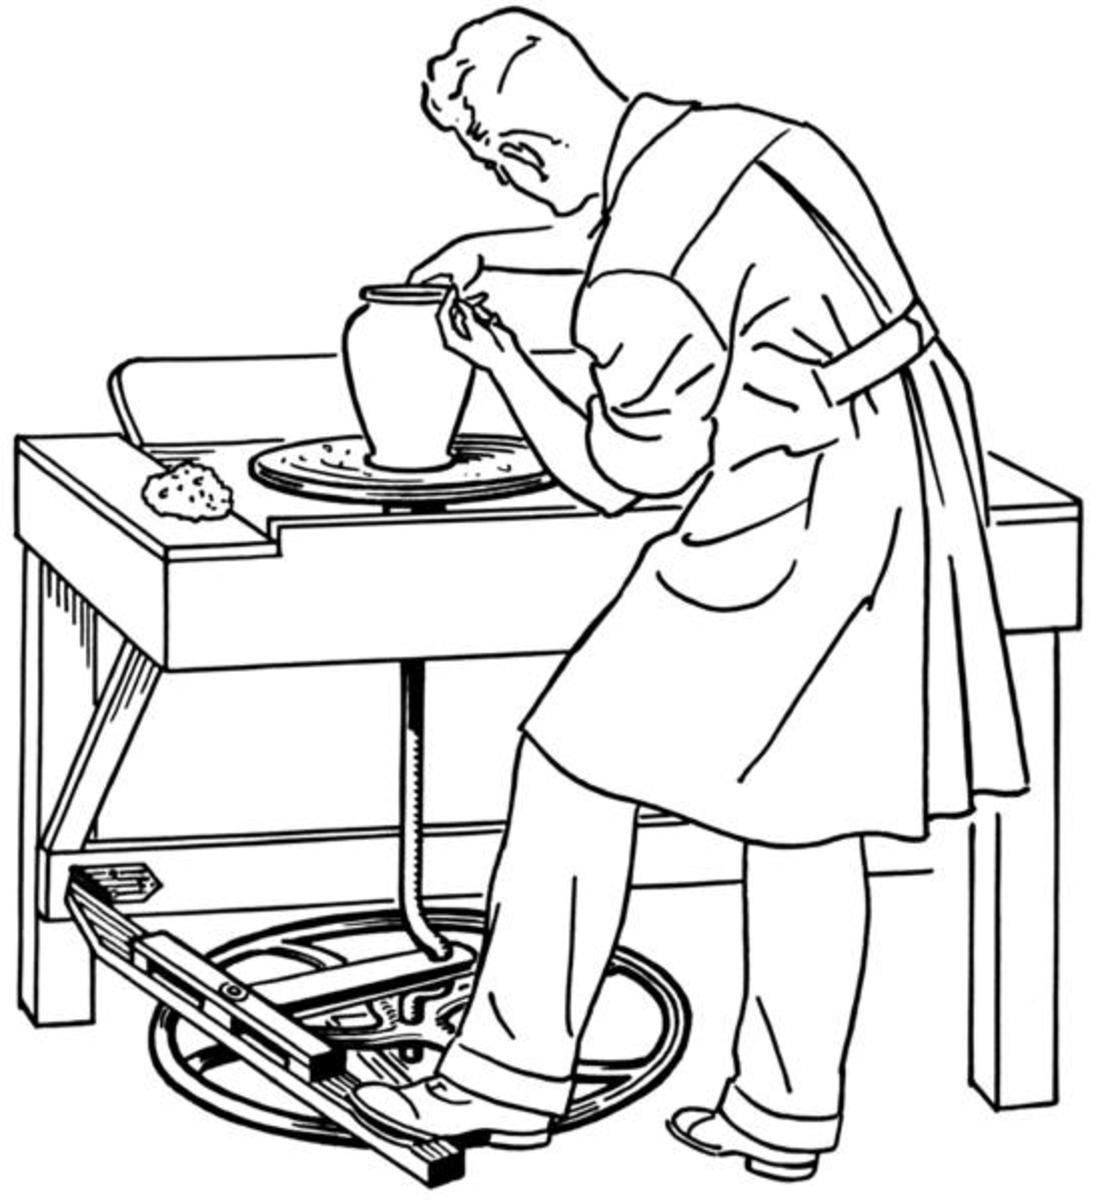
- Wheel Throwing Method
- Plasterwork – Slip casting and press molding methods
Wheel throwing and plaster work are not truly handwork. In this article, we will look at hand building pottery and ceramics using handbuilding methods of
(a) Pinching method
(b) Coil building method
(c) Slab building method
Pinching Method
You now have your clay body which you have wedged and that all lumps have been removed, air bubbles in the clay have been expelled out and the clay particles in your clay body are of even consistency. Make a clay ball the size of a tennis ball. With a thumb, press gently in the middle of the clay ball until the base thickness is the same thickness as the walls all the way round. Pinch the clay gently between the thumb and fingers while you rotate the pot. The pressure you use to press should be even, each revolution should be complete and each row of fingerprints should overlap the one below. Lift the wall by pressing with thumb and finger. Continue pressing the wall as the size of the pot increases and the walls becomes thinner. You however should have an idea of how you want your pot to look like before you start pinching. Use some water to smoothen your hands and the walls of the pot if they are dry. Continue practicing this until you come up with an acceptable small pot that you like. The best way to understand this is to watch the video below on how to make a small clay pot using pinching method.
Video on Clay Pinching Method
The Coil Building Method
Roll clay on a flat surface to make a coil. You can also make the coil by rolling clay on your palms. To hand build a figure, place one coil above the other and continue doing so until you make a cylindrical shape, if you want the shape to flare out, place the coil outward from the previous one. If you want the form to curve inward, place the coil inward from the previous one. Move clay up and down to join the coils outside and inside. Continue practicing this coil lying until you come up with an acceptable small pot or a figure that you like. The best way to understand this is to watch the video below on how to make a small clay pot using coil method.
Video on Making Clay Pot using Coil Method
Slab Building Method
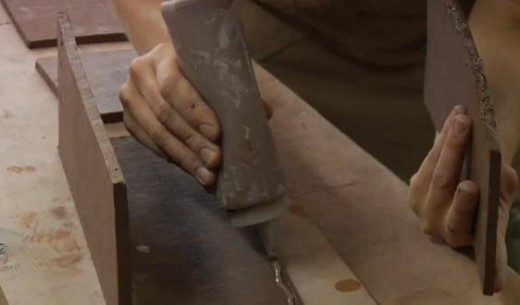
Slabs are made by rolling clay on a flat surface using a rolling pin. You can also cut a block of plastic clay using a wire, or you can use a slab-rolling machine. To make a small open box using slabs of clay, roll clay using a rolling pin until you get a sheet of the correct thickness.. Let the slabs air dry to almost leather-hard. Cut the slab for the base. Cut two equal slabs for the breadth and two equal slabs for the width. Join them using same clay body and surrey of the same clay body. Continue practicing using slabs and joining them until you comes up with acceptable small figures that you like. The best way to understand this is to watch the video below on how to make a vase from clay slab.
Video on Slab Building Method
Your Creativity
Once you have learnt to make simple figures and pots using the three methods of slab, coil and pinching, then with more practice, you should be able to come up with multitude of variations in the way these methods can be used – it all depends on how creative you are.
Porcelain Will Warp and Crack
If you practice using the three clay bodies of earthenware, stoneware and porcelain, you will notice that earthenware will be very kind to you as it will absorb most of the stress you subject it to. The porcelain clay body will be unfriendly and it will keep on slumping, warping and cracking. The good thing about porcelain is that it will give you beautiful texture and form.
The next article is on potter’s wheel and wheel-throwing.


