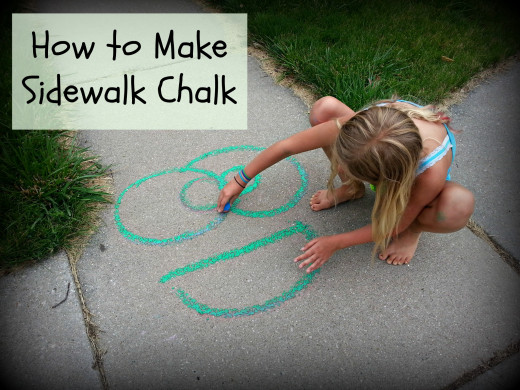
How to Make Sidewalk Chalk
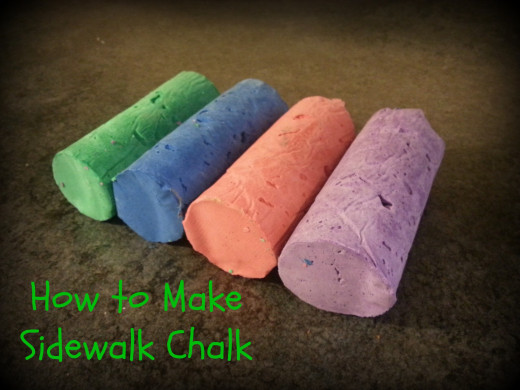
Coloring on the sidewalk is a childhood favorite. We’ve had more rainbows and smiley faces on our driveway than I could ever count. Although sidewalk chalk can be purchased at a reasonable price at any discount store sometimes making your own is just so much more fun. You not only get to customize the colors to your liking, but you also have a way to spend a rainy afternoon with your kids. This recipe for sidewalk chalk also gives you the opportunity to make chalk in much more vibrant colors than you can purchase in the store.

Ingredients for Sidewalk Chalk
- Tempera Paint
- Plaster of Paris
- Dishwashing Soap
- Wax Paper
- Duct Tape
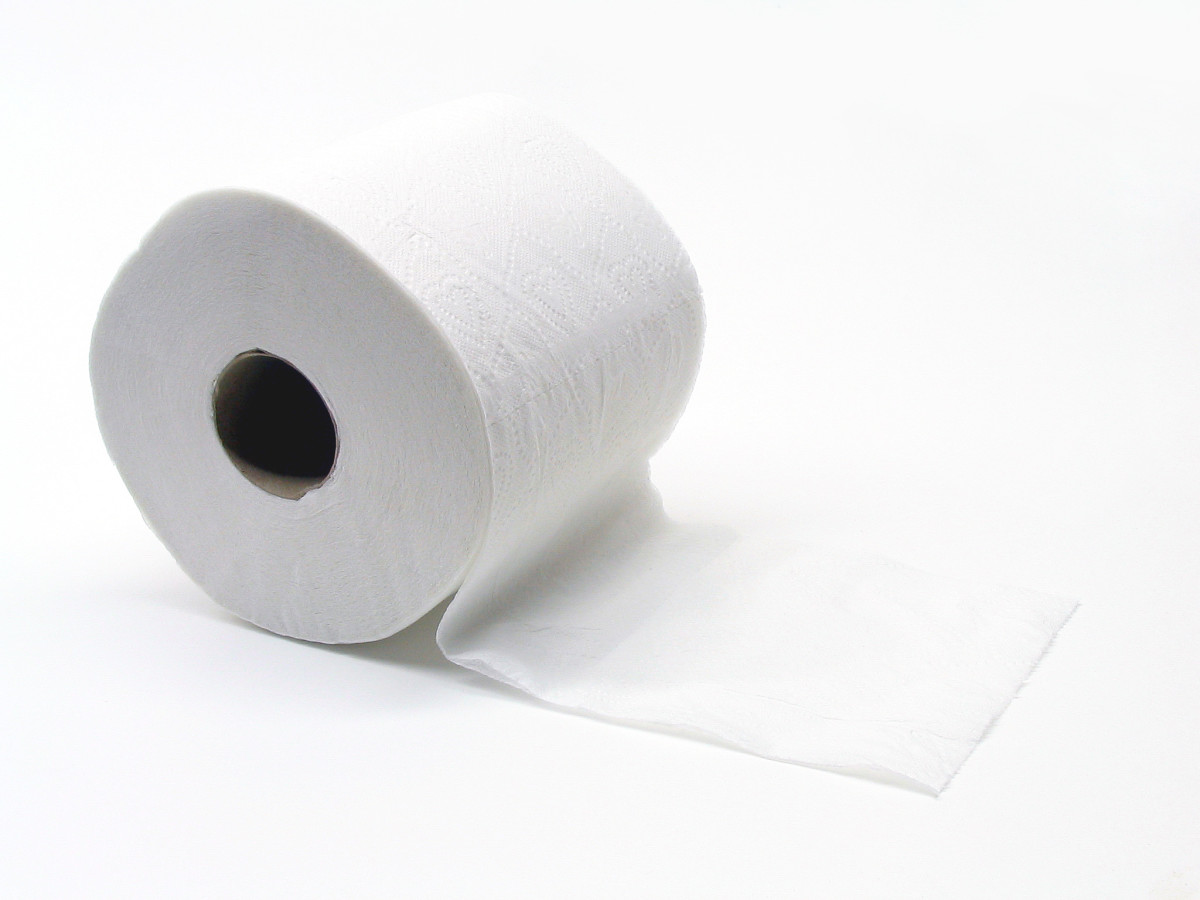
- Toilet Paper Tubes
- Small plastic bags
- Water

Instructions for Making Sidewalk Chalk
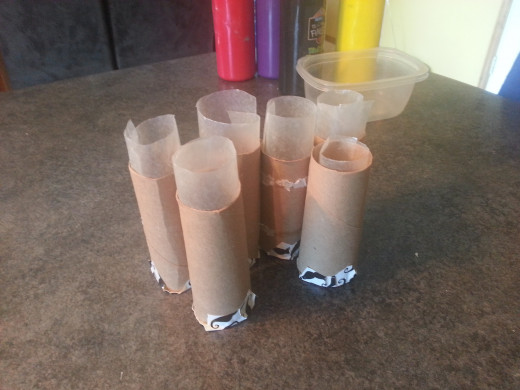
The empty toilet paper rolls will be the mold for your sidewalk chalk. Start off by preparing them to hold your chalk mixture. Cover one end of the roll with a 2 - 3 inch piece of duct tape. Then line the inside of the toilet paper roll with wax paper. All you need to do is roll up a 4 inch by 4 inch piece of wax paper and slide it inside your tube. Unroll the wax paper until it touches the edge of the tube; effectively lining the tube.
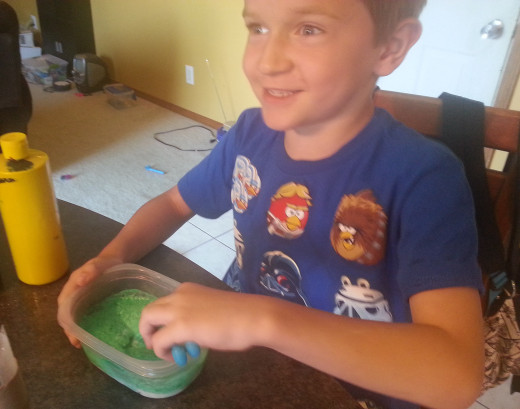
Now you are ready to mix up your sidewalk chalk. In a bowl, add about 2 tablespoons of tempera paint. Then add ¾ cup of Plaster of Paris, ½ cup of water, and one drop of dishwashing soap. This will make enough chalk mixture for one toilet paper tube or one piece of chalk.
Mix the contents of the bowl thoroughly. You can play around with the color at this point by adding more of the tempera paint to attain your desired color. You can really get some bright colors with this sidewalk chalk, even black if you wish.
Once it is completely mixed in your bowl the consistency of the sidewalk chalk mixture should be thick. It reminds me almost of a grainy frosting or concrete. If it seems too thin, you can add a little more Plaster of Paris a teaspoon at a time. If it seems too thick, you can add more water.
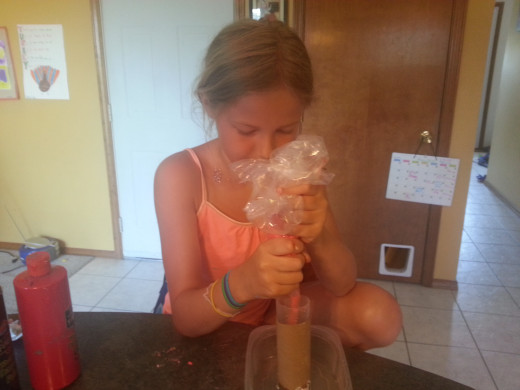
Spoon the mixture into a plastic bag. We used a gallon size Ziploc bag. You could use a sandwich size bag, but it will get a messy trying to get the sidewalk chalk mixture into such a small opening. Cut the corner of the bag off and squeeze the mixture into the toilet paper tubes. You will get some of the mixture seeping out of the bottom of the toilet paper roll, so I suggest doing this step on a plate that is lined with a paper towel. Also, the tube will get wet from the moisture in the mixture. Don’t worry about it, it won’t get wet enough to fall apart.
As you are squeezing the sidewalk chalk mixture into the tubes you need to tamp it down into the tube by pounding the roll onto a hard surface like the plate you are using for the seepage. Once your tubes are filled with the sidewalk chalk mixture all that is left is for you to wait for it to dry. This can take a day or two.
After your sidewalk chalk is dry you can remove the duct tape from the bottom of the tube and rip off the toilet paper tube. If you remove the mold from the chalk and find it is not dry, just let it sit in the air for another day before using.

Looking for more creative crafts to do with your kids? Try the following:
Tips and Tricks for Making Sidewalk Chalk
- You only need red, blue and yellow paint. Then you can teach your kids about making colors by mixing different colors.
- Supposedly the drop of dishwashing soap will help the chalk drawing wash off your driveway when it rains. I cannot confirm or deny that tidbit of information, but I’m also not willing to leave out the soap when I make sidewalk chalk.
- Make a rainbow piece of chalk by filling one of the toilet paper rolls with all of the left over mixture.
- Toilet paper rolls are only one option for molds for your sidewalk chalk. Anything you can line with wax paper will work.
- Plaster of Paris will start to harden up after about 20 - 30 minutes, so you want to have your sidewalk chalk mixture into the tubes by then. That’s why I’ve given you the recipe for one piece of chalk rather than in bulk, but if you want to make several multiply the recipe and make it in a bucket. Just be mindful that you have less than 30 minutes to get it colored and piped into your tubes.


