How to Make Starburst/Tie Dye Pattern Stationery
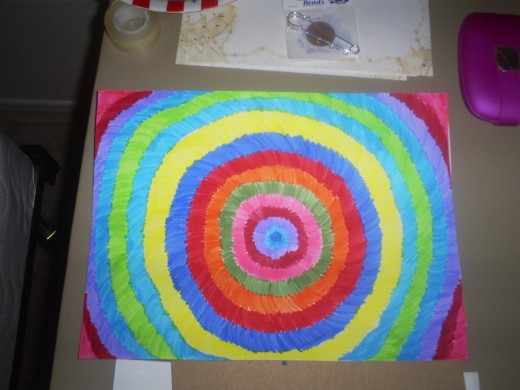
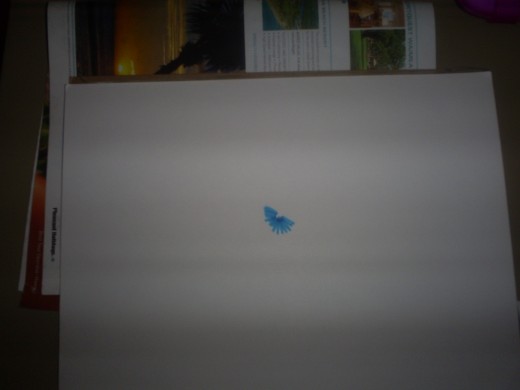
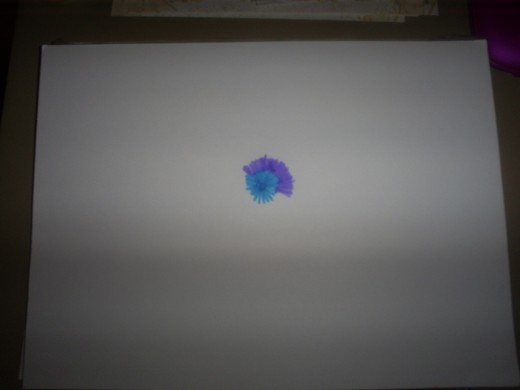
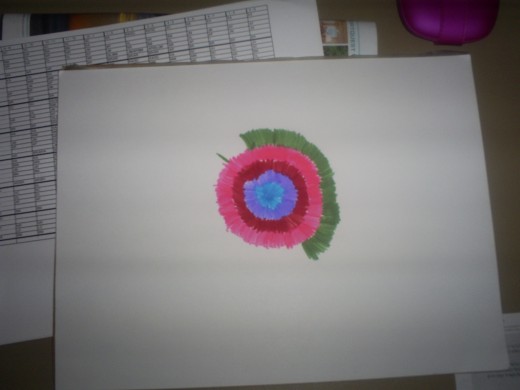
This is my take on an art project I learned in second grade. I like to turn my starburst/tie dye print into stationery, but you can do whatever you like with this. I call this project starburst/tie dye because it reminds me of tie dye shirts, but I actually prefer to call it starbursts because that is what my second grade teacher called it. My second grade teacher introduced this art activity because she wanted something colorful, easy, and less messy than the weekly painting. This project is very easy and simple for anyone to complete. The following steps will help you create a unique and special piece of art.
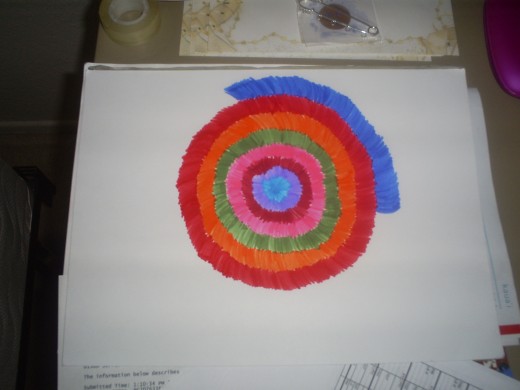
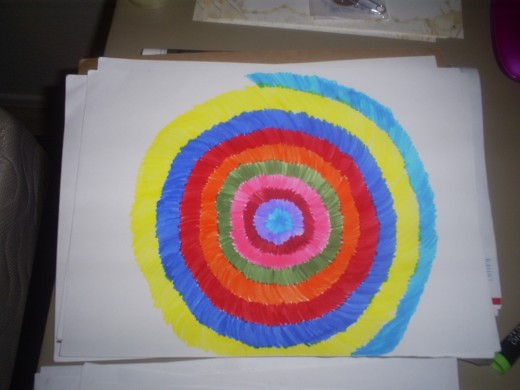
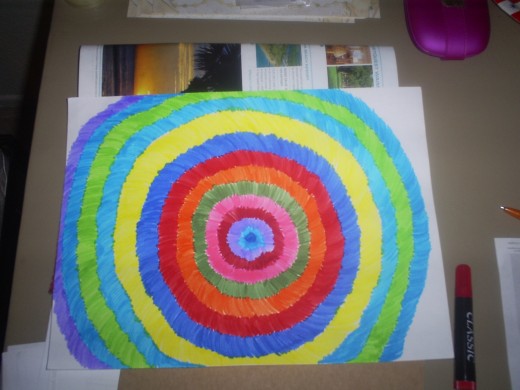
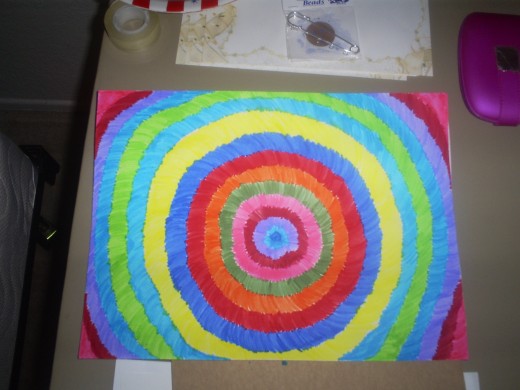
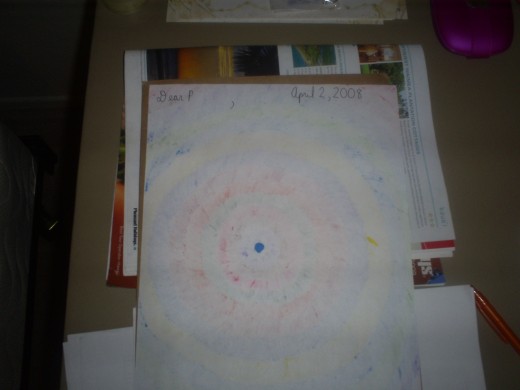
Tips and Suggestions:
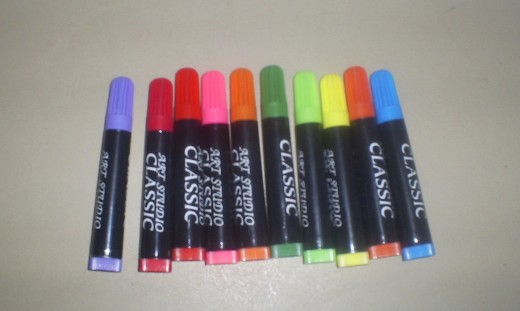
- I like to use markers because they are vibrant, but they tend to bleed through. For me this is okay because I like the natural effects, but if you do not like this you might want to use colored pencils or crayons instead.
- Two or more colors can be used for this project.
- Vary the patterns and try whatever you like.
- Kids can hang their art on the fridge and this will make them feel special.
- My mom always used to have us hang our art work on the fridge, which made us feel great.
- Stationery, pictures, etc, you decide what to do with this project.
I hope you enjoy this craft and remember it is easy enough for anyone to try. Each starburst/tie dye project will look special and unique.

