How to Make Your Own 8-bit Art
The term “8-bit” describes more of an art style these days than it does graphical power. It used to be (back during the 80’s and 90’s) that the more bits your home video game console had, the prettier its graphics looked. Today, the amount of bits a console has is irrelevant, either because it’s based on a different system, or the amount is so large that it means nothing to the consumer. I honestly couldn’t tell you the exact reason, because I know little about the technical side of video game consoles, but as a child of the 90’s I remember the art style these 8-bit, 16-bit and 32-bit games produced. Whether you’re designing a simple web based game, or you just want to have fun with it, you may have found that you wish to create your own art styled like the 8-bit video games of the past. It’s surprisingly easy to do and it can all be done with the basic paint program that comes with all windows based PCs (though I’m sure it’s possible on any number of other free paint programs).
Select your program
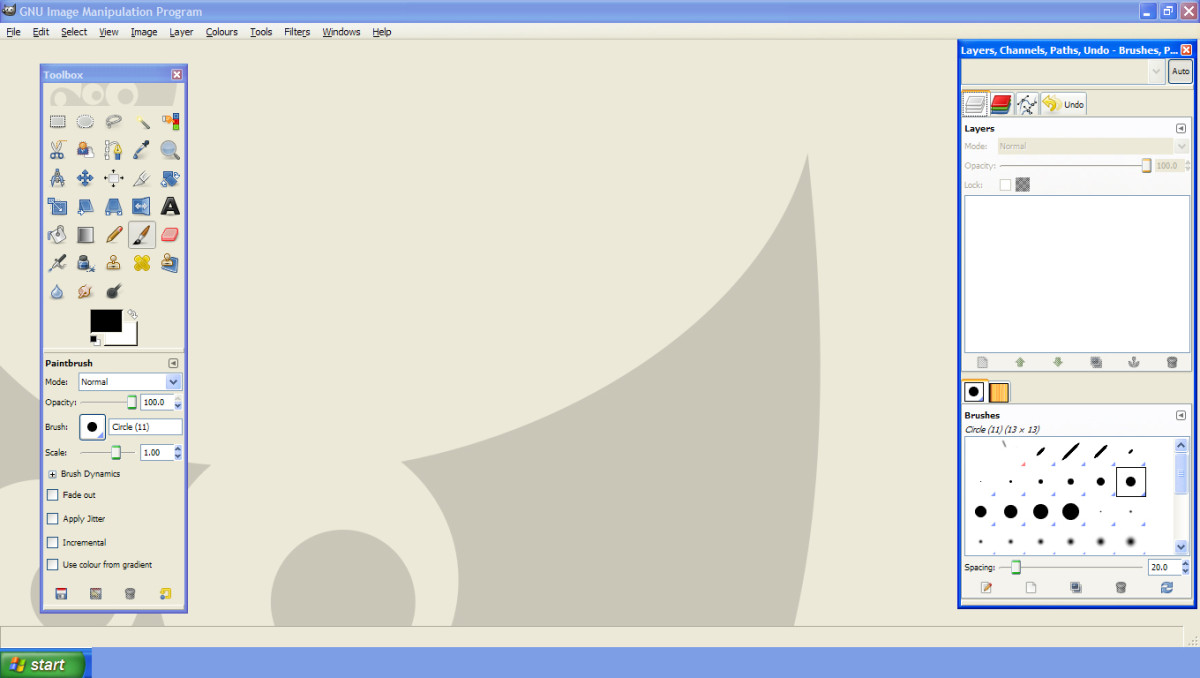
The reason that I use MS Paint over a more complicated program (like adobe photoshop) is because you want something that makes it easy to get down to an accurate, pixel by pixel format. While I’m sure photoshop could pull something like this off, it’s like using a tank to kill a spider; it’s overkill. And, if you don’t know how to use photoshop, it’s going to be needlessly complicated. If you don’t have MS Paint, there are a number of free programs available online one can download. Just make sure to find one that will let you zoom in and draw pixel by pixel. If you can find one that shows a pixel grid, that’s even better.
Look up examples
When I was first drafted to create some 8-bit art for a project, I was lost on where to start. There is a question of scale (how large a character is versus whatever world you might put them in), and there is a question of detail (How many colors should I use? Should I shade? Etc.). While there are no standards for creating your style of 8-bit art, I would argue that it’s easier to create smaller characters, because it’s easier to correct mistakes, or start over if you don’t like it. Anything from 30-50 pixels high for characters and objects is a good place to begin. For worlds/landscapes it depends on if you want it to be a functional game or just a piece of art. If it needs to be functional, then it would have to match up realistically with your character sizes. If it doesn’t need to be functional, sky’s the limit. In regards to shading, my personal philosophy is to rarely use more than one or two colors for highlights/dark areas. For example, if I was making a grey pipe, the highlighted side would be one color lighter than the grey I used to fill the pipe. Similarly the darkened side would be one color darker than the main grey. You can use two lighter shades of grey and two darker shades of grey for more depth, but just be aware that the more shading you do, the more complicated it will be to edit. Considering the size you will be working with, you’ll probably be lucky to get more than two shades as it is. A really good way to get a feel for size, colors and shading is to locate screenshots of your favorite 8-bit game, or artist, and use it as a jump off point for your own art. For mine I used a handful of RPGs from the Super Nintendo as my basis.
Don’t over-complicate it.
One of the great things about creating 8-bit art is how simple it is. Think back to how recognizable Mario was in his first outing, even though the graphics were incredibly simple. Or how memes today, like Nyan Cat, can be just as catchy at a glance. Don’t focus so much on getting every detail in there. For example, most of my 8-bit characters don’t have noses, primarily because there is only enough room on the face for the eyes and the mouth. So, since your character won’t be recognized by their face, other attributes become the identifying factor, like wild hair styles, outfits or accessories. Mario had a big nose, a mustache and a hat to identify him, while Sonic was a blue hedgehog with flame red shoes. Start with very simple shapes to create things like the head and the body, then zoom in close to carve out details and add colors. This is the reason why it’s best to have a pixel-by-pixel drawing program. You will literally be adding things dot by dot. And, while it sounds tedious, because your character is tiny, it’s very easy to make changes. It also helps if your character is outlined in black. This one isn’t a requirement for more detailed 8-bit characters, but it does help in the beginning to contain the shapes and paint in the colors and shading later.

Step by Step
While I can’t explain exactly how to make the character/object/environment in your head, I can give you a basic step-by-step process to get started. For mine, it starts with one or more shapes. Just use the circle/square tool and draw a very loose interpretation of your object (in my example it is a character). This will help for proportioning and limb placement. Once you’ve got the basic frame down, you can use the pencil tool to start connecting everything together. You may notice, as you do this, that some things don’t look so great when connected. For example, in mine, the character’s shoulders are too broad at the top and his legs are too far apart. This is easy enough to fix by shaving off the edges, using the pencil tool to both erase and draw in new lines. You can also use the selection tool to grab parts of the object (like the legs) and move just that section closer in. After you have everything connected, you can start adding details. Remove any unwanted lines and draw things like hair, symbol (since mine is a super hero) and clothes. Once that is done you can move on to colors. Before worrying about shading, just use the bucket fill tool to layout the basics. Bright colors are easier to see at a distance and help to differentiate the different parts of your character. For shading, you may need to define some custom colors to make sure you get a shade lighter and darker than the primary colors you used. Start by figuring out where your light source is. If it is above and to the left of your character, then all highlights should be on the top and left hand side, with all the shadows being on the right hand side and the bottom. Use your black outline as a guide for where to place the light and dark colors and take some liberties to help shape the body of the character. This is also a good time to add any details you think might make the character better, like, for example, I discovered I had enough room for a nose this time. Now when ever you need to inject the character into a new picture, you can just copy and paste them (defining the white area as transparent).
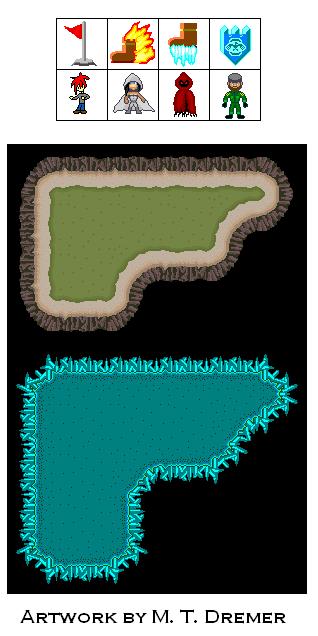
When designing a level, like in the other examples I’ve shown, it’s best to create it as a series of squares that can be fitted together like puzzle pieces. There are two reasons for this; the first is that older games tended to use this grid-like system in order to make larger levels easier to design. This resulted in sharp edges on terrain, most notably in games like the Legend of Zelda. The second reason is because it gives you the freedom to also make a large level without having to create a single, overly complicated map. Granted, this is assuming the perspective of your game is top-down, but similar concepts could be applied to a side scrolling game.
Play around with it.
I’ve used the 8-bit style of art for a surprising number of applications. Other than the cancelled video game project with friends, I’ve used these little sprites for fan art, tutorials and monster design (for visualization of my writing). It’s a lot of fun, once you get the hang of it, and can produce some useful results.
