How to Make Your Own Pop-ups for Cards and Decorations
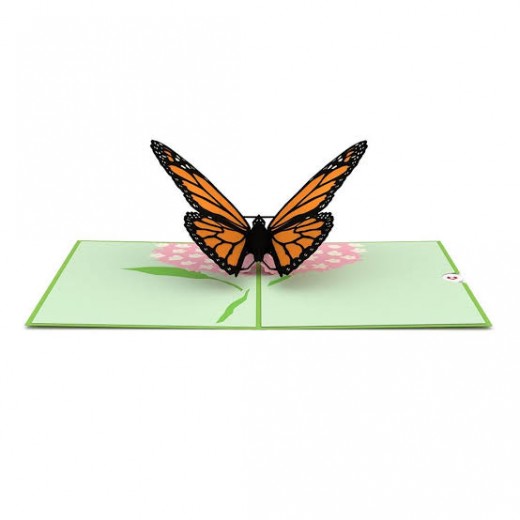
Butterfly
Introduction
Pop-up decorations or cards are fun easy to make items. The have a long tradition dating from 1700s till date. The appeal involves surprise figures suddenly appearing across a page as if by magic! They are perfect for school project, invitation cards, playbooks, children birthdays, Halloween, Valentine’s Day. Enjoy them with your kids, loved ones, parents and friends.
Uses of Pop-ups
- school project
- invitation cards
- playbooks
- children birthdays
- Halloween
- Valentine’s Day
Materials
To create the unique designs you need a few work tools. Materials include ruler, scissors, paper, glue and cutting blade. Others are a pencil, crayons, markers, rubber bands, fabric and string.
Work tools
- include ruler
- scissors
- paper
- glue
- cutting blade
- pencil
- crayons
- markers
- rubber bands
- fabric
- string
DIY Ideas for Making Pop-Up Cards
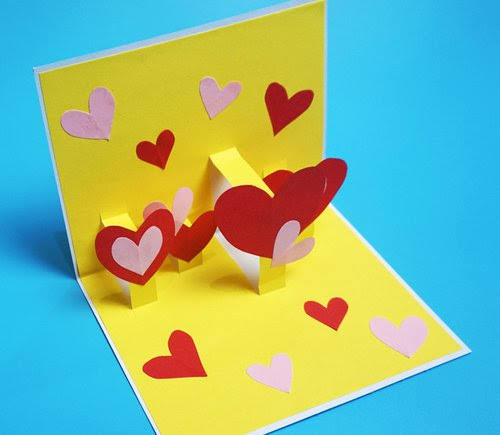
Decorations and drawings
Pop-up decorations are made by gluing certain materials in the creative process. Materials used as decoration are feathers, fabric, rubber bands, gift wrap and buttons. Use the pencil to draw markings, designs or measurements. While crayons, colored pencils and markers are used to fill pencil markings and add depth.
Decoration materials
- feathers
- fabric
- rubber bands
- gift wrap
- buttons
Drawing materials
- Use the pencil
- Crayons
- colored pencils
- markers
- pencil markings
drawing materials
| decoration
| Tools
|
|---|---|---|
Crayon
| feather
| Scissors
|
pencil
| fabric/paper
| Blade
|
markers
| Rubber bands
| Craft Knife
|
Measurement and cutting
The primary function of the ruler is to take precise measurements. Use them to guide your cutting blade and make crisp folds. Most measurements are done in imperial or metric system. Adults should help smaller kids make cut in middle of page or any cut design.
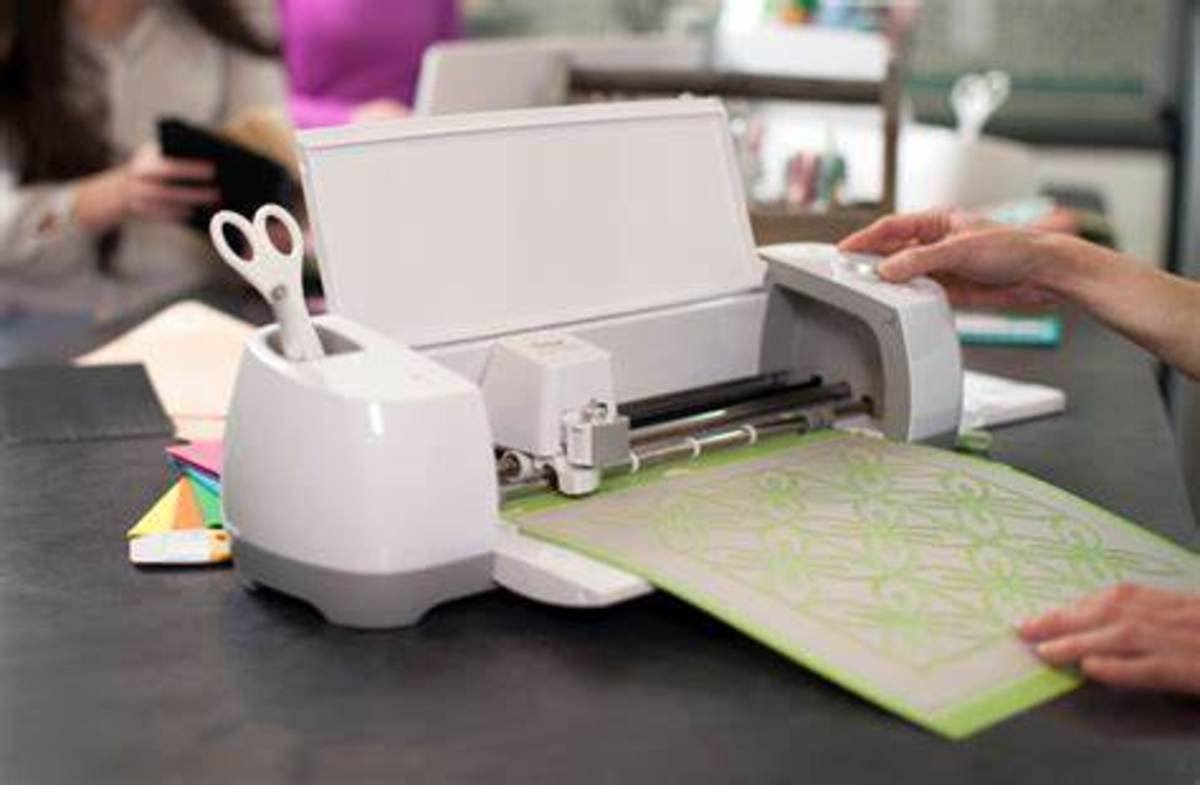
Tools for cutting are sharp scissors, craft knife, or cutting blades. Most cuts start at the middle of a page therefore use a Stanley knife or sharp scissors for this function. The combination of a metal ruler and cutting blade provides better accuracy.
27 Pop-up Cards for Any Occasion
Paper and glue
The most important aspect of the finished product is the type of paper used in the construct. Appropriate paper should be strong durable and long lasting. Common paper used in the design are light weight paper, Bristol board or construction paper. Use white glue sparingly on heavy paper or strip of glue on edges or two pieces of paper.
Folding and scoring
It is important to score (crease on paper along line folded) before making a straight fold on heavy paper. There are two ways to score paper along the fold line. The first method is to use your finger to run your nail across the fold. The second method is to lay a metal ruler on line you want to fold then use a pen without ink or blunt pair of scissors along the fold line.
How to make push and pop out
To make a push and pop out card you will do lots of folding, cutting before pushing the shape through to other side of paper. This will magically push a shape which will pop out top or middle of page based on your design.
Here are some important tips. Once you fold paper half cut only on folded edge and use index finger to firm fold by going over folded lines. Cut shape remains pushed through if you press firmly closed card.
A tent shape makes push through easier and avoid glue near pop up shape. Finally apply glue only on outer edges of the inside of card once the outer and inside cards are safely glued together.
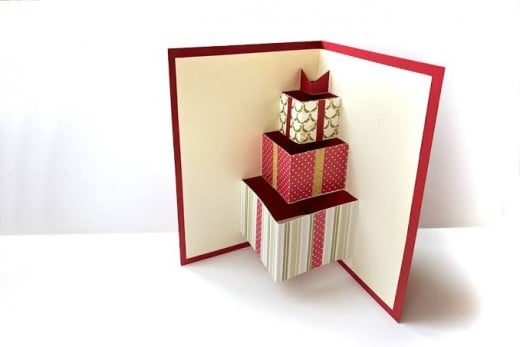
Design Bundles Gift Box Pop Up Card SVG & PDF Desig
How to make a simple pop-up strip
There are hundreds of pop-up strips to consider. Popular ones are eggs, butterfly, box and house. You can make more than one strip in a design by varying the sizes. Other additional elements in the strip design to include are stick figures or paper.
Instructions
You need two pieces of paper about 22cm x 30 cm each. You are going to start the process by using one of them. The first step is to fold both pieces and put one aside.
Then take one and mark two dots in the middle of the folded edge. Make sure dots are about 1.5 cm apart then draw two lines starting from the dots about 3cm long. From the starting dot cut the line from the folded edge then fold the cut strip back and forward.
Once the fold resembles a tent shape push strip through to other side and close firmly. You will notice that once open a pop-up strip will appear. The next step is to draw a figure that is wider/taller than strip on a separate sheet of paper and cut out.
Next step is to apply glue on one side of strip and place the cut-out drawing with glue on one side of the strip. Then glue card to the other paper you kept aside to form the outside of the card.
Finally add decorative elements on front-cover of card and inside. You will be delighted at the final result because anytime you open the card a cut out figure will pop-up.
Make pop-up strip instructions
- use two pieces of paper
- fold both and set one aside
- take one and mark two dots in middle of folded edge
- draw two lines starting from the dots
- cut the line from the folded edge
- fold the cut strip back and forward
- push strip through to other side
- close firmly
- draw a figure on a separate sheet
10. cut out
11. apply glue on one side of strip
12. place the cut-out drawing with glue on one side of the strip
13. apply glue to other paper you set aside and place outside of the card
14. add decorative elements on front-cover of card and inside
Other Advanced pop-ups
There are many pop-up designs to experiment. Popular forms are triangle pop-ups, the talking mouth, Valentine, and nose. Others are triangle folds for angels, umbrellas and vase.
More complex designs are open flower, hug, and cage. Advanced fold and fold-ins include the box/cube, fold-in figures, snake, complex shapes, mountain or tent. More include the trapeze, Angel’s dress, Jacobs ladder.
- triangle pop-ups
- the talking mouth
- Valentine
- Nose
Triangle folds
- angels
- umbrellas
- vase
More complex designs
- open flower
- give me a hug
- jail or cage
Advanced fold-ins
- box/cube
- fold-in figures
- snake
- complex shapes
- mountain or tent
- trapeze
- Angel’s dress
- Jacobs ladder
Newbies should start with simple designs and gradually develop the skill. Don’t forget to have fun and use your imagination. Please young children need supervision especially when using cutting tools.
More articles
- Amazing Pop-up Books for Kids and Grown Ups
A rundown of the best pop-up books for both young and old. - 36 DIY Ideas for Making Pop-Up Cards
Check out these DIY ideas on how to make pop-up greeting cards for birthdays, Valentine’s Day, Mother’s, or Father’s Day. This article includes pop-up card ideas, tutorials, and templates.
© 2019 femi

