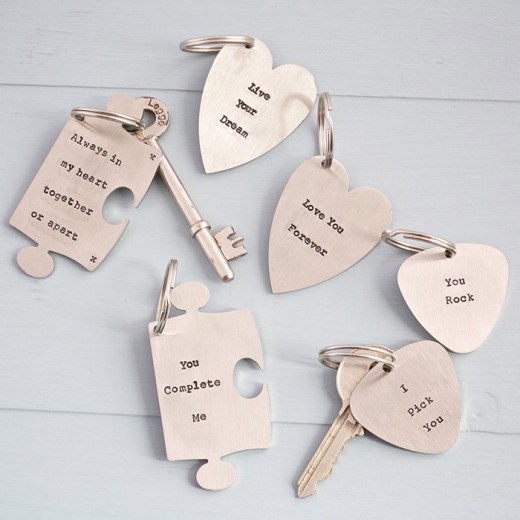
How to Make Your Very Own Keyring...

Keyrings!
How to make your keyring
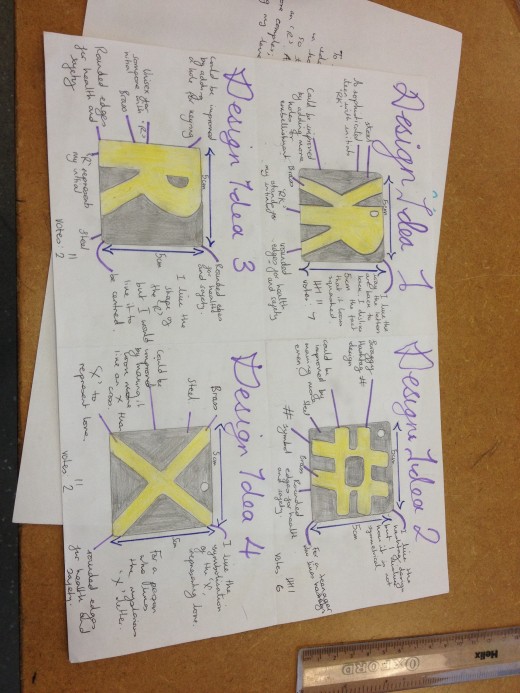
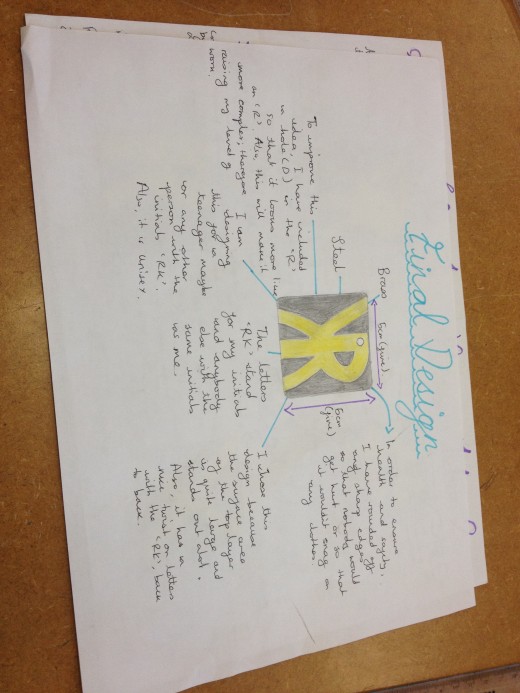
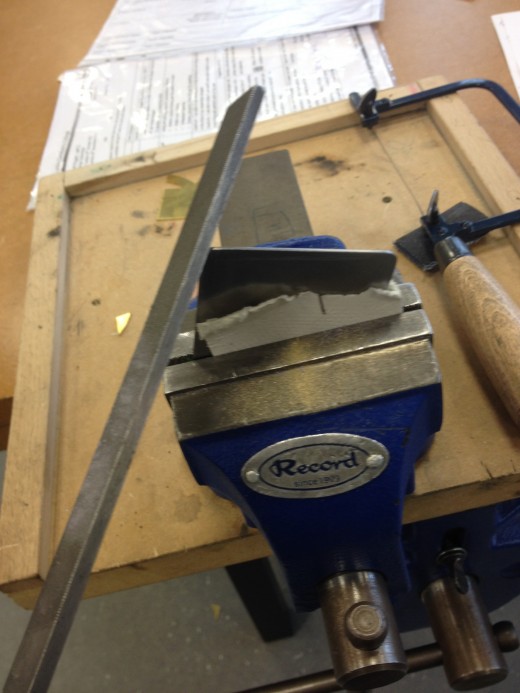
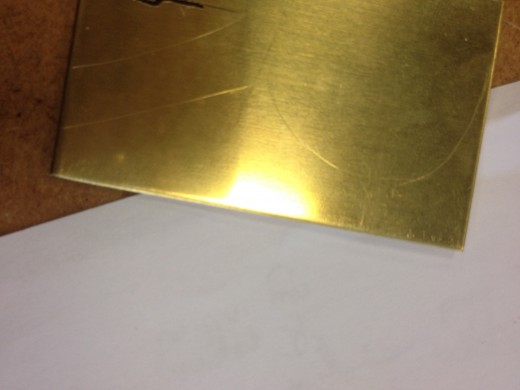
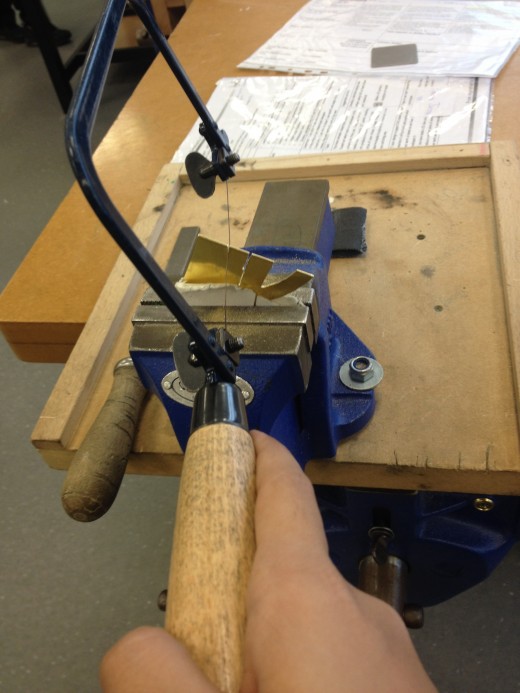
In order to make this keyring, you will need to use a metal lab. Firstly, you must create 4 design ideas to make your keyring and annotate them using the A C C E S S F M specification. In case you don't know, A C C E S S F M stands for Aesthetics, Cost, Customer, Environment, Safety, Size, Function and Materials. Next, carry out a survey to determine your final design. Then, draw out your final designs with improvements that the surveyed people suggested. Colour in with the colours of the appropriate metals, brass, copper and steel. You cannot make this using aluminium and annotate thoroughly. Next you must shape your base piece. Round off all the sharp edges to ensure health and safety using a file. After this use emery cloth to remove any burr from your piece. When you have finished shaping your base piece, you want to draw your design onto the top piece and once you're happy with it, use a scriber to mark out the design. Next you can use a needle or Junior Hack saw to cut your design out.
Don't know which one to use? It's simple. If you have straight lines to cut, use a junior hack saw and if you have curves to cut, use a piercing saw, though, be careful, the blade can snap very easily so use it gently- the blades are very expensive!
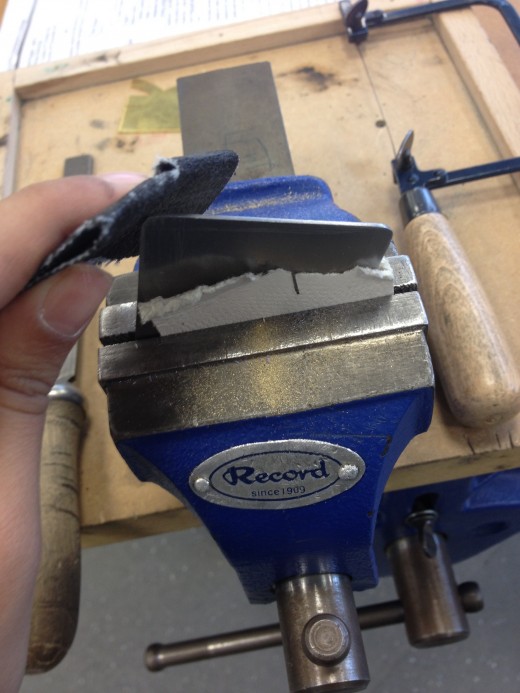
Next, file your design to get rid of any blemishes and to round off edges and smooth curves. Just like before use the emery cloth to remove any burr from your piece. When you run your fingers over your piece, it should be smooth and seamless. Then you must mark out a hole to drill on your base piece for a keyring hole.
How to use a pillar drill
Set the drill bit of the correct diameter into the chuck of the pillar drill and tighten it. Make sure the drill bit is straight as it could break easily if its bent.
Pull guard across to cover the drill bit. Turn on the light (if there is one) so you can see your work clearer.
Adjust your table and lock it. Adjust your locking lever depth so that the desired cut you want will be achieved. Turn on your drill.
Move the lever down until the drill touches the work. Go slowly and carefully. When finished. Turn off the machine. The work may need clamped down if it is a small piece of material. Remember: always be aware of where the emergency stop button is.
Moving on...
File and Sand your hole down with a file and emery cloth. Once there is no more burr remaining, you are ready to soft soldier.
Take your top piece and scratch the back surface of it with the emery cloth to remove any grease. And now, before you say there's no grease on your piece, let me tell you that your fingerprints are literally and physically made up if grease! So this step is compulsory in order to have the best possible keyring. Next, apply flux to the back of your front piece and try not to touch the surface. Only touching the edges of the piece, stick the small pieces of soft soldier to the flax. Now, don't get confused between soldier that electricians use and the soldier that is used in metals. The metal type soldier is made of tin and aluminium and is used to stick two pieces of metal together. Next, lay the top metal piece on top of the bottom piece making sure it is in your desired place and that it isn't blocking your hole. Ask a technician to assist you with the Brazing Torch if you are unexperienced. Lay your work onto the stone and switch on the brazing torch on a roaring fire, which is a red or orange flame. Next, hover over the piece in order to slowly melt the soldier, making sure not to burn your work. Once it is completely melted leave it on the stone to cool down. W A R N I N G ! ! ! ! ! ! DO NOT QUENCH (TO DRENCH IN WATER) YOUR WORK IMMEDIATELY AFTER SOLDIERING AS IT WILL CAUSE YOUR BRASS TO BECOME BRITTLE AND BREAK EASILY! ! ! ! !
The final step is to polish your piece. As you must have noticed, your piece, over the days, has started to rust slightly and become brown. In order to fix this you must polish your piece until the rust flakes off and disappears.
Keep polishing your piece every week in order to keep your keyring as good as new. Before you start using your keyring you must hook a ring through the hole. Once you have done this, you are done!


