- HubPages»
- Arts and Design»
- Crafts & Handiwork»
- Paper Creations
How to Make a Cheap Calendar

Things you will need
- Internet access and printer
- Paper and ink
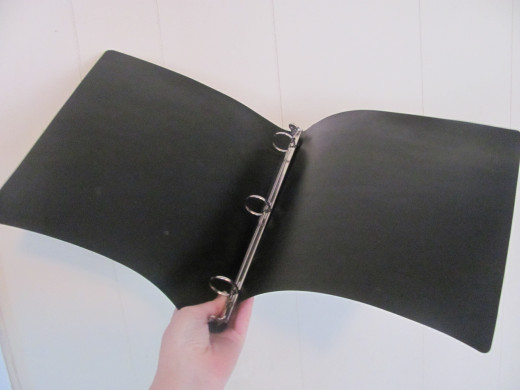
- A flimsy, lightweight binder
- A 3-hole punch
- Tack, tape, or ice pick (depending on how you’ll hang it)
- Graphic editing program (not required, but helpful)
- Find the images of each month online (I use Google Images) and print each one off. If you have any graphic editing software like Illustrator, Photoshop, InDesign, or GIMP, drop each image in the software and expand for more room on the paper before printing.
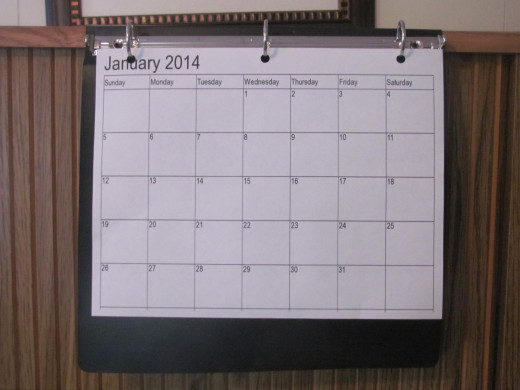
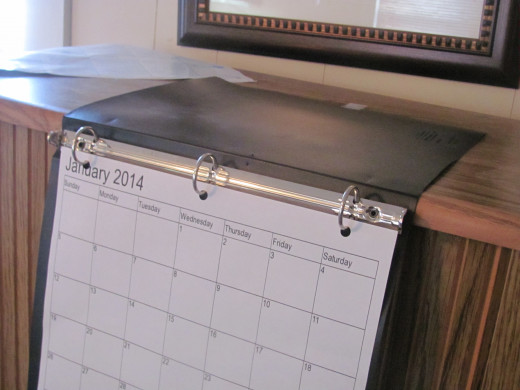
- Once months have been printed off, use the 3-hole punch and place them in the flimsy binder.
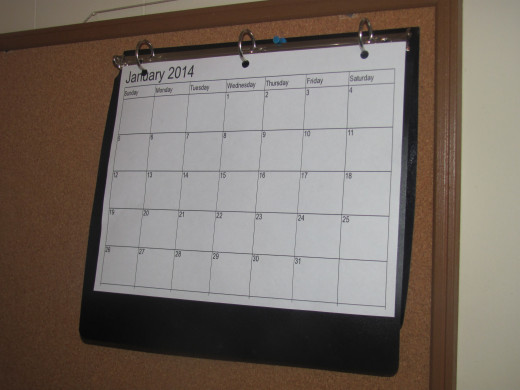
- Finally, punch a hole on top (that is the top of your new calendar) using the ice pick if you wish to hang the binder on a nail, otherwise use the tack or tape to place the calendar wherever you like. Might have to bend back the binder’s flaps a few times so the one stays vertical while hanging.
Whenever the New Year comes around, I always mean to buy a calendar, but never think of it in time. This is such a simple thing to construct and requires the average person no more than a few dollars for the binder. It’s also great because most calendars I find in stores have large numbers and provide little room to write on. But by making my own, I can pick months with small numbers, as well as expand the space using software.
You could even get creative with this by choosing a colored binder and adding illustrations or photos in the background using software.
I recommend using recycled paper to make these. If there are any one-sided papers you’re about to throw away, why not flip them over and use the backs to print off of?
I also recommend flimsy binders, not only because they are easier to penetrate, but their lightness will keep them in place. You can also reuse the binders if they no longer serve as a calendar.