How to Make a Duck® (Duct) Tape Wallet
The Perfect Summer Activity
I worked at an Arts and Crafts store for a few years, teaching classes to both adults and children, doing product demonstrations, hosting children's birthday parties, and running the annual summer camp. Summer camp inside an arts and crafts store? Yes!
Why hold summer camp sessions in the store? Why not?...We had all the needed craft supplies, and an art teacher as the camp counselor.
I was the designated camp counselor. I am certified to teach art in Kindergarten through the twelfth grade, and I've been creating craft projects my enitre life.
Groups of campers came to the store every weekday morning or afternoon for a two-week period. Rather than just supply markers or paint and paint brushes and some sheets of paper to the campers to keep them busy, we made things. It was fun!
One of the all-time favorite craft projects for the campers was when we made Duck® Tape wallets. The most popular Duck® Tape used for the wallets was the camouflage-patterned tape for the boys and the bright pink tape for the girls.
What is Duck© (Duct) Tape?
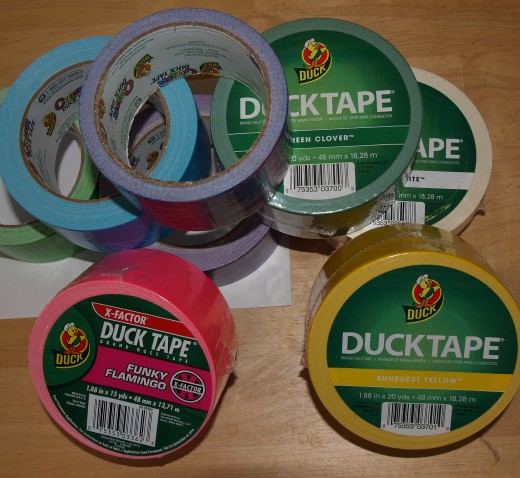
Duck© Tape, referred to generically as duct tape, is a strong cloth-based tape developed during World War II. It is manufactured by laminating medical tape to a cloth background and adding a very strong adhesive to the other side. Originally manufactured in army green and then silver, Duck© Tape is now available in more than 40 colors and patterns.
This article includes step-by-step instructions for creating a Duck© Tape (duct tape) wallet. Why not make several wallets, one for yourself and others to give as gifts?
If you would like to know more about the history and development of this versatile tape, please read How to Make a Duck© (Duct) Tape Hair Bow.
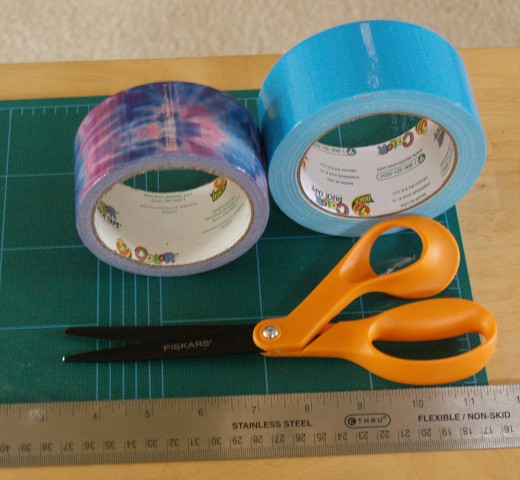
- In the example in this article, I'm using Totally Tie-Dye Duck Tape® for the main part of my wallet and Electric Blue Duck Tape® for the credit card pockets.
Supplies Needed for Making a Duck® Tape Wallet
- Duck® Tape in the color of your choice for the main part of the wallet
- Contrasting color of Duck® Tape for the credit card pockets
- Scissors for cutting Duck Tape® should either have titanium blades or blades that are Teflon® coated. (I use FISKARS®-brand of scissors with non-stick Teflon® blades.)
- A craft mat with a grid on it is helpful for keeping your strips of tape aligned while you are creating the sheets of Duck Tape® "fabric."
Tools and Equipment Needed for Making the Wallet
- Scissors with non-stick blades
- Ruler (12" or 18" long)
- Craft mat or self-healing cutting board that has grid lines on it
- Credit card (for verifying that the credit card pockets are actually wide enough to hold a credit card)
Supplies, Tools, and Equipment
Step-by-Step Instructions
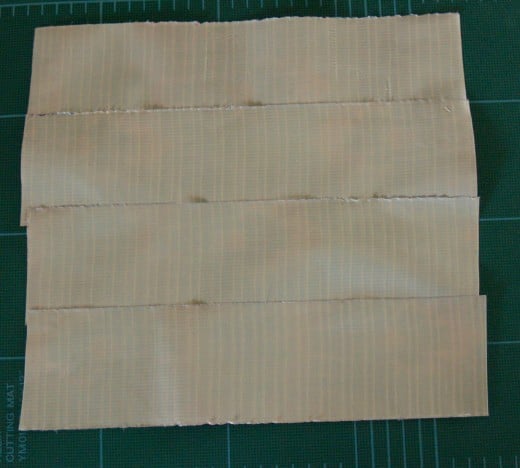
- Cut eight strips of Duck® Tape that are seven inches (7") long and place them sticky side up on your work surface. (Please note that the number and length of the strips are for United States paper currency. You might need 10 strips of tape that are longer than seven inches if you are making a wallet which will be used with the paper currency of another country.)
- Place one strip of tape on top of another strip so that the top of the second strip slightly overlaps the bottom of the first strip.
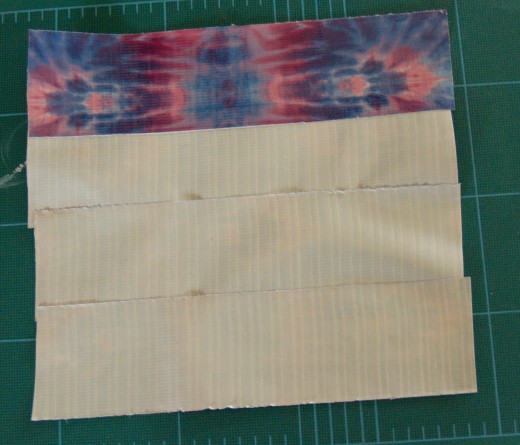
- Place the top of the third strip of tape so that it slightly overlaps the bottom of the second strip. Then, place the top of the fourth strip so that it slightly overlaps the bottom of the third one.
- Take the remaining four strips of tape, and place them sticky side down on the first four strips of tape...You are creating a double-sided sheet of Duck® Tape "fabric."
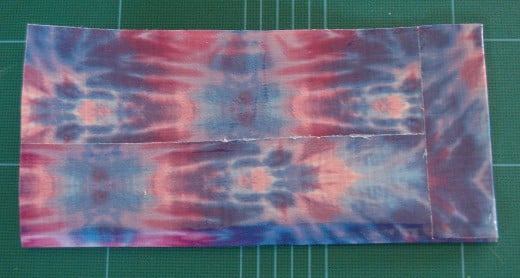
- Fold the Duck® Tape fabric in half, creating a long rectangle.
- Cut a piece of tape that is approximately four inches long. Use it to seal one side of the rectangle.
- Don't seal the other side of the rectangle yet. Fold the wallet in half so that the short sides meet. Then, seal the second short side of the wallet. (If you seal the second side of the wallet before you fold it in half. it is likely that your wallet will have air bubbles or bulges in it.)
- Trim the excess tape from both sides of your wallet...You will now have the compartment into which paper money is placed.
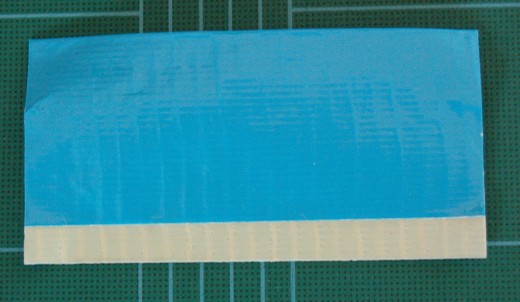
- To make a credit card pocket, cut two pieces of Duck® Tape that are four inches (4") long and place them sticky side up on your work surface. Take one of the pieces of tape and place it sticky side down on the other piece. Do not align the top edges of both pieces of tape. Allow ¼" of the sticky side of the bottom piece of tape to show, and wrap the excess tape over the top of the pocket.
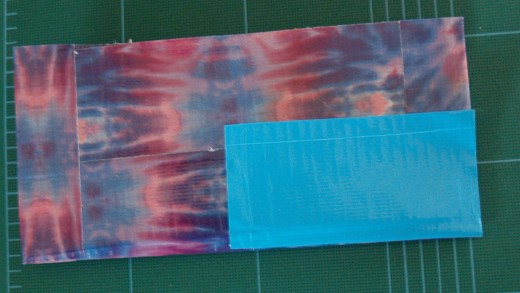
- Turn the double-sided piece of Duck® Tape fabric over and position it on the inside of your wallet, with the ¼" sticky strip of tape at the bottom.
- Create a second and third credit card pocket if you would like to do so, staggering their placements on the wallet.
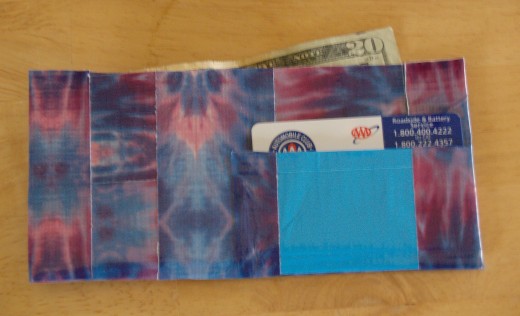
- Cut two strips of tape the same length as the short sides of your wallet. Attach the credit card pockets to the wallet. Slit the tape sealing the pocket to the wallet so that the credit card will fit into the pocket.
Have you ever used Duck® (Duct) Tape in your craft projects?


