How to Make a Family Birthday Calendar Out Of Fabric
Remembering Birthdays and Anniversaries
Are you tired of forgetting your favorite niece's birthday? Tired of copying those birthdays from one calendar to another every year? Tired of turning the calendar page over just to discover that you missed another birthday?
We can fix that! This birthday calendar is perpetual, and always available in full view. You can easily glance at it and know exactly when the next birthday will be. There's no need to turn the page, and no need to copy it from year to year. If you put it someplace that you will see every day, you will always be ready to send a note or a gift to your loved ones on their special day.
Criteria and Ideas for a Birthday Calendar
I got the idea of a birthday calendar from Pinterest. The pin was a birthday calendar using wooden circles. Since I am a quilter, I decided to make one out of fabric. Before I started, I came up with some criteria for the project.
- The calendar needs to be expandable. As new members join the family either through birth or marriage, I need to be able to add their information quickly and easily. For this reason, I decided to make individual pieces for each family member.
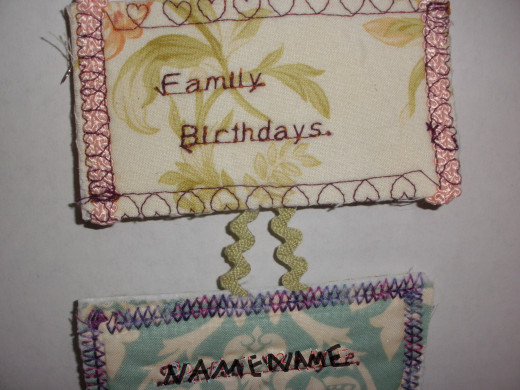
- These pieces have to be connected in a way that can be disconnected and reconnected without much issue. I didn't want to have to dismantle the whole project just to add a piece. I decided to use ribbon to connect the pieces since I had ribbon. The original plan was to add buttons of the pieces which would hold the ribbon of the piece below it. I ran out of time, and wound up simply using safety pins to secure the ribbon on the back of the piece above it. You can also use long pieces of ribbon that can be tied to each other with a knot, or some other method such as dowel rods, hook and eyes, or other hardware.
- The calendar needs to be versatile. Instead of using the same fabric for all of the original pieces, and having to find that same fabric to add new members, I decided to start with a variety of fabric. In this way, when a new piece is added, I simply need to find a coordinating fabric.
- The size of each of the pieces have to be big enough to incorporate the name and date, but small enough to fit the amount of space available on the wall. I chose to keep all of the pieces the same size; my pieces are 2 1/2" by 4 1/2".
- The title banner can also be made out of fabric, or you can use wooden plaque. It should be big enough to stand out and incorporate the names.
- If you separate out the pieces by month like a true calendar, you will need pieces to indicate the month, or you can incorporate that on your banner. If you have just a few pieces like I have, you can also separate them some other way, like the four seasons, every two, three, or four months, or simply make a long chain. There are only ten people in my family, so for my project I made one long chain. I eventually hope to create another one that includes all 100 extended family members.
- You need to decide how you are going to attach the pieces to each other. I used ribbon, which I had planned to attach to the back of the pieces with buttons.
Double Sided Fusible

Material Needed to Make Fabric Birthday Calendar
The first thing you will need is a list of birthdays and anniversaries you want to include in your calendar. My calendar currently includes my parents, my siblings and their spouses, myself, and all of our children. At some point, I plan to include my grandparents, aunts, uncles and cousins.
You will need the following supplies:
- Fabric scraps: I recommend a variety of coordinating fabric. The amount will depend on the number of dates you have on your calendar, and how big each of your pieces are. I used a 5" charm square pack, and cut them in half, but I recommend bigger pieces that accommodate the size of your stabilizer. In this way, you can get all the names and dates on before cutting out the pieces.
- Thread
- Ribbon or whatever you are using to hold the pieces together.
- Sewing Machine
- Heavy weight double-sided fusible stabilizer such as Timtex, Peltex or Fast2Fuse. This is a firm yet pliable material. I used June Tailor Fabric Bowl Stabilizer.
- Iron
Names and Dates
You can save time and thread by using just the first name, but since I am a genealogy buff, I recommend including both the first name and the last name.
If you are going to break up your calendar into months, you can save time by just using the day on each piece, but I recommend including the month, at least in an abbreviated form. In this way, if the pieces get separated, you know exactly where they go.
I also recommend using the full date, including the birth year. This will help you keep track of milestone birthdays.
You could also create separate pieces to help you remember anniversaries, holidays, and other important dates.
Tutorial: How to Make a Birthday Calendar Out of Fabric
The first step is to make the individual pieces that have your loved one's name and date. There are a variety of ways you can do this:
- fabric marker
- embroider by hand
- machine stitches
- printed on fabric using ink jet printer
Since I have a new machine, I decided to use the alphabet on my machine to add the information. I used batting scraps as a stabilizer and stitched the information on, but found that the pieces were not firm enough, so I added the double sided fusible. The instructions that follow omit the batting scraps and use only the fusible.
Practice:
Taking some scrap fabric, I practiced making the longest name first. This helped me determine the size of the stitching, and the desired size of the pieces.
Preparation:
The order of the first step will depend on how you are preparing your pieces. I am going to separate out the steps for each process:
Printing On Fabric Using Ink Jet Printer
A note before you start: you must use an ink jet printer to print on fabric. Laser printers will not work. If you are printing the information on fabric, you will need to create a list of names and dates. I recommend using a label template on your word processing software. Print a sample on a piece of paper to make sure it is printing like you expected. Cut the fabric into a size your printer accepts. Press the fabric on a sheet of freezer paper which is also cut to the same size. Then put your fabric/freezer paper into the ink jet printer. Press to set the ink and remove the freezer paper.
Adding Names by Marker
You can use a permanent fabric marker to add the names by hand. You can then put the fabric on some sandpaper or something similar to keep the fabric from shifting. I like to type the names on the computer and try out different fonts and font sizes. Then to mark the fabric, I hold the fabric in front of the monitor and gently trace the names with pencil. Then simply trace over the names with a permanent marker using sandpaper to stabilize the fabric.
Adding Names by Hand Embroidery
For hand embroidery, you can mark your fabric as described in the marker step above. You can add a lightweight fabric stabilizer if you need, and embroider the names and dates using your favorite stitches.
For all of these methods listed above, once your information is on the pieces, fuse them to one side of the heavyweight fabric stabilizer following the instructions on the package. We'll call that the front.
Machine Embroidery
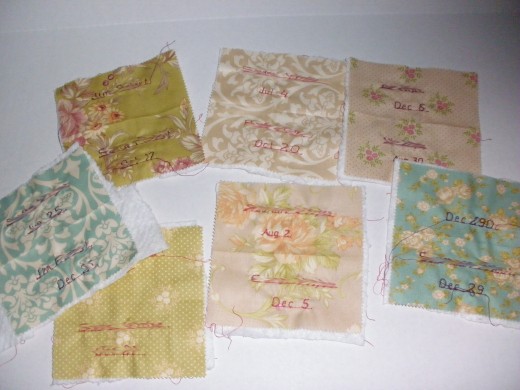
If you are going to add the names and dates by machine embroidery, the sequence of the steps is slightly different. Fuse a piece of fabric to the front of the Timtex or other heavyweight stabilizer first. At this point, leave the back fabric off, to keep a neat appearance on the back. Be sure to use a pressing sheet on the bottom to keep the stabilizer from sticking to the ironing board. I recommend getting a piece of fabric that is the size of the stabilizer to be more efficient. Mark where you will cut the pieces. I recommend marking them slightly bigger than the actual finished size of the pieces to give you some wiggle room in case of error. This will help make sure that you keep your information within the space.
Cut the fabric fused to the stabilizer into columns so it can fit into the machine. I programmed the information into the machine and sewed it on. The programming took the longest time for me. I added the name in one row and the date underneath it. To avoid reject pieces like mine, make sure there is enough thread in the bobbin before you start, and your piece is lined up straight.
Finish the Pieces
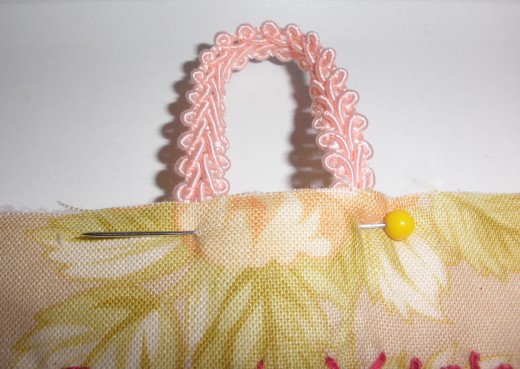
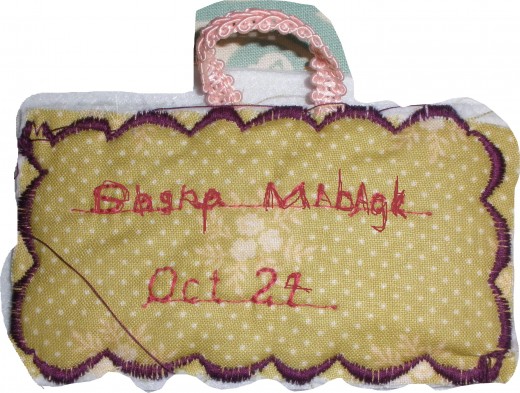
Once the information is on the pieces, fuse the backing fabric to the fusible. Then cut out the pieces. Add the ribbon - I gently pulled off a small section of the backing from the fusible and inserted the both ends of ribbon into the backing. You can also put the ribbon directly on top of the back or the front, depending on the look you prefer.
I used a variety of machine stitches all around the edges to secure the sandwich. For a neater appearance, use a satin stitch around the edges. When I make these next time, I will save the fancy stitches to embellish inside the pieces instead of the edges.
Assemble the Cloth Family Birthday Calendar
Once all of your pieces are made, it is simply a matter of putting the pieces together in the right order. I recommend laying them out on a flat surface and checking your work.
Then you can simply hang it up in a prominent place so that you never forget another birthday or anniversary again.
Do you have trouble remembering birthdays?
Other Ideas For a Cloth Family Birthday Calendar
- Since these loose pieces can get turned over, consider adding the same information to both sides.
- Instead of leaving them loose, consider placing them on something more solid like a bulletin board.
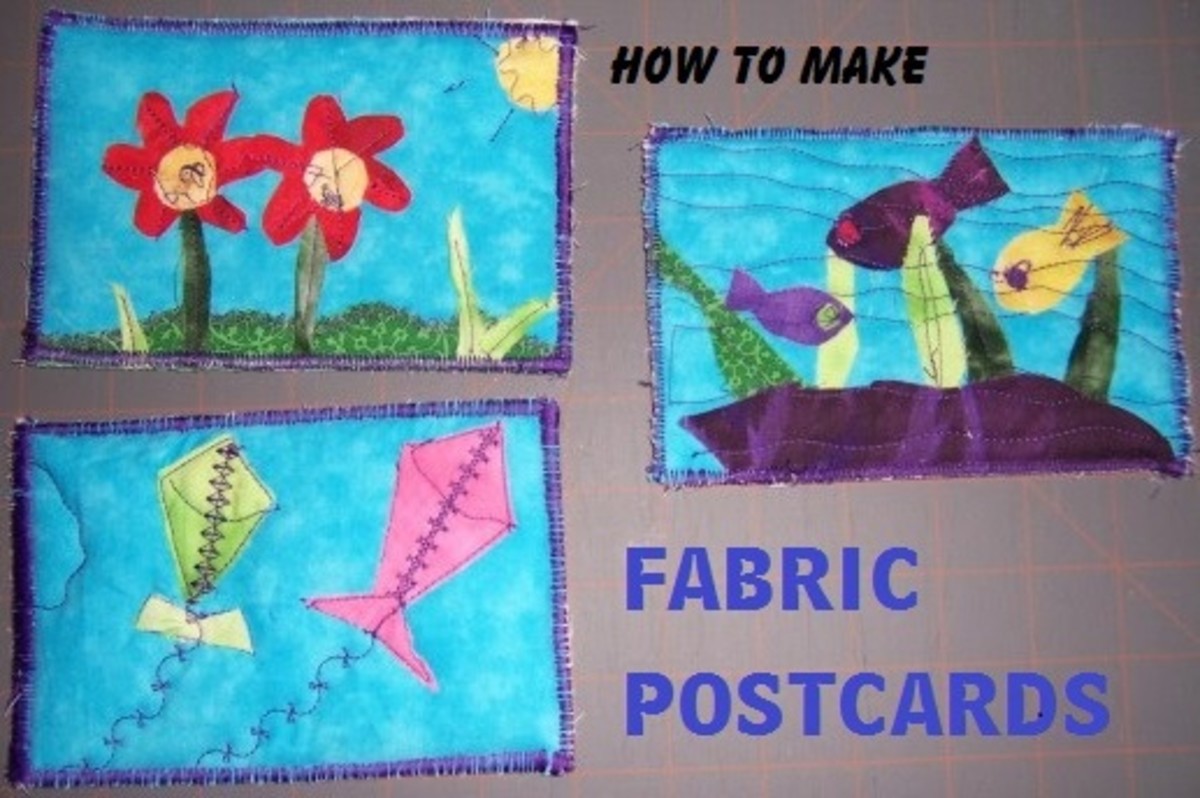
- One friend, Kate North, has made a holder for her fabric trading cards. This would work well on a project like this. Even though this limits the flexibility, if you made one that had twelve columns, one for each month, and enough spaces for all of your family members with some extras for additions to the family, you could create a structure to put your pieces. You could simply leave some blank spaces between the names so you wouldn't have to move pieces around too much to add a name. You could even put filler designer pieces in the blank spaces. She's even provided a tutorial.
