How to Make a Log End Table
Introduction
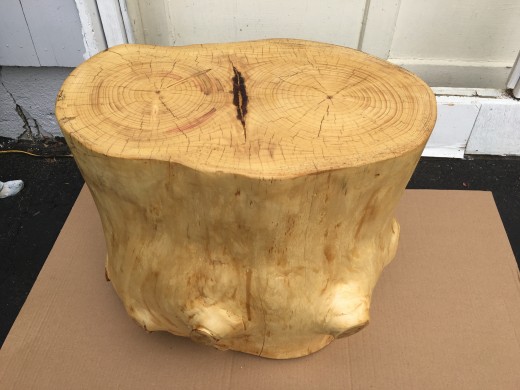
An introduction to some simple woodwork project anyone can do. This is a rescue log taken from a town recycling center. All you need is some simple tools and some patience.
- Sept. 2019
Background
I hate to see good materials go to waste. On a recent trip to our local town recycling and composts center, I saw some precut log piled in a heap. I decided to rescue this piece and make an end table. It is important to select a log around the 18 inches high and 18 inches diameter. It does not have to be exact but the cut should be clean and more or less even and perpendicular. It would make the job much easier.
What Tools Needed?
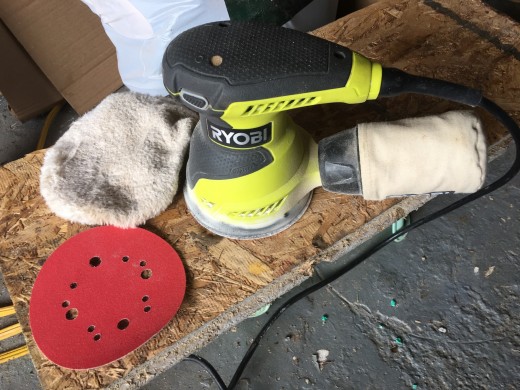
- rotary sander
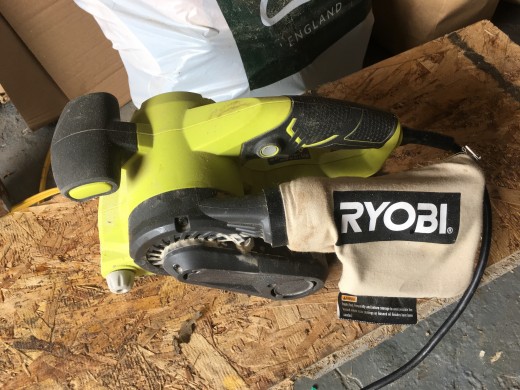
- belt sander
- hammer
- chisel
- rotary saw
- tape measure
- leveler
- hand saw
Materials...
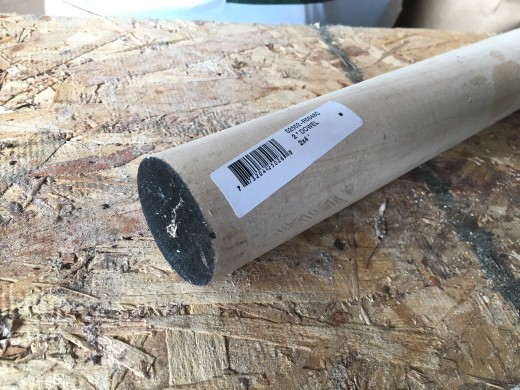
- Wood dowel rod 2 inches diameter
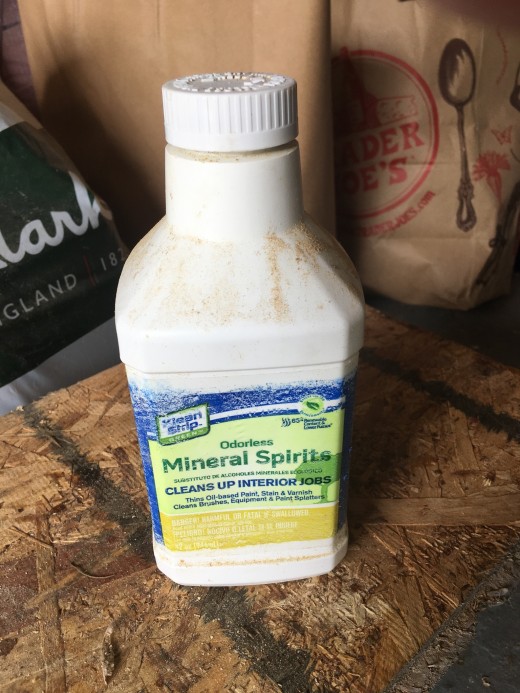
- mineral spirit
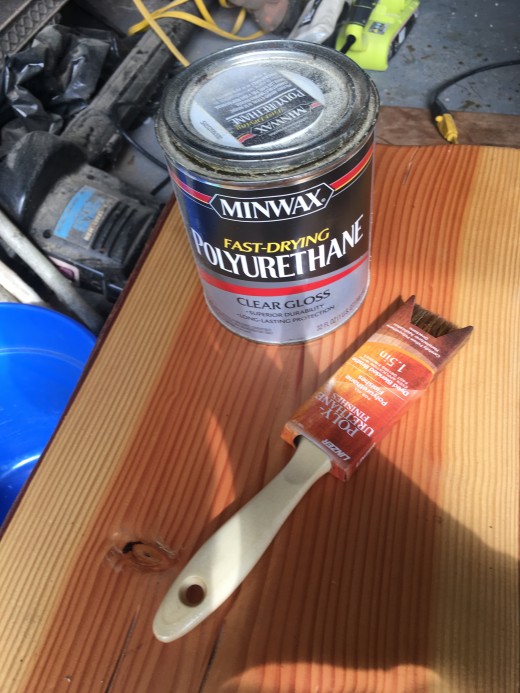
- polyurethane
- brushes
- epoxy adhesive
- felt padding
- sand papers 80/120/150
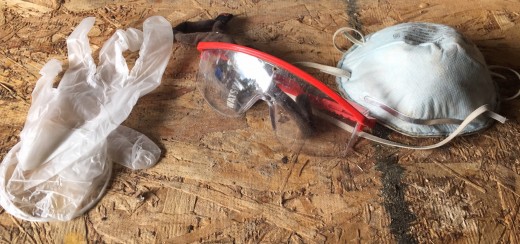
- masks
- goggle eye protector
- vinyl gloves
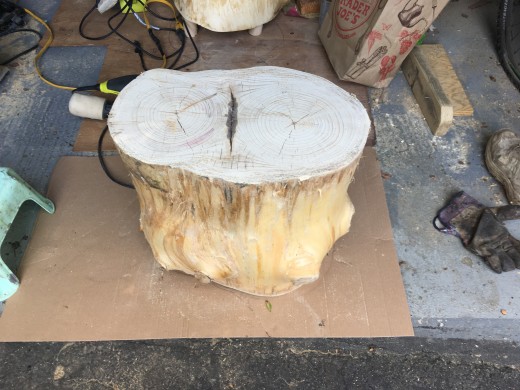
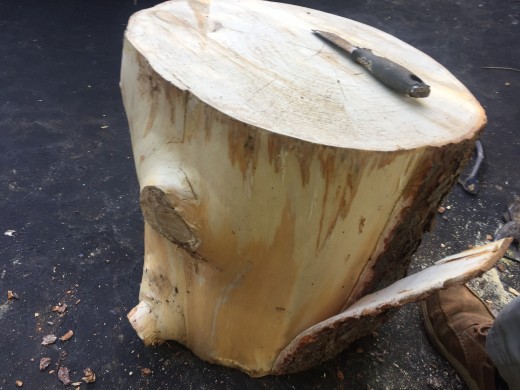
Leveling...
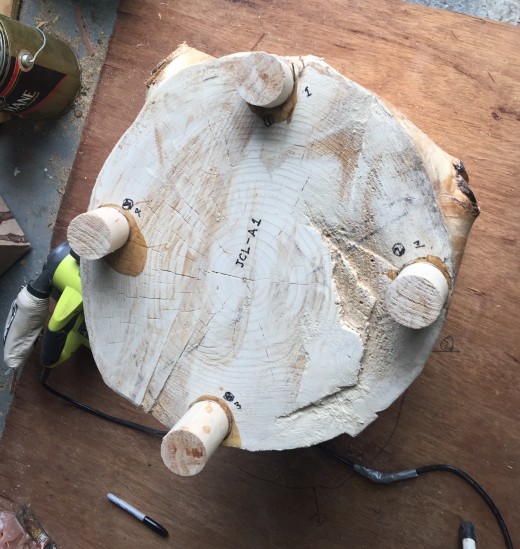
Leveling
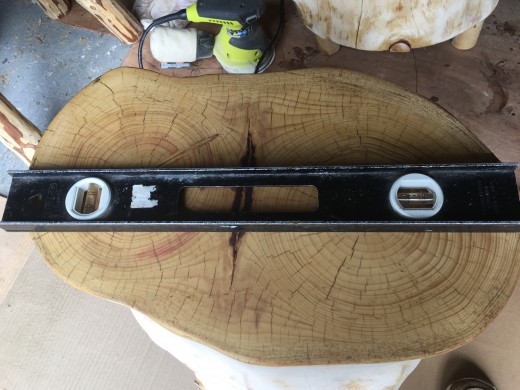
How To Make It
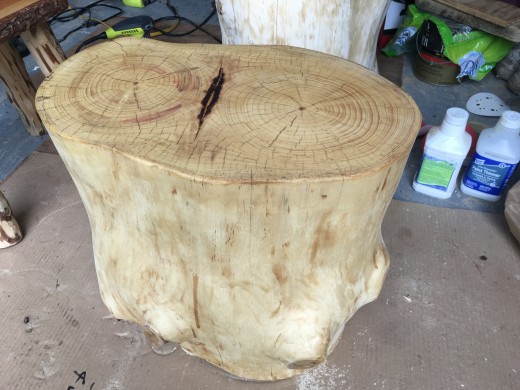
- Select appropriate log approx. 18” tall and diameter.
- Peel the bark off using hammer and chisel.
- use rough grain sand paper 80 and sand the two surfaces smooth.
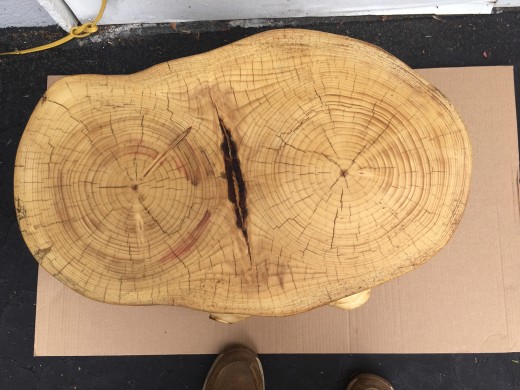
- Choose best surface for top of table...see grain pattern...defects...
- check level, if not level, use the dowel rod and cut into disks with appropriate height to insure the table top is level. You can use up to 4 disks at 90 degrees apart of variable height.
- Use adhesive to glue wood disks into place.
- Sand top surface using 80 than 120 grade paper, use the rotary sander and move slowly in counter-clock direction and cover all surfaces Evenly.
- Use hand saw to saw off any stubs on the sides.
- sand the sides using belt sander again first 80 then 120 grade paper.
- apply polyurethane lightly...let dry, sand using 120 grade paper...
- repeat step 10 up to 5 times to get a smooth shine. Use 150 grade for the last 2 cycles.
- buff the top surface to a smooth clear shine using the rotary sander tool.
- add felt paddings to the bottom wood disks. This will make it easier to move the table into its final location and won’t scratch your floor.
- Done.
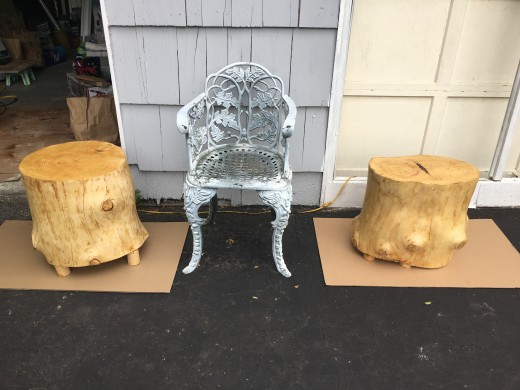
Some Tips...
- Make sure the log is dried before working on it.
- Check for ants and bugs especially near knots.
- You can leave the bark on if making a piece for outdoor use.
- Apply some mineral spirit to help it sealed and waterproof.
- Use a good brush made for the job.
- Always wear a mask when sanding.
- You can apply a thin coat of Danish oil periodically to keep the surface clean and rejuvenated.
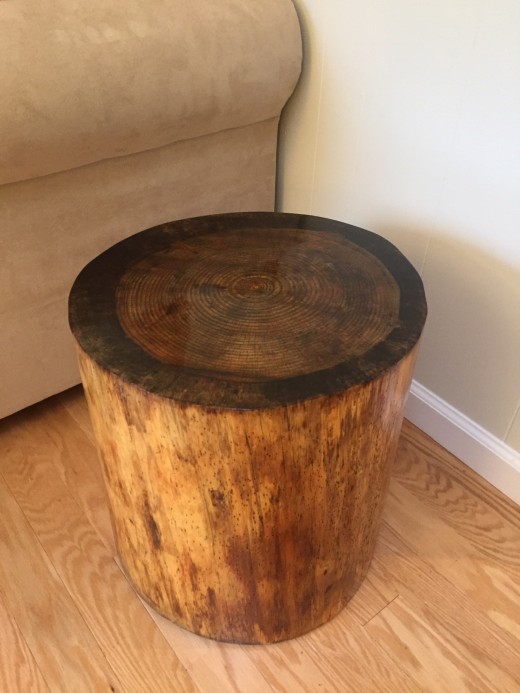
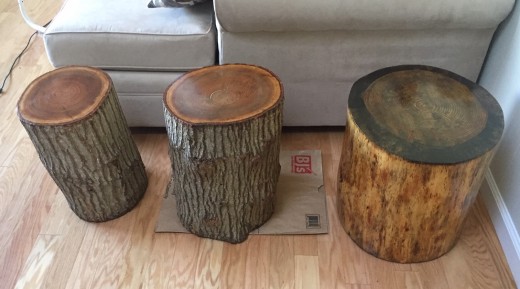
Latest Model Sept. 2019
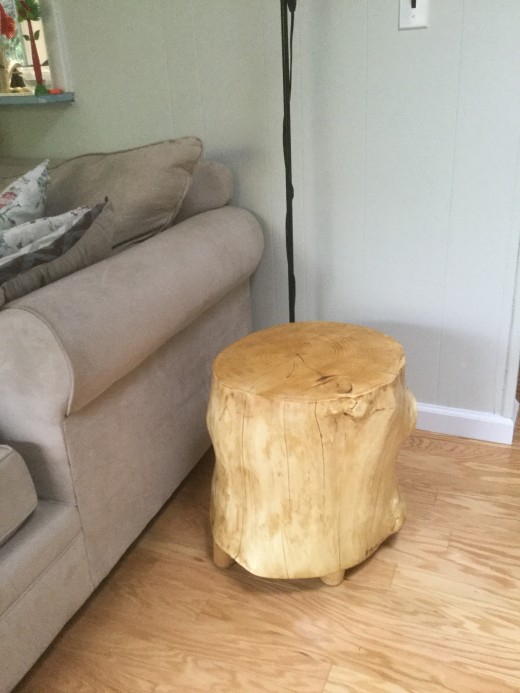
Summary
The cost of this project is minimal. It is time consuming depending how well you want the final product to look and feel. The more coats of polyurethane you apply, the better the finish. You can also choose a glossy or a satin finish. Either one, the steps are the same.
When you are done, each piece is unique and a work of art. I like to put my initials on the bottom of each piece I make as a sign of pride.
It feels good to rescue a piece of dead wood and put it to good use.
A table shown above takes approx. 1 week of work, 6 hours total and cost about $30 in materials.
This content is accurate and true to the best of the author’s knowledge and is not meant to substitute for formal and individualized advice from a qualified professional.
© 2019 Jack Lee

