How to Sew a Simple Jazzy Bow Tie


Finding the perfect fabric
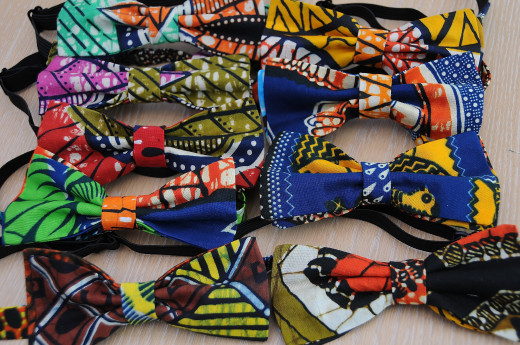
Finding the perfect design for a conversational accessory such as these eyecatching bow ties is the easy part. I bought a 'Jelly Roll' which is a roll of pre cut strips which are widely available from Amazon or can be purchased from shops which sell fabric for patchwork enthusiasts. These are usually made of pure cotton and the fabric comes in a variety of colors and designs.
The ties shown here were commissioned by some local musicians who wore them for their most recent Jazz Band Concert Performance.

Cut the fabric to size

Materials
Small oddments of pure cotton fabric with a jazzy design.
Dressmaking scissors or a Rotary Cutter
Front facing Bra fixings or Box Tie Fixings
Pins
Sewing Machine
Hand Sewing Needle
Large Sewing Needle with a large eye
An Iron for pressing
Matching Sewing Thread
Disappearing sewing pen if you would like accurate sewing lines
Black narrow elastic - about 50 cm
Cut the Fabric Strips
First, cut two strips of fabric (Bows) which are 29 x 7 cm in.
They should be cut from contrasting fabric, each section of the bow should be different from the other.
Cut one strip from a complimentary color (Neck Strip) This should measure 29 x 5 cm in length.
Cut off 5 cm as shown in the image below - from the narrow strip. This small piece will be used to form the cylindrical shape which will be used to hold the two bow pieces together.


Fold the Fabric Strips
Fold the narrow strip in half lengthwise as shown below
Fold the wider strips width wise as shown below
Fold the tiny strip as shown.

Making the small bow ring
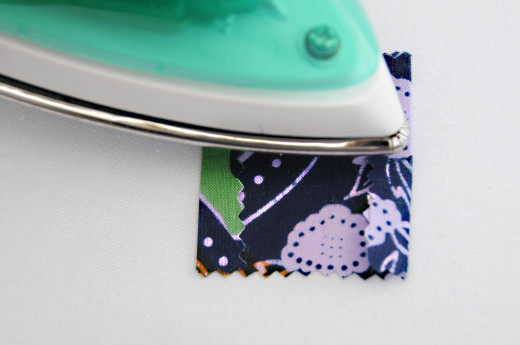
Fold back a little of each end of the fabric from the right side and press these up towards the wrong side of the fabric as shown here.
Fold the strip
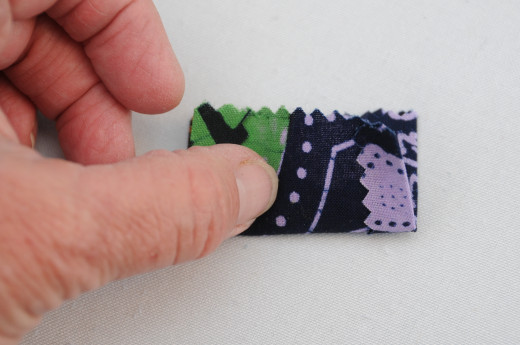
Now fold the strip over to face the wrong side of the fabric.
Sew Across the Top
Sew the folded strip down one side and across the folded pieces. Once you turn it inside out you will be left with a nice edge without having the struggle to neaten it off when you turn this tiny tube inside out.

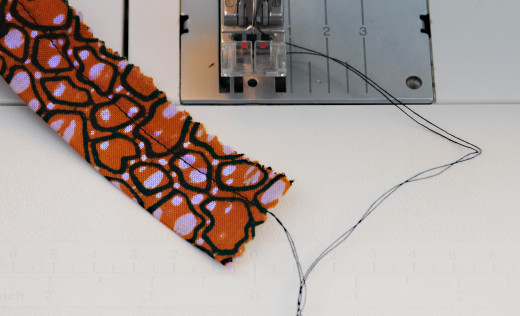
Leave the Long Cotton Threads!
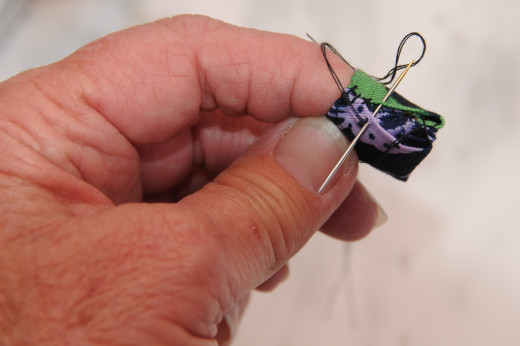
Leave sufficient thread when removing from the sewing machine. These threads will help turning the strip being turned inside out. Simply thread a large needle with the thread and pass the needle through the tube. Use this thread to help turn the tube inside out.

Insert the needle into the casing
Turn the casing inside out.

Scissors
A large pair of scissors can be a used with good effect to straighten the casing out.

Leave the threads
Don't cut off the threads yet. You can use them to sew the tube together a little later on.

Sew the Tube Together
Use the long threads to join the tube together. Sew both sides of the tube, first the lower edge and then the upper one.. A few stitches on each section will do nicely.
The completed tube
The two layers of the bow tie have now been completed. These will be threaded through this tube to hold them together later.

Make the two bows
Sew the short edges of each bow and place the seam in the center of the folded fabric and press.


Press Flat
Keeping the seam in the center and press both of the bow pieces flat.
This process should be repeated for the second bow section.

Sew the sides of the bows.
Sew one side of each bow piece.
Now, sew the other side but this time, you must leave a gap in the center, through which the bows can be turned inside out.

Both sections of the bow tie
The image clearly shows both side seams. One side shows where a gap has been left in the middle.

Leave a gap in the stitching near the centre
The gap as seen below.


Use a Pin or a Needle!
Pull out the corners out with a pin or needle to ensure that you get nice sharp pointed edges to your bow tie.


Begin Making the Necktie!
Sew the pressed neck strip down on one side and turn it inside out using the long threads as was done in each previous stage.
Turning the neck piece inside out
Thread the large needle and pull the cotton thread through. Gently ease the fabric over the long threads to turn it inside out.


Using the Scissors as a Tool
Use the points of the scissors to push back a little of the raw ends to provide a neat edge. Alternatively, the edges could be done the same way we did the small tubular piece by folding back the raw edges before machining the long edge.

Assembling the pieces
This image shows two layers of the bow, a neck tie strip, a joined front facing bra connector and an adjustable bra clip. . Alternatively a bow tie kit can be purchased.

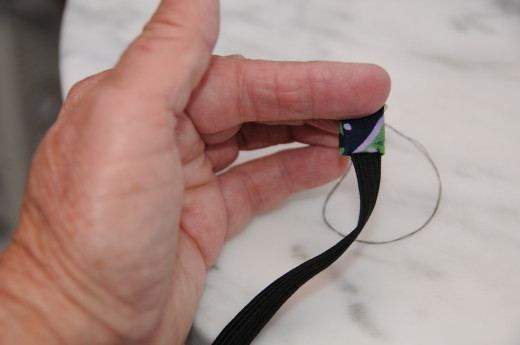
Insert the Elastic into the Tube
Insert the piece of elastic into the tube and then attach it using a few firm stitches. Alternatively sew it with a machine.

Insert the Elastic into the Tube
Insert the elastic into the pressed neck tie and secure the elastic with firm stitches or alternatively machine stitch across the elastic and the fabric.
Attaching the adjustable fittings
Add the bra fittings to the elastic as shown below. The loose piece of elastic should be fed back through the same little connector to form a circle. The other end of the elastic should be threaded as shown and then two ends of the elastic should be stitched together so cannot come loose. The Strap will be adjustable if threaded correctly.


Sew the fittings onto the elastic
Undo the front fastening and thread one onto the elastic and one onto the fabric of the neck tie. Fold over and sew neatly together as shown.

The completed neck tie
The neck piece is shown here completed but without the two bows attached.

Insert the 2 bows through the tube.
Place the two bows together and thread them through the small cylindrical tube to form a single bow.


The Completed Bow
You have now completed your Bow Tie. Any comments or questions are welcomed.


© 2014 Sally Gulbrandsen
")


