How to Prepare a Painting for Hanging
Hanging Canvas Paintings
Whether you are planning on preparing a painting for hanging at home or for a sale or exhibition, it can be quite expensive to pay to have it done by a professional framer. However, if you have chosen to paint on one of those canvasses that come ready stretched on a frame, it is not difficult to do this work yourself.
All you will need will be a few tools and a visit to the hardware store for some inexpensive materials. It is a good idea to finish your painting with a spray of your choice of clear gloss or matt varnish before you begin to prepare your painting for hanging.
If you are preparing your painting for sale or an exhibition, it could be a good idea to find out the stipulated requirements. Often screw-eyes are not allowed as they can mark the wall and small D-rings can be a better choice.
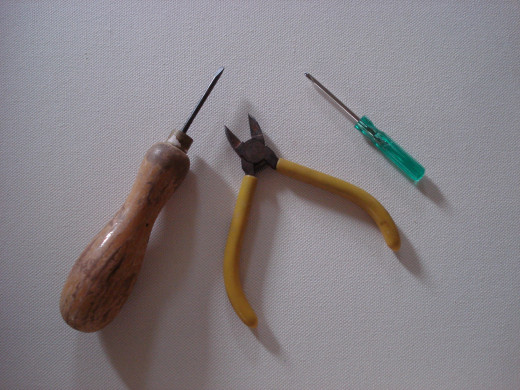
The Tools You Will Need
The tools you will need are fairly basic and you probably already have most of these. if you do not, they are small, which is good for storage, and not very expensive.
- A pencil and ruler
- An awl, a small screwdriver (probably a Phillips, but this depends on the the type of head on the screws that you purchase)
- A small wire-cutter.
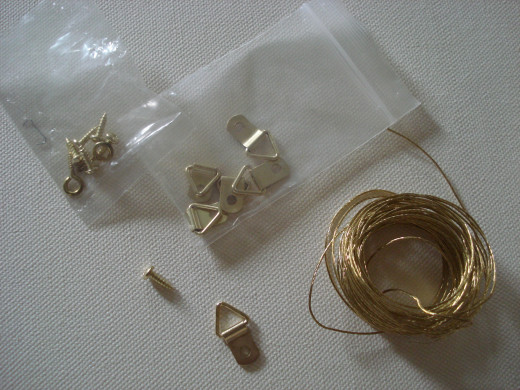
Materials Required
Again, these are quite simple and easily obtainable from almost any hardware store. As these come in packages, there are sure to be more than you need for this project, but this means that you will already have all the requirements next time you want to prepare a painting to hang. If you choose the brass-coloured screws, try and choose the D-rings and picture wire the same colour as your work looks better if they match. You will need:
- A packet of tiny brass screws
- A packet of flat D-rings
- A small roll of picture wire.
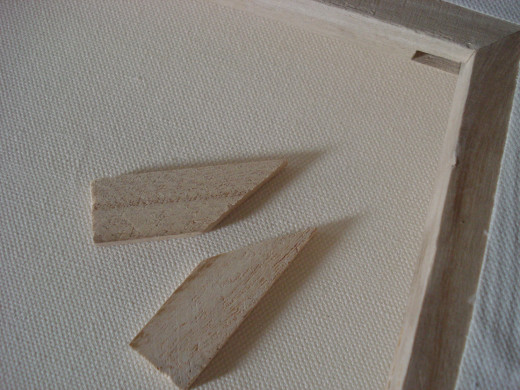
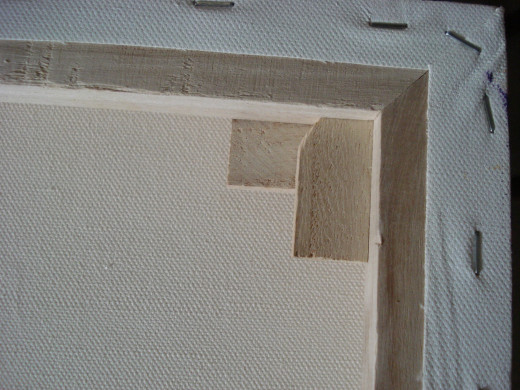
The Frame Wedges
When you purchased the canvas, it came already stretched on a light wooden frame. You probably found that, attached to the frame, there was a small ziplock bag containing eight flat wedges. These are intended to go in the corners of the frame and they help to strengthen the frame and keep the canvas tightly stretched.
In each corner of the frame at the back of the painting there will be two narrow slits, just the width of the wedges; one slit will be a little higher than the other. When you have completed your painting and are preparing it to hang, insert these wedges in the following manner:
- Hold one wedge with its long side flat against the frame with the pointed end towards the lower slit.
- Slide the pointed end into the lower slit until it touches the end. You may need to push firmly to get it into position, so make sure you push it straight or it may snap.
- Repeat this process, sliding a second wedge at right angles to the first into the slightly higher slit.
- Repeat until all four corners of the frame have been secured.
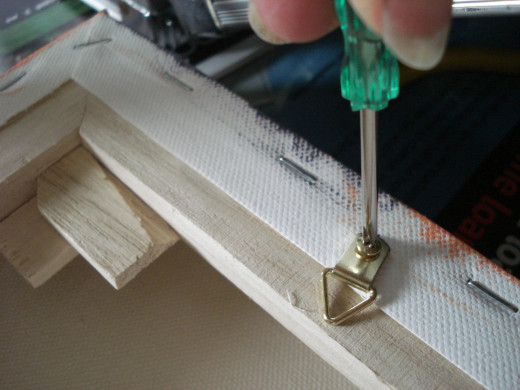
Performing the Task
The actual project does not take long, although you will need a clean space on which it is safe to place your painting face-down.
- Measure with the ruler about a quarter to a third of the way from the top of the back of the painting. Mark this with the pencil. Repeat the process on the other side at the back, making the marks the same distance from the top of the frame.
- With the awl, gently make a hole at each of the two pencil-marks. The wood used for the frame is light to keep the whole painting light, so it is quite soft. Do not press the awl into the wood too far or it will not hold the screw.
- Put one of the tiny screws into the hole in the D-ring, place the point in the hole in the wood and screw it into the frame. Make sure that it goes right in and is quite firm. The D-ring should be pointing in towards the centre of the back of the painting. Screw in the other D-ring on the opposite side of the back of the frame.
- Measure the length of picture-wire that you will need, allowing about three inches (8 cm) each end. Nip it with the wire-cutter. Thread one end of the length of wire through the D, bend it around and back with your fingers and wind it neatly around itself four of five times. Repeat at the other end. If the wire is too long, nip it to a suitable length with the wire-cutter to keep it tidy.
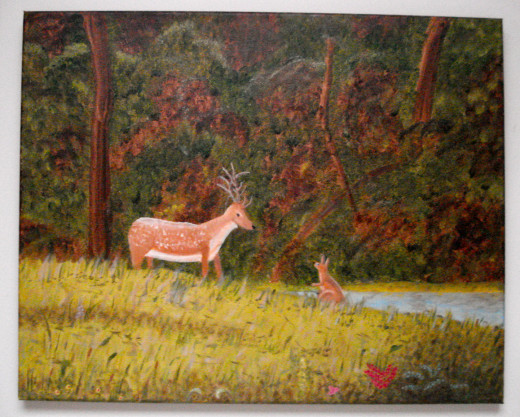
Now my painting of a deer meeting a small kangaroo is ready to hang and enjoy.
That's it! Simple, wasn't it? And think of how much you have saved by doing it yourself.
Painting, Art and Stuff
- Chinese Watercolour Techniques for Painting Bamboo
Learning how to paint bamboo is one of the first lessons when exploring Chinese watercolour techniques. The materials needed are set out and the steps to master for the painting are explained along with some interesting information about bamboo.

