How to Preserve Heirloom Photographs
Preserving Photographs by Scrapbooking
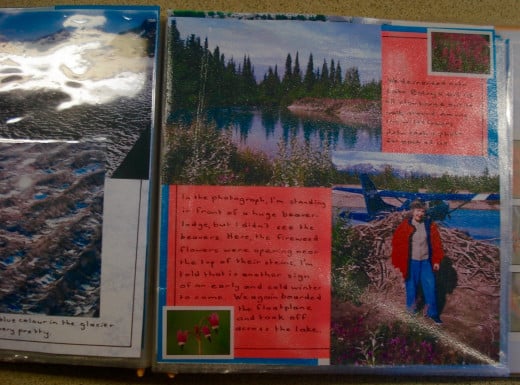
Many of us love to record our adventures in scrapbooks, whether it's an exciting holiday we want to remember (and wish it could have lasted for ever), or important family occasions and landmarks.
Special albums with acid-free page-pockets are easily purchased for this - if we have any money left over after the holiday! It's a great way to preserve our photographs and memories and in later times they may become family heirlooms. Scrapbooking is time-consuming but fun and we can relive those happy occasions as we work on the pages and in the years ahead as well.
Scrapbooking also requires acid-free pages where the photographs can be placed so that they look artistic and interesting. For this, there is double-sided acid-free sticky-tape. There are even acid-free pens available for adding relevant descriptions, notes and dates as well as decorations on each of the pages.
Preserving Heirloom Photographs
Scrapbooking, especially for recent events is great - useful and fun. However, when it comes to heirloom photographs, only certain sized ones can be preserved in this way and with those that we have inherited it may not be the best option for several reasons.
- We may have been inundated with far too many photographs so that it would be impossible to spend all the time needed to set them out and write long descriptions about each one.
- Some of our heirloom photographs may be far too big to fit in a scrapbook.
What are the other options?
Preserving Smaller Photographs
Smaller photographs - and documents, too, may be preserved by inserting them straight into acid-free pockets that are available and will fit into an album, if that is what you want to do with them.
It's probably best to at least add a sticker to the outside of each pocket with as much information as you can about its contents. Then it will be there to remind you when you look again and it will also be a record for future generations. If you choose to write on the back of the photograph itself, do remember to use an acid-free pen.
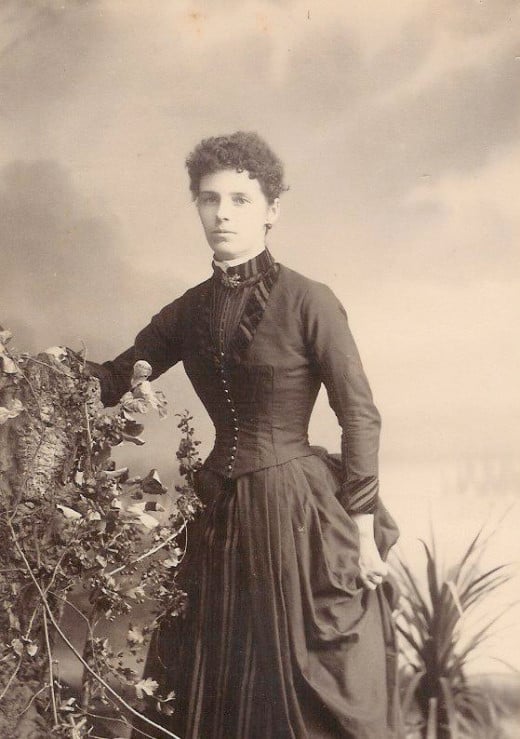
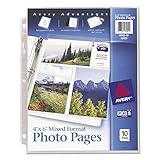
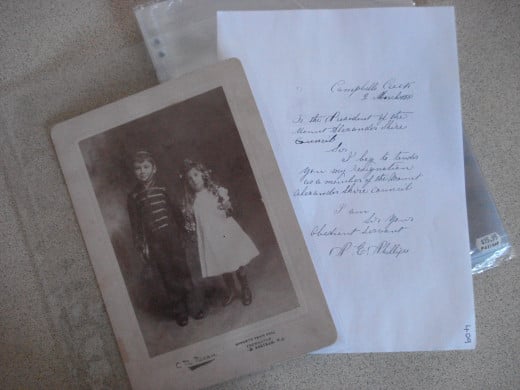
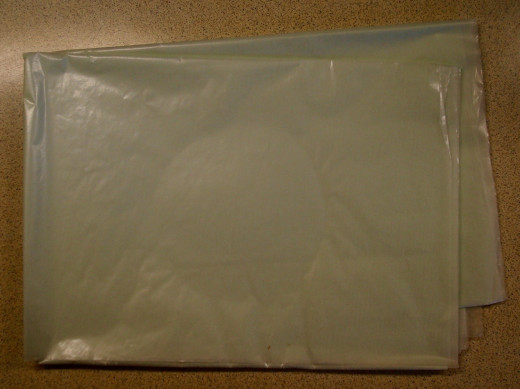
Above is an example of a photograph and document that will fit easily into the sleeves that are shown below; these will take photos and documents up to 8 X 10 in size and they have perforations at the sides for easy insertion into an album.
When the album is complete, it's a good idea to stick a label or write on the spine stating the contents. I must do that myself sometime! Some are labelled, but it's quite a time-consuming chore sorting through the numerous unlabelled albums in our household when I'm searching for a particular record.

Preserving Larger Photographs
Yes! I've inherited some of these, too! Some of you may have better ideas of what to do with these. Of course, some can be framed and hung on the wall well out of strong sunlight to prevent fading, but they can't all be hung for display.
My idea for the rest is to label them carefully - again with an acid-free pen. Do remember to add any dates that you may be able to find out.
Then I interleave them with sheets of glassine paper. This is special (again acid-free) paper that is available from most good art suppliers, as it's also useful for preserving art-work of a variety of media such a oil, watercolour and acrylic, as it will not stick to the work, even over time.
I'm afraid that after that my larger photographs either go flat in the bottom of my filing-cabinet, or flat on a shelf in my wardrobe.
Notes:
- It is a good idea to wrap the whole pile of photographs in glassine paper or something else that is silverfish and moth proof.
- If a box of the right size is available that is also useful for storage as it offers protection from any possible damage to the corners and edges of the photographs.
